
Angled Cuts Gone Wrong? The Hardcore Diagnostic & Setup Guide for Your Adjustable Track Saw Angle Guide Rail
The adjustable track saw angle guide rail is supposed to be the shortcut to flawless miter and bevel cuts. But when it fails, it fails hard – introducing cumulative error into every cut until you’re burning through plywood and questioning your entire workflow. This guide walks through the diagnostic sequence, teardown inspection, and recalibration workflow for these critical precision accessories.
Symptom Awareness – What Failure Looks Like
Before you tear into the guide rail assembly, document the failure mode. These are the most common indicators that your adjustable angle guide is compromised:
- Inconsistent Cut Angles: Setting the same angle multiple times yields different results. The protractor detent mechanism is worn or the locking clamp isn’t holding tension.
- Rail Drift During Cut: The guide rail slides forward or shifts laterally mid-cut. The cam buckle or rail clamp is failing to secure the square to the rail.
- Play Between Square and Rail: You can feel lateral movement when the square is locked onto the guide rail. The T-slot engagement surfaces are worn or the clamping mechanism is deformed.
- Sticking or Gritty Rotation: The protractor doesn’t rotate smoothly. Debris has infiltrated the bronze bushing or the wear pads are contaminated.
- Visible Scale Misalignment: The laser-engraved scale doesn’t align with the zero reference mark when the square is locked at 90°.
Diagnostic Data – Precision vs. Compromised Components
An adjustable track saw angle guide is a precision instrument. Here’s what separates a properly functioning unit from one that’s introducing error into your workflow:
| Parameter | Compromised / Worn Unit | Precision-Ready Unit |
|---|---|---|
| Angle Accuracy (90° Detent) | ±0.5° to ±1.0° drift | ±0.05° repeatability |
| Rail Clamp Hold Force | Inconsistent – rail shifts under load | Positive cam lock – zero play |
| Protractor Rotation Smoothness | Gritty, sticky, or inconsistent resistance | Glides on bronze bushing – smooth 360° rotation |
| Detent Engagement | Soft or mushy – doesn’t snap positively | Positive snap – audible and tactile feedback |
| Scale Readability | Faded or misaligned engraving | Laser-engraved – crisp 1° increments |
Teardown & Inspection Workflow
Before you replace the entire angle guide assembly, run through this inspection sequence. Many issues are resolved with cleaning, lubrication, and recalibration – not full replacement.
Inspect the cam buckle for deformation. The locking surface should have sharp edges – rounded or worn cams won’t generate sufficient clamping force. Check the stainless steel hardware for corrosion or debris.
Rotate the protractor through its full range. Any grinding or resistance indicates contamination in the bronze bushing. Disassemble, clean with isopropyl alcohol, and apply a dry lubricant (graphite or PTFE).
Engage each detent position. The catch should snap positively into place with no play. If the detent spring is weak or the catch is worn, angle repeatability is compromised.
Inspect the T-slot engagement surfaces on the underside of the square. These should be clean and free from deformation. Any burrs or wear will introduce play between the square and the guide rail.
Reassembly & Calibration Protocol
After inspection and cleaning, follow this sequence to restore the angle guide to factory precision:
- Torque Specification: If you removed any fasteners during teardown, re-torque to 2.5–3.0 Nm (22–26 in-lbs). Over-torquing the protractor clamp can deform the bronze bushing and introduce binding.
- Zero Calibration: Lock the square at the 90° detent. Place the square against a certified 90° reference block. Loosen the protractor clamp, rotate to the reference, and tighten the hidden set screw until the scale reads exactly 90.0°.
- Detent Verification: After calibration, cycle through each detent position and verify the angle with a digital protractor. All detents should be within ±0.1° of the engraved value.
- Clamp Force Test: Lock the square onto the guide rail. Apply lateral pressure – the square should not shift. If it moves, the cam buckle needs adjustment or replacement.
- Test Cut Protocol: Make a test cut on a scrap piece at 90°, 45°, and 22.5°. Measure the resulting angles with a digital protractor. Verify within ±0.2° before relying on the tool for production work.
- Preventative Maintenance: After every 50 cuts, clean the protractor base and reapply dry lubricant. Store the angle guide in a protective case to prevent debris contamination. Inspect the cam buckle and detent catch for wear every 100 cuts.
Yoast FAQ
❓ Q: How do I test my adjustable track square for accuracy with a multimeter or basic tools?
A: You don’t need a multimeter for this – you need a precision 90° reference square and a digital protractor. Lock the adjustable square at the 90° detent, place it against the reference square, and measure the angle with the digital protractor. If it reads 90.0° ± 0.1°, the square is within tolerance. For angles other than 90°, set each detent and verify with the digital protractor – all detents should be within ±0.2° of the engraved value.
❓ Q: My guide rail shifts forward during the cut even when the cam buckle is locked. What’s wrong?
A: This is almost always a worn cam buckle or contaminated rail interface. Inspect the cam buckle’s locking surface – if it’s rounded or polished smooth, it’s not generating enough clamping force. Clean the guide rail’s T-slot and the square’s engagement surfaces with isopropyl alcohol. If the issue persists, the cam buckle needs replacement.
❓ Q: Can I use an adjustable track square with any guide rail brand?
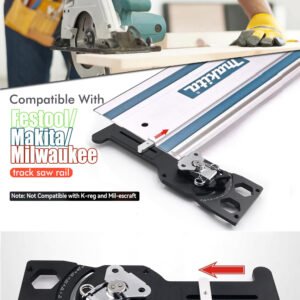
A: Compatibility varies by manufacturer. Most adjustable track squares are designed for guide rails with standard T-slot dimensions – common platforms include those from major manufacturers like Festool, Makita, Milwaukee, and Triton[reference:0][reference:1]. Always verify the specific rail profile compatibility before purchasing. Some squares require modification to fit certain rails[reference:2].
❓ Q: How often should I recalibrate my adjustable track square?
A: Recalibrate after any significant impact or drop. For professional shop use, perform a calibration check weekly. For job site use where the tool travels frequently, check calibration at the start of each job. The scale can be recalibrated using the hidden set screw – factory calibration is reliable but field conditions will eventually introduce drift[reference:3].
Safety & Maintenance Notes
- 🔴 Always disconnect the track saw from power before adjusting or inspecting the angle guide assembly.
- 🧤 Wear cut-resistant gloves when handling guide rails – the edges can be sharp and cause lacerations.
- 🔧 Use only dry lubricants on the protractor base – wet lubricants attract sawdust and debris, accelerating wear.
- 📐 Verify calibration before every critical cut – don’t assume the detents are accurate after the tool has been transported.
- ✅ Store the angle guide in a protective case – the precision surfaces are susceptible to damage from impact and debris.
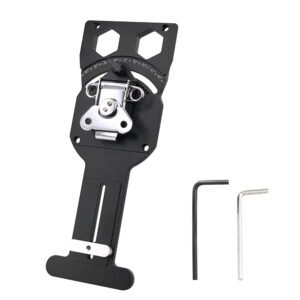
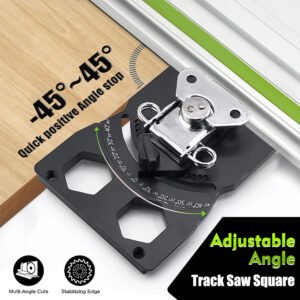
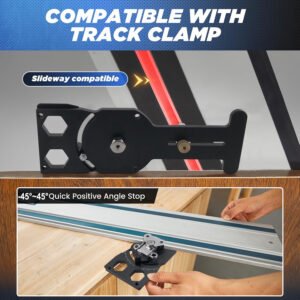
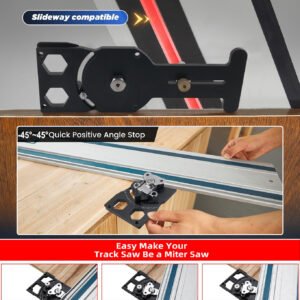
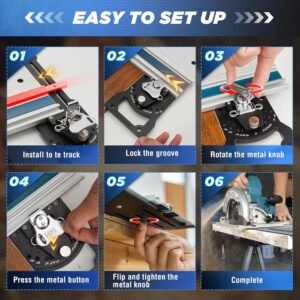
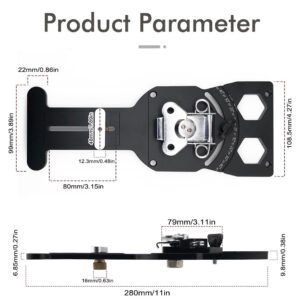
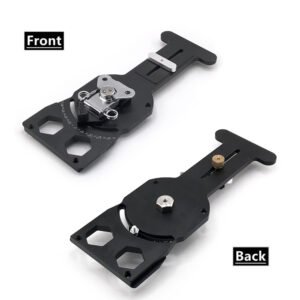
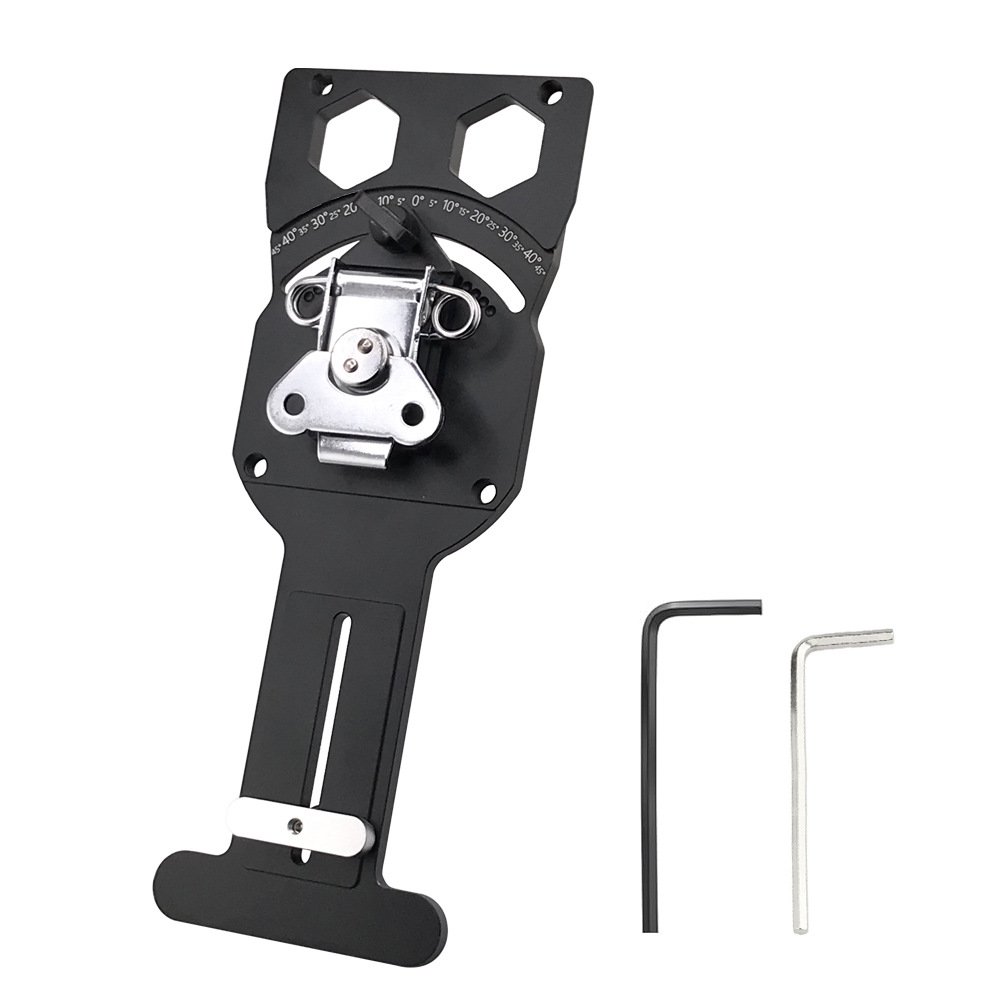
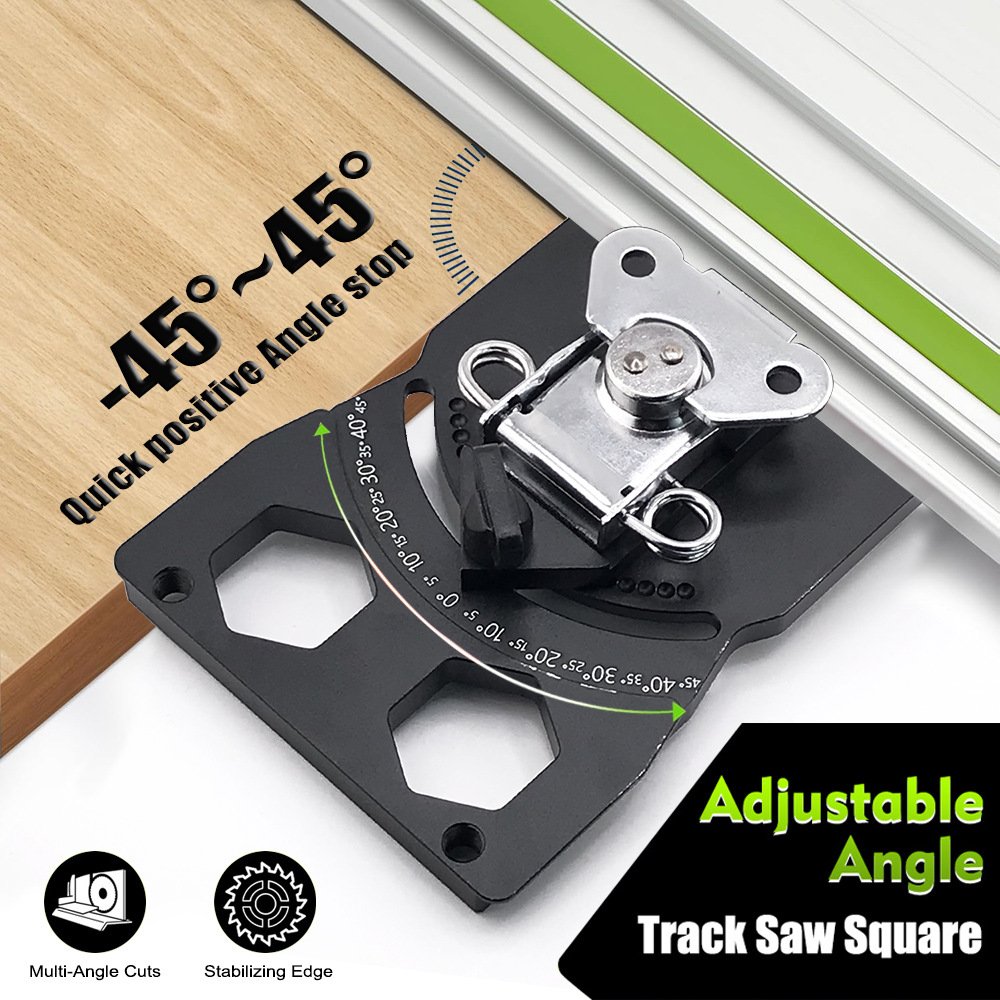
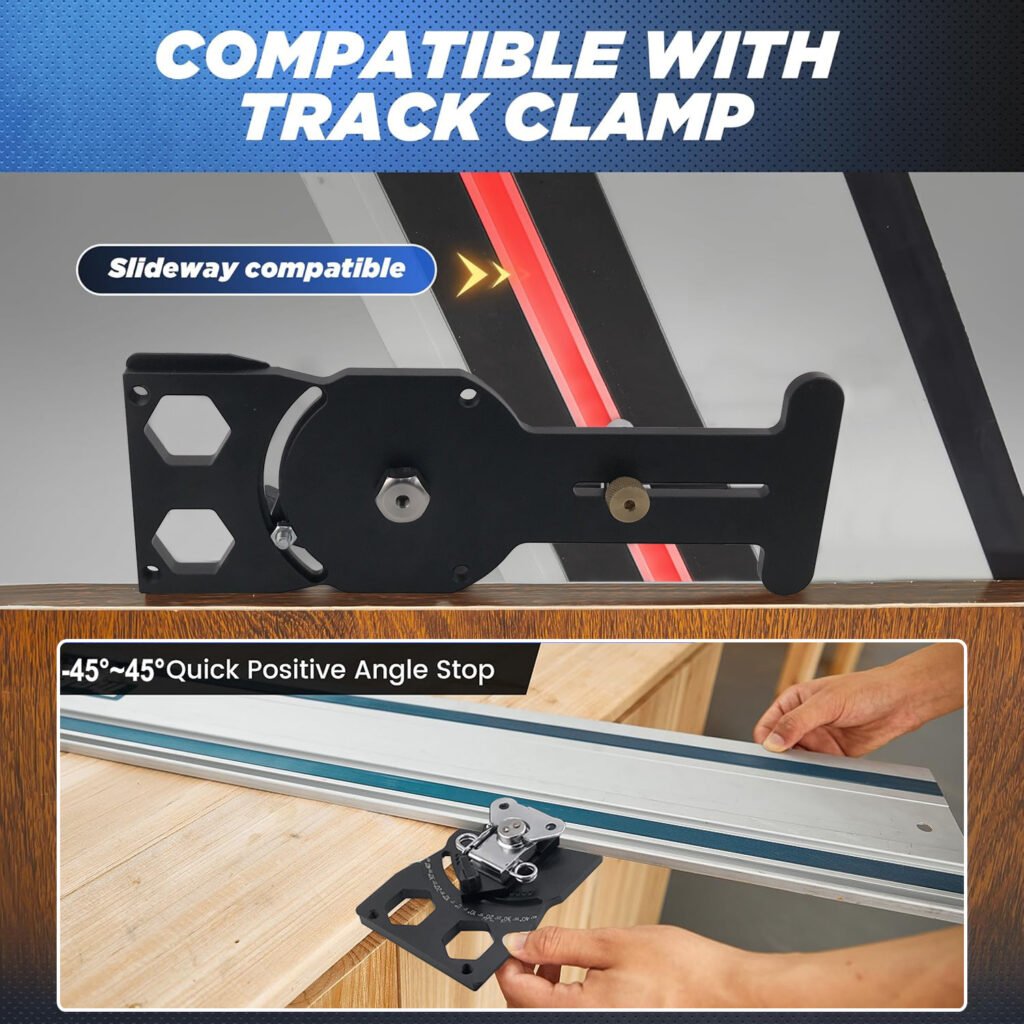
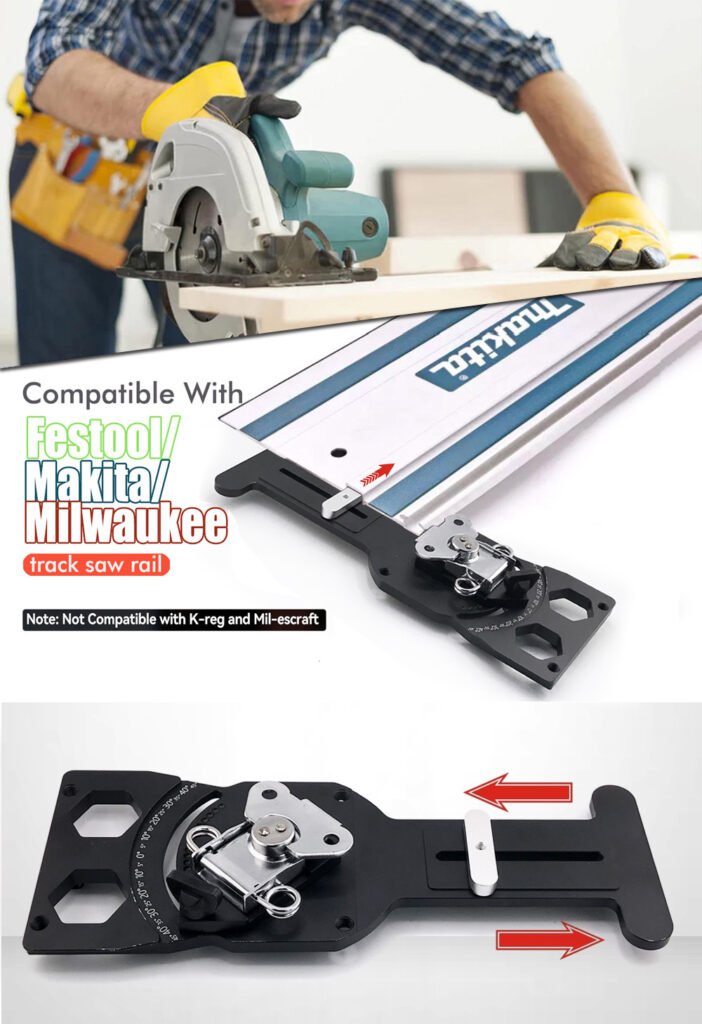
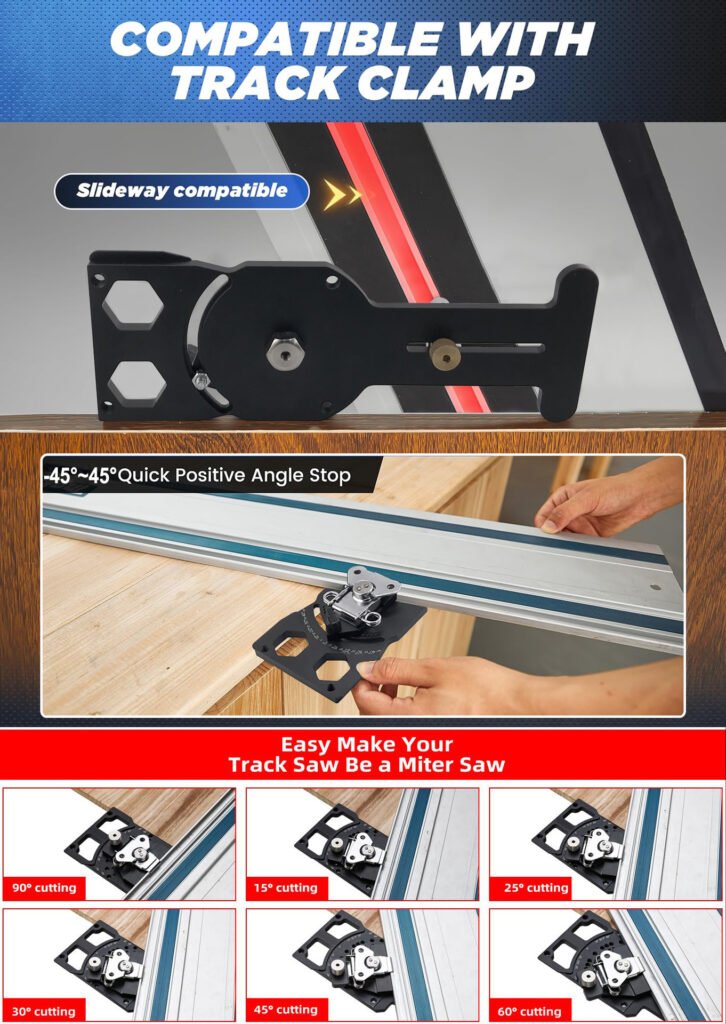
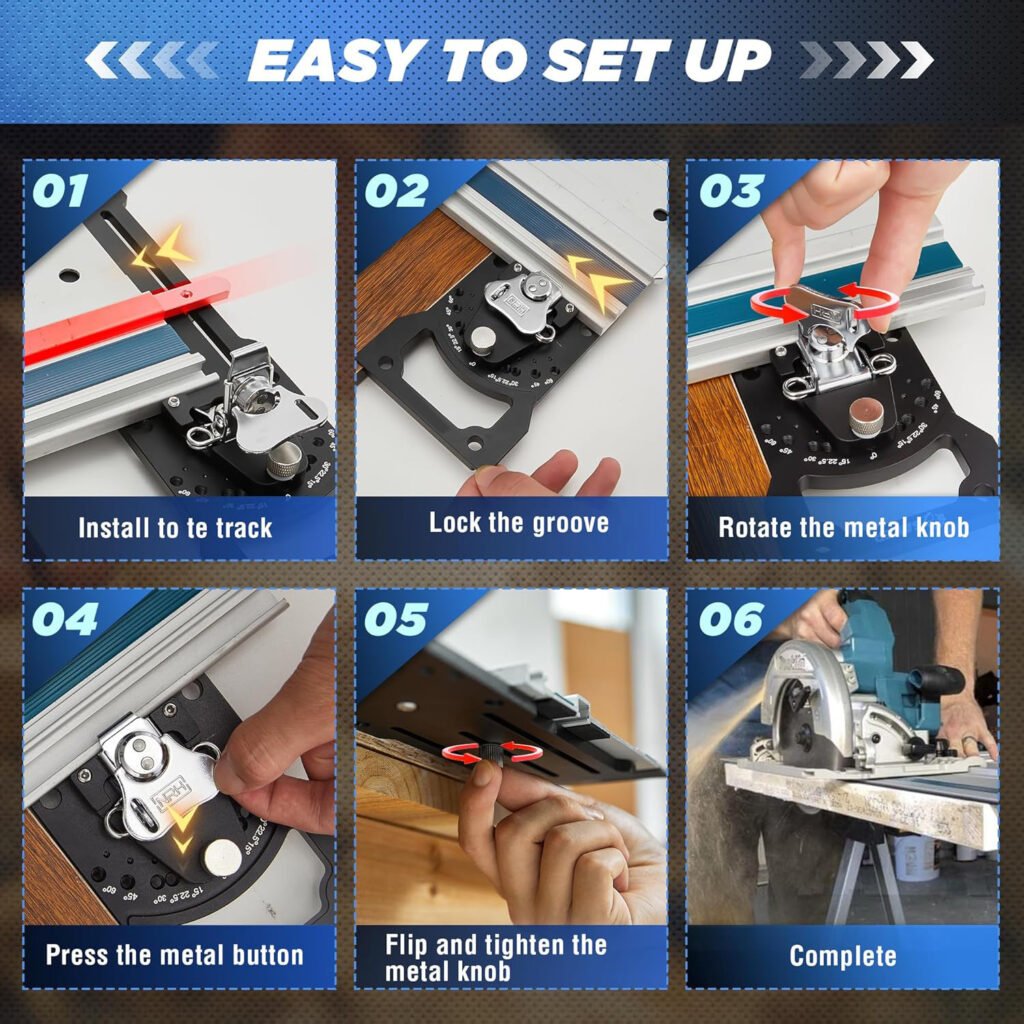
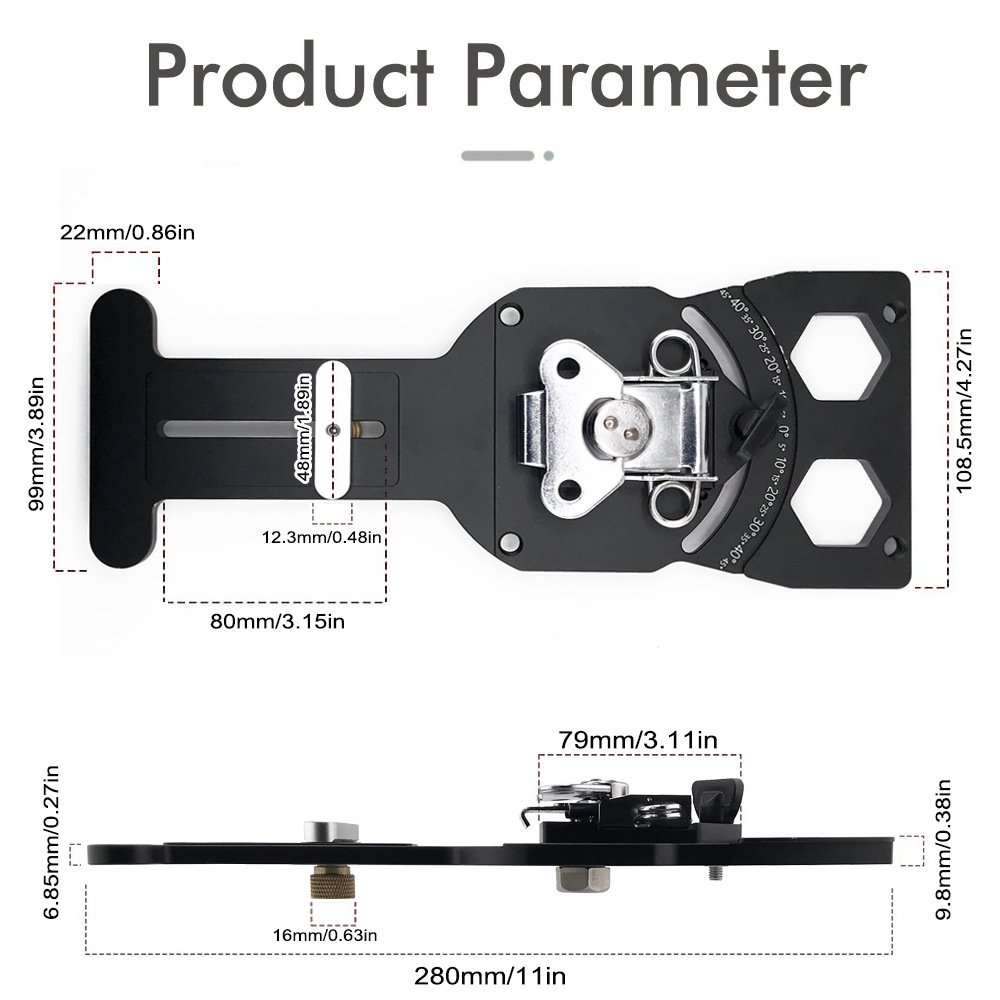
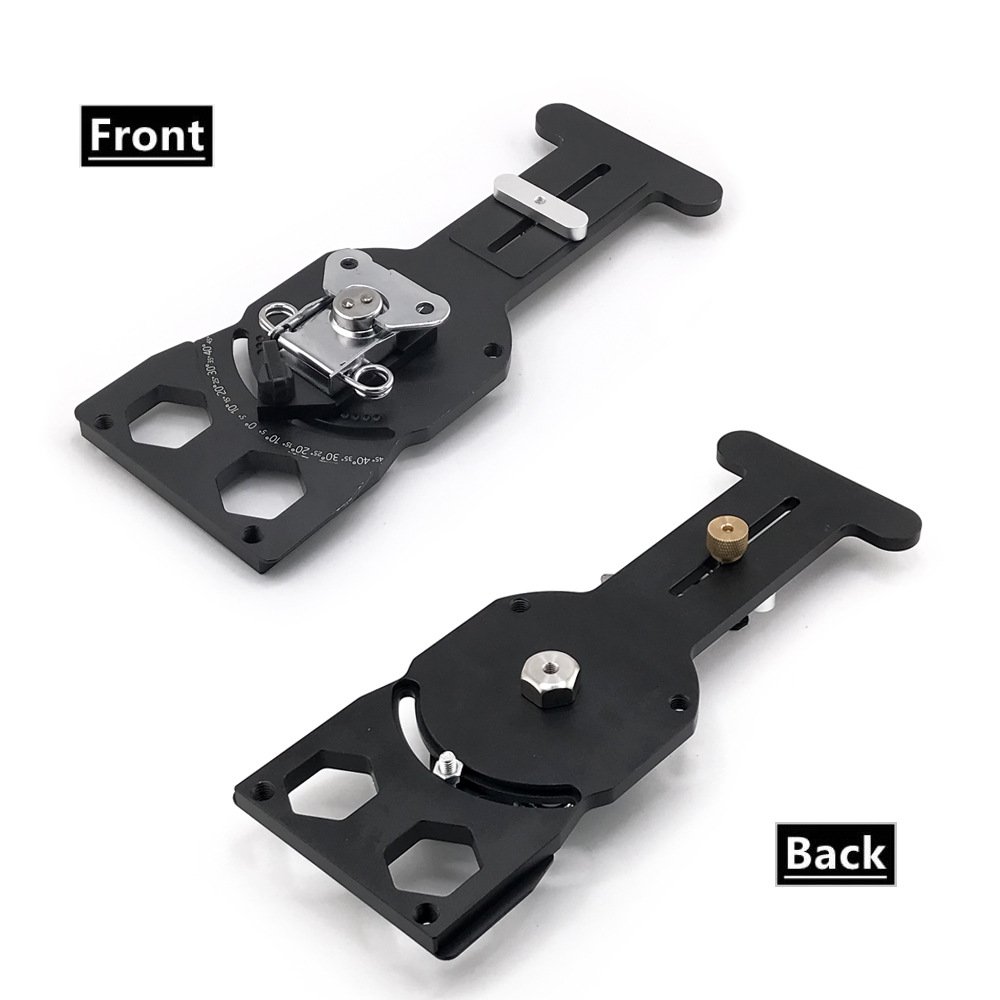
Premium Adjustable Track Saw Angle Guide | 0-60° Aluminum Rail Stop | FixPartHub
- 📐 0-60° Infinite Adjustability: Break free from standard 90-degree cuts. Fluidly adjust and lock in any angle between 0 and 60 degrees for flawless custom miters, bevels, and angled panel sizing.
- 🏗️ Solid Billet Aluminum Mass: Weighing a substantial 730g, this guide is CNC-machined from a single block of aerospace-grade aluminum. It absorbs heavy plunge saw vibration and refuses to deflect under pressure.
- ⚙️ Zero-Play Locking Mechanism: Features an oversized knurled locking knob and an ultra-precise degree scale. Once you set your angle and lock it down, the guide stays completely rigid against the workpiece edge.
- 🛠️ Universal Track Fitment: Engineered with a standard bottom-mounting clamping profile. Slides effortlessly into the T-slots of 95% of standard professional plunge saw and circular saw guide rail systems.
- 🛡️ Non-Marring Reference Edge: The extended contact lip hugs your expensive hardwood or melamine panels securely without denting the grain, ensuring your reference angle is perfectly maintained throughout the cut.
| Buy More, Save More | Quantity | Discount |
|---|---|---|
| Bulk Discount | 2 | 5% |
| Bulk Discount | 3 – 5 | 10% |
| Bulk Discount | 6 – 19 | 15% |