
Wood glue acts as a hydraulic lubricant before it tacks up. When you apply clamping pressure to a mitre or butt joint, the hydraulic shear force wants to slide the two workpieces past each other. Freehand alignment or cheap plastic 90-degree squares will flex under the pneumatic recoil of a nailer or the rotational torque of a driving screw. To guarantee absolute perpendicularity and prevent hydraulic joint slip during the curing phase, you must trap the workpieces in a rigid, zero-deflection chassis. The structural override is deploying a Solid Aluminum W-Style Corner Clamp Assembly Jig.
Diagnostic Data: Hydraulic Slip vs. Mechanical Immobilization
Let us analyze the deflection metrics. Here is the mechanical data on why freehand alignment and plastic corner clamps fail during carcass assembly.
| Alignment Method | Deflection Under Fastener Recoil | Hydraulic Slip Resistance |
|---|---|---|
| Freehand / Bar Clamps | Critical. Joints walk off-axis instantly under torque. | Zero. Wet glue forces the mitre to slide open. |
| Plastic 90-Degree Jigs | Moderate. Plastic chassis flexes under high clamping pressure. | Low. Frame bows outward, ruining the 90-degree interior. |
| Aluminum W-Style Clamp | ✅ Zero. Heavy T6 billet absorbs all pneumatic kinetic energy. | ✅ Absolute. Threaded blocks trap the wood fibers on the X and Y axes. |
Assembly Workflow: Deploying the W-Style Jig
A precision clamping block is useless if tension is applied unevenly. Follow this exact deployment workflow to guarantee a dead-square glue-up.
Dry Fit Registration
Before applying adhesives, seat your two workpieces into the W-style jig. Spin the threaded rods until the clamping blocks lightly touch the wood. Verify flush alignment on the top edge.
Hydraulic Application
Back off the clamping blocks and apply an even coat of PVA glue to the end-grain. Reseat the panels into the aluminum chassis immediately.
Torque Calibration
Tighten the dual threaded rods synchronously. Do not crank one side down completely before the other; this induces a micro-pivot. Turn each rod in alternating half-rotations until you achieve uniform glue squeeze-out.
Kinetic Fastening
With the X and Y axes mechanically locked by the aluminum block, fire your brad nails or drive your pocket screws. The jig will absorb the kinetic energy, preventing the joint from blowing apart.
Reassembly & Calibration: Post-Cure Maintenance
- Diagonal Verification: Even with a mechanical jig, always pull a tape measure across the diagonals of your cabinet carcass after the final corner is clamped. If the measurements vary, apply a long bar clamp across the longer diagonal to force the chassis into perfect mathematical square before the glue cures.
- Chassis Purging: Wet glue contains high moisture content and acidic compounds. If squeeze-out is left to cure directly on the bare aluminum chassis, it will eventually pit the metal and ruin the zero-tolerance referencing faces. Wipe the jig down with a damp cloth immediately after pulling the workpieces.
- Thread Lubrication: The threaded tension rods are susceptible to binding if contaminated with sawdust and dried glue. Periodically scrub the threads with a brass wire brush and apply a dry PTFE lubricant to maintain frictionless torque application.
A: Yes, if over-torqued. The clamping blocks are machined aluminum. When working with softwoods, either back off your clamping pressure or insert a thin piece of high-density cardboard between the clamping block and the workpiece to distribute the compressive load.
A: Absolutely. The W-style configuration provides equal lateral pressure on both the X and Y axes, making it highly effective at driving 45-degree mitre cuts together without the parts slipping past each other on the glue line.
A: Do not use a steel chisel or a grinder. Steel will gouge the aluminum, destroying the 90-degree accuracy. Use a specialized plastic scraper or a brass brush, combined with a heat gun set to low, to soften and peel the dried glue away.
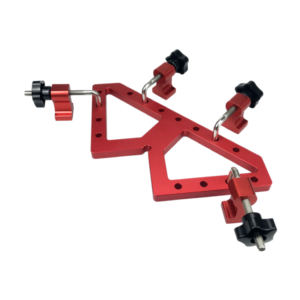
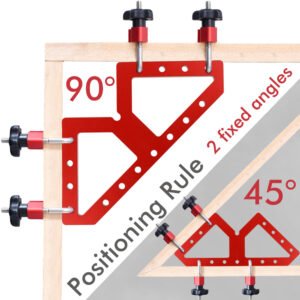
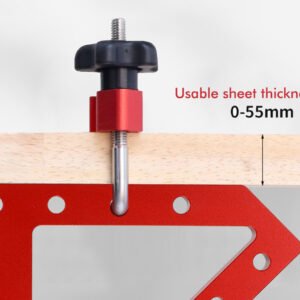
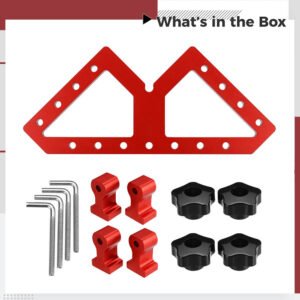
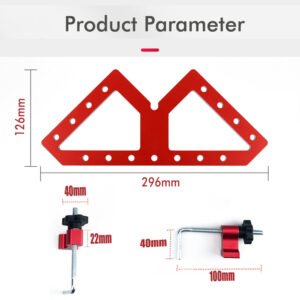
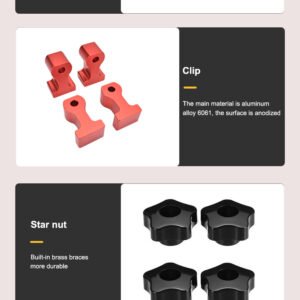
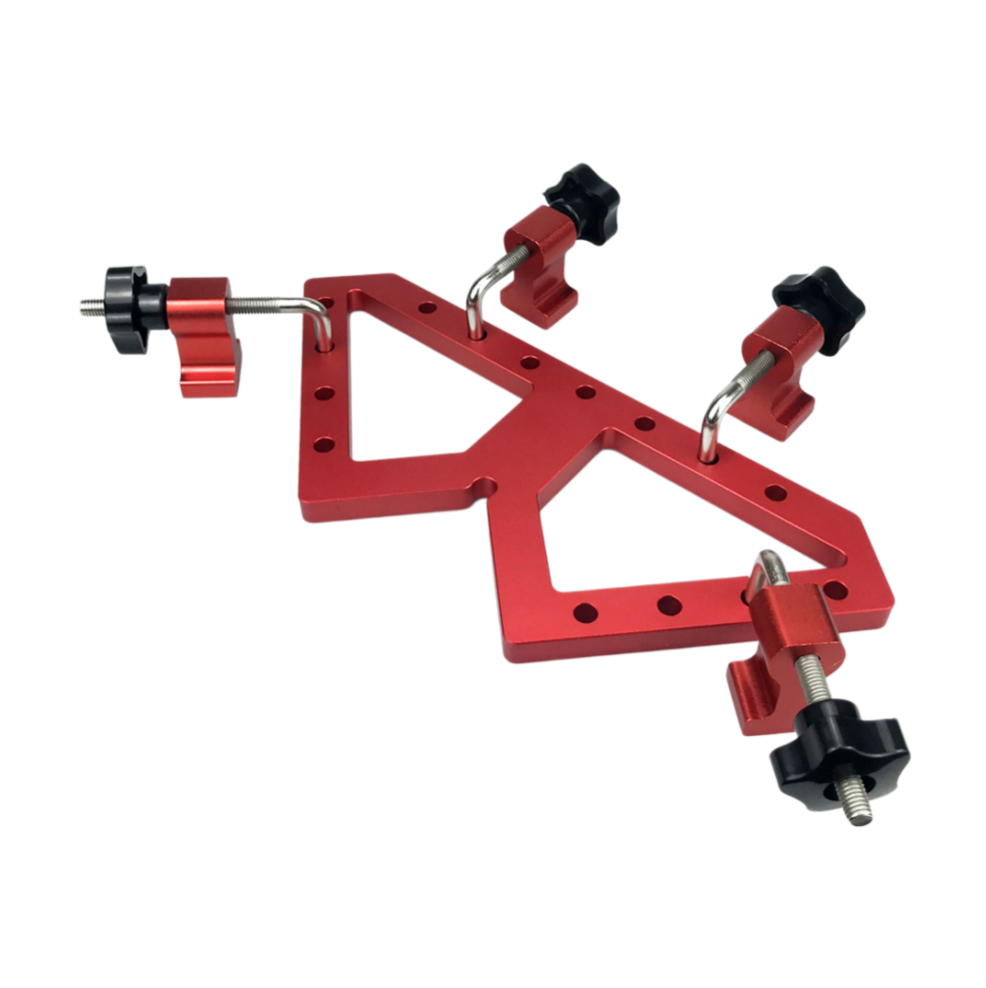
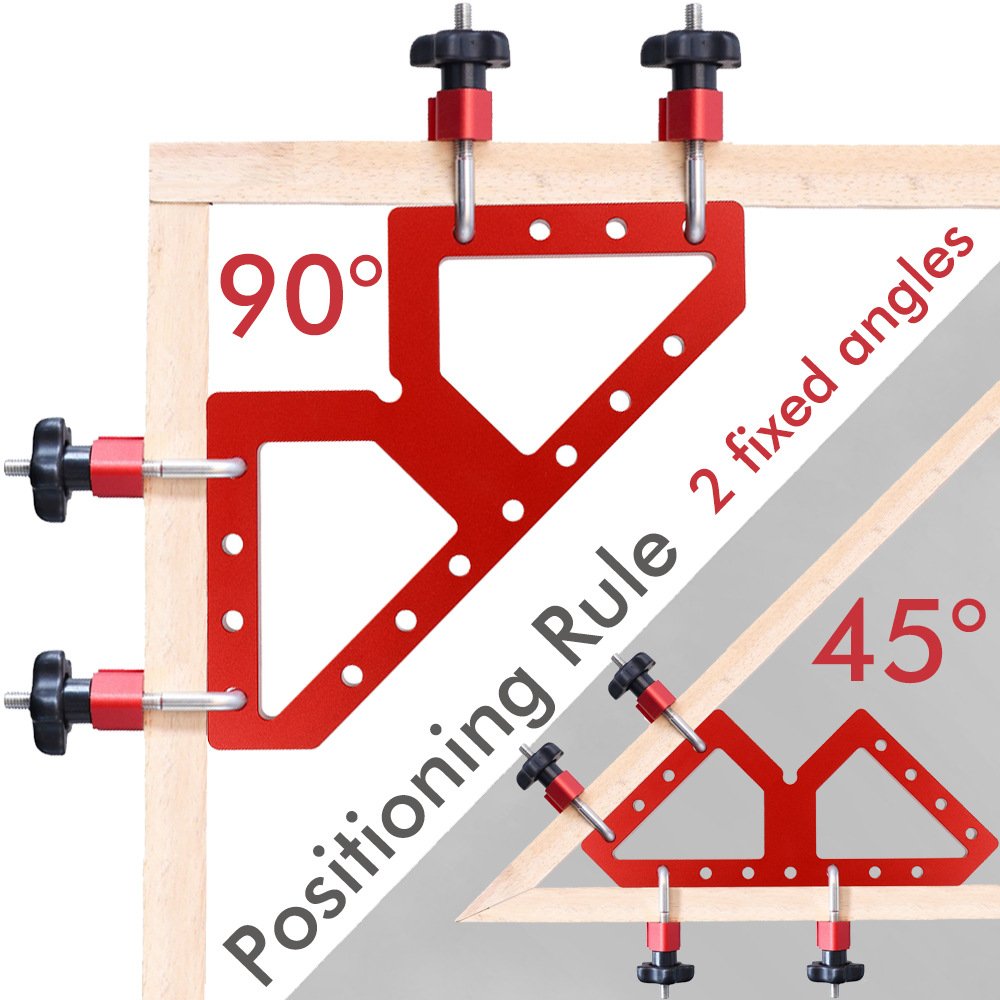
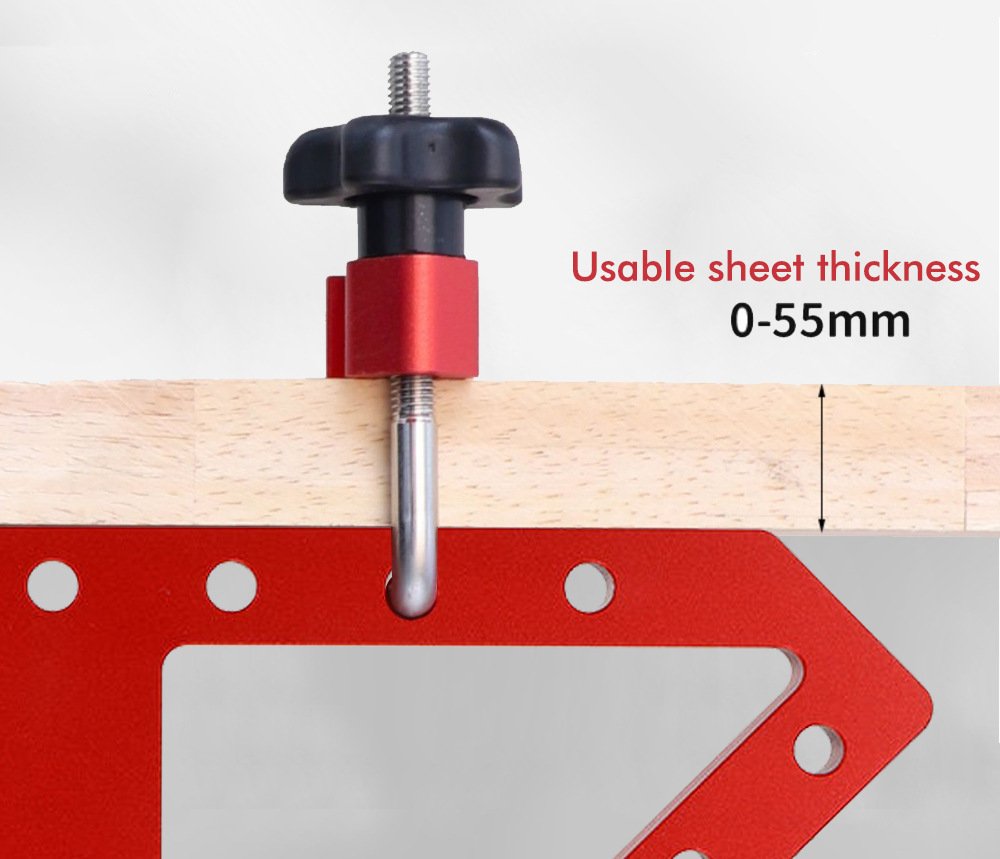
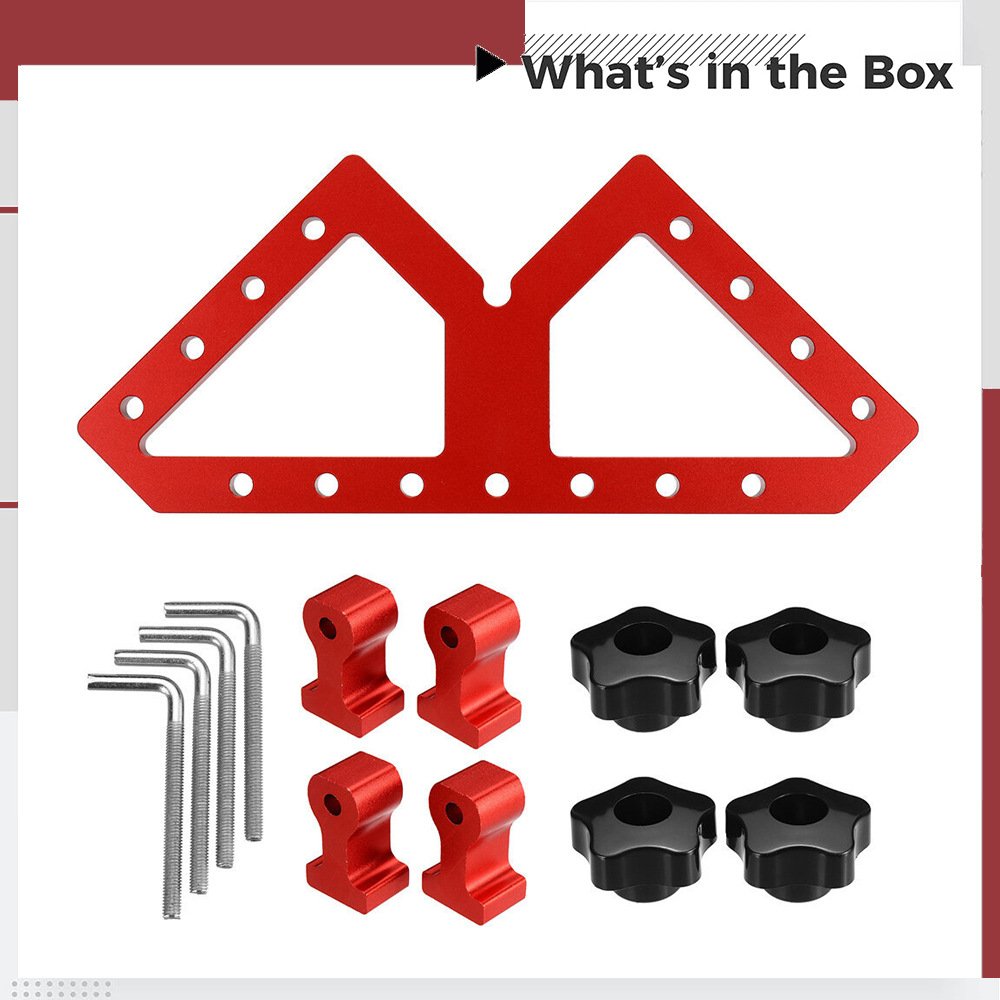
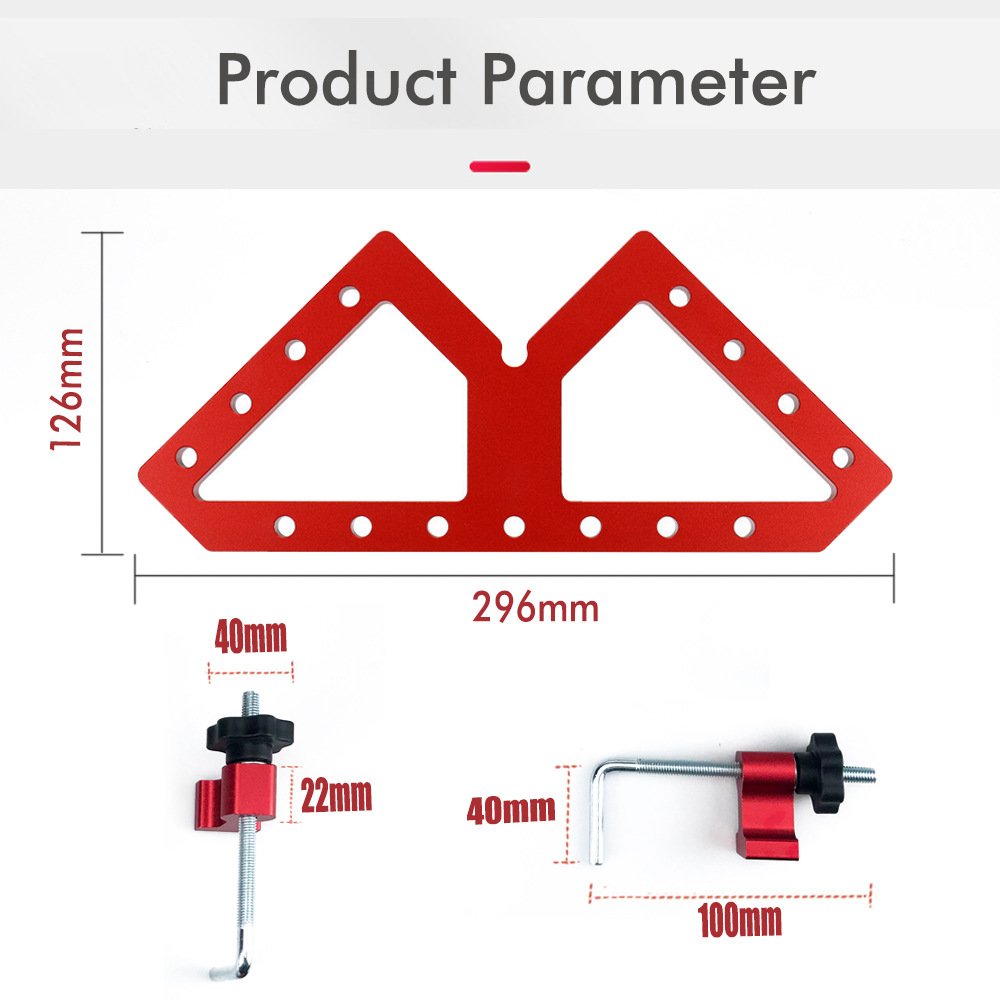
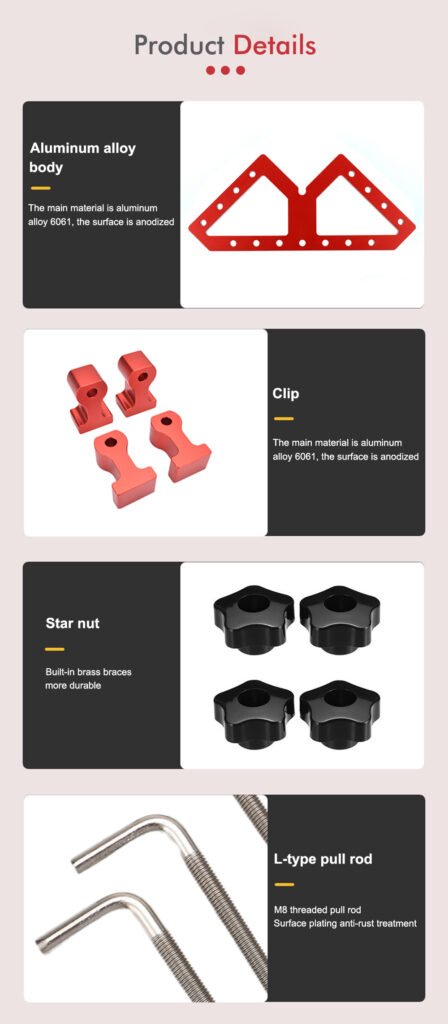
Premium Aluminum W-Style Corner Clamp | Cabinet & Table Apron Assembly Jig | FixPartHub
- 📐 The “Third Hand” for Assembly: Instantly holds cabinet boxes, drawers, and table aprons at a dead-accurate 90-degree angle. Frees up both of your hands to pre-drill, glue, and drive fasteners without the wood shifting.
- 🏗️ Heavy-Duty Billet Aluminum: CNC-machined from a massive block of aerospace-grade aluminum alloy (weighing a solid 1080g/2.4lbs). Zero deflection, zero bending—built to handle high-torque industrial clamping pressure.
- ⚙️ Versatile W-Style Profile: The unique W-shaped architecture provides dual-axis clamping support. Perfect for both standard edge-to-edge box joint splicing and recessed table skirt (apron) installations.
- 🛡️ Non-Marring Surface Protection: Features precisely milled, smooth contact faces that grip expensive hardwoods, melamine, and veneered plywood aggressively without leaving dents or pressure marks.
- ⚡ Rapid Setup Architecture: Designed to work seamlessly with standard F-clamps or quick-grip bar clamps. Just drop the jig into the corner, apply your clamps to the dedicated holding zones, and lock your project square in seconds.
| Buy More, Save More | Quantity | Discount |
|---|---|---|
| Bulk Discount | 2 | 5% |
| Bulk Discount | 3 – 5 | 10% |
| Bulk Discount | 6 – 19 | 15% |