
You are three steps up a ladder, driving a 3-inch lag screw into a heavy wall stud. Your DeWalt 20V MAX drill is vibrating heavily under the load. Suddenly, it dies. The LED light shuts off, and the motor goes dead silent.
Instinctively, you take the heel of your hand and smack the bottom of the battery upwards. The drill instantly hums back to life.
Most guys assume their expensive 5.0Ah battery has a dead cell or the internal control board of the drill is fried. They throw the tool in the scrap pile and head to the hardware store. Do not do this. 95% of the time, the “battery slap” symptom is caused by mechanical fatigue in a $15 plastic and copper component: The N187232 Battery Terminal Block.
Here is the exact mechanical breakdown of why your DeWalt battery feels loose, why it cuts out under heavy vibration, and how you can rebuild the connection on your workbench in under 10 minutes.
The Physics of Failure: Spring Steel Fatigue
Look inside the base of your DeWalt drill handle where the battery slides in. You will see a yellow plastic block with four metal prongs protruding downward. This is the terminal block (OEM Part #N187232).
These prongs are not solid chunks of metal. They are made of folded spring-tempered copper alloy. When you slide a battery onto the tool, these prongs spread apart slightly, maintaining constant, high-pressure contact against the battery’s blade terminals.
So, why do they fail? It comes down to gravity and vibration. Modern high-capacity batteries (like the 5.0Ah XR or the massive FlexVolt packs) are heavy. When you use an impact driver or a hammer drill, that heavy battery rapidly oscillates back and forth on the plastic rails.
Over years of heavy job site use, this constant microscopic movement causes metal fatigue in the terminal prongs. The copper spring-clips lose their tension and spread too far apart. Once that tension is gone, the vibration of the drill literally shakes the electrical connection loose for a millisecond, triggering the electronic control board to shut the tool down to prevent a short circuit.
When you slap the battery, you temporarily force the terminals back into contact.
The Pliers Myth: Why You Shouldn’t “Pinch” the Prongs
If you search YouTube for this issue, you will find videos of guys taking needle-nose pliers and pinching the worn prongs back together to tighten the connection.
This is a dangerous, temporary hack. Once spring steel has lost its temper and yielded, bending it back weakens the metal further at the microscopic level. The next time you use a heavy drill bit, the high electrical resistance across that weakened, loose connection will generate massive heat. This heat will melt the yellow plastic housing of the terminal block, permanently ruining the base of your tool and potentially melting the top of your $150 battery.
The only safe, permanent fix is a complete replacement.
The 10-Minute Terminal Swap
Replacing the requires no soldering and minimal tools.
- Remove the Battery: Never open a tool housing with a live power source attached.
- Split the Clamshell: Remove the Torx (T-10 or T-15) screws securing the two halves of the handle housing. Carefully lift the top shell away.
- Lift the Block: Locate the terminal block at the base of the handle. It simply rests inside molded plastic grooves. Gently lift it out.
- Swap the Wires: The terminal block is connected to the main control board by thick gauge wires using simple push-on spade connectors. Pull the connectors off the old block using needle-nose pliers. Pro Tip: Transfer one wire at a time to the new N187232 block so you do not mix up the positive and negative poles.
- Seat and Route: Press the new terminal block down into the housing grooves. Critical step: Ensure the wires are tucked deeply into their specific routing channels. If a wire is resting on a screw post, closing the housing will pinch and sever it.
- Reassemble: Screw the housing back together. Slide your battery on—you will immediately feel that satisfying, tight factory “click” again.
🛑 Professional Safety Disclaimer
Lithium-ion batteries can output massive, instantaneous amperage. Never attempt to bypass a damaged terminal block with jumper wires or aluminum foil. If your old terminal block shows signs of black scorch marks or melted yellow plastic, inspect the wiring harness for heat damage before installing the new part. FixPartHub provides this guide for informational purposes and assumes no liability for tool damage or personal injury resulting from improper repair techniques.
Stop Slapping Your Tools
Your DeWalt 20V tools are engineered to handle incredible abuse, but wear-and-tear items inevitably fail. Don’t let a tired piece of copper force you into buying a new bare tool. Replace the terminal block, restore your power connection, and get back to work.
🛒
🤝 Join the FixPartHub Tech Partner Program
Are you the technician who keeps everyone’s tools running on the job site? Monetize your expertise. Join the FixPartHub Affiliate Program. When you diagnose a loose battery and send your buddy your custom link to buy the replacement terminal, you earn a 10% cash commission on the sale.


Premium Transmission Assembly N438603 Compatible with DeWalt DCD796 | FixPartHub
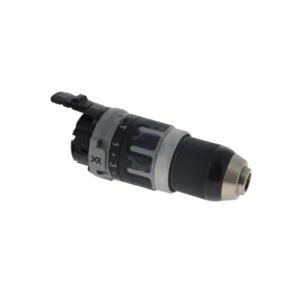
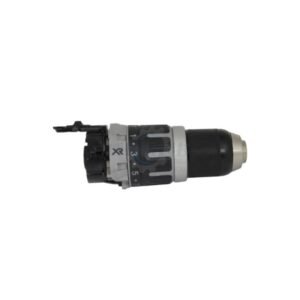
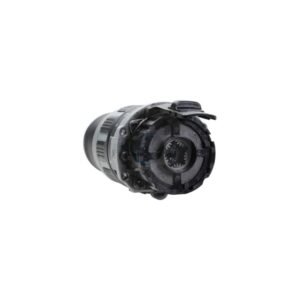
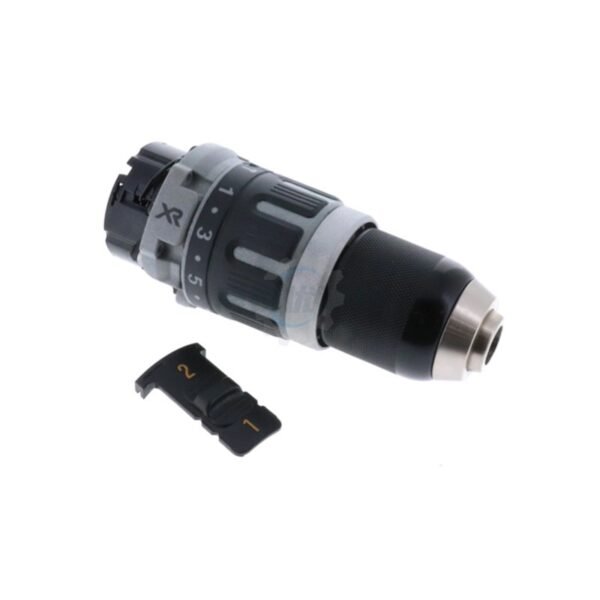
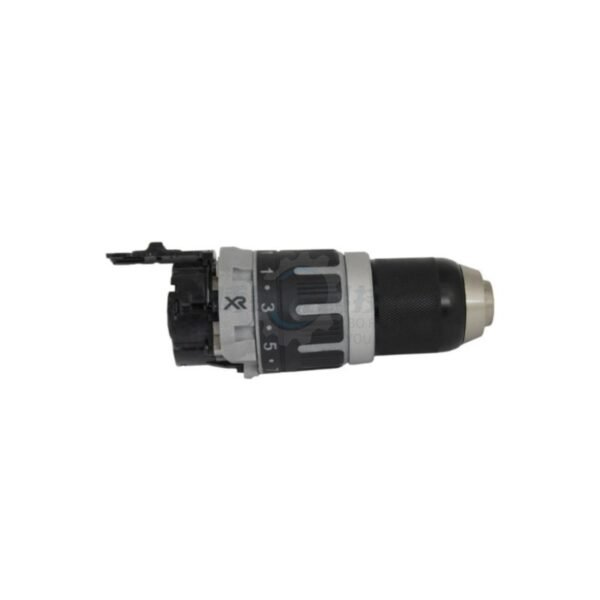
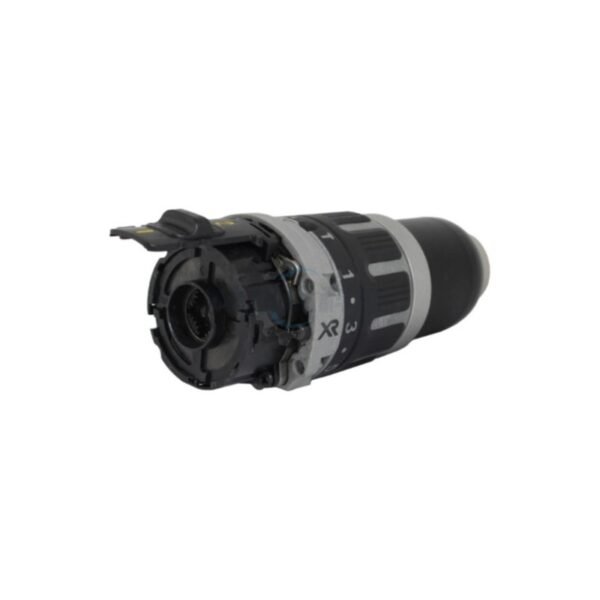
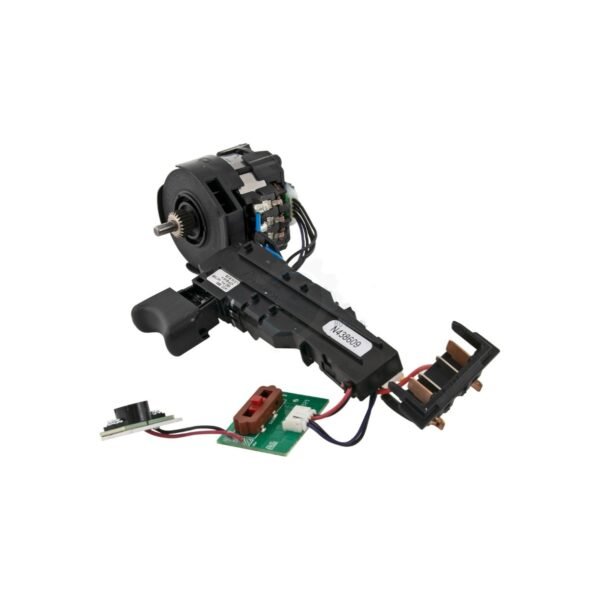
- Stop the “Gear Crunching” Nightmare: When driving heavy lag screws or drilling into masonry, worn-out internal planetary gears will slip, causing a terrible grinding noise and a complete loss of torque. This brand-new transmission assembly restores the aggressive, locked-in driving power your XR brushless drill is known for.
- Restore the Hammer Action: The hammer mechanism inside the DCD796 and DCD797 takes brutal physical abuse. If your drill just spins smoothly against concrete instead of delivering high-BPM impacts, the internal anvil is shattered. Swapping this module instantly brings back your concrete-busting capability.
- Hassle-Free “Drop-In” Module: You don’t need a degree in mechanical engineering to fix your drill. This is a complete, factory-sealed gearbox. You won’t have to worry about tiny gears, springs, or ball bearings falling out and getting lost on your workbench. Simply pull the old unit out and drop this one in.
- Exact DCD Series Fitment: Precision-engineered to mate perfectly with the brushless motor output shaft. This N438603 assembly is fully compatible with the legendary 20V MAX / 18V XR DCD796 and DCD797 Hammer Drill / Driver series (Type 1, Type 10).
- FixPartHub Professional Standard: Save your expensive bare tool from the scrap bin. Pro Tip: Clean the old grease off your brushless motor’s pinion gear and apply a tiny dab of fresh lithium grease before mating it to this new transmission! Did your keyless chuck jaws seize up from concrete dust? Browse our unlisted catalog for heavy-duty replacement chucks and left-hand retaining screws!
| Buy More, Save More | Quantity | Discount |
|---|---|---|
| Bulk Discount | 2 | 5% |
| Bulk Discount | 3 – 5 | 10% |
| Bulk Discount | 6 – 19 | 15% |

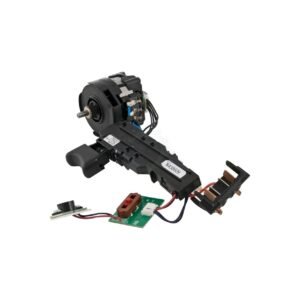


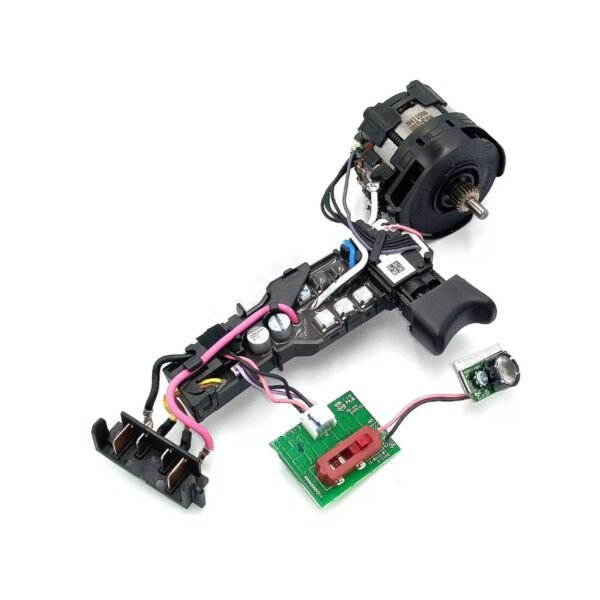
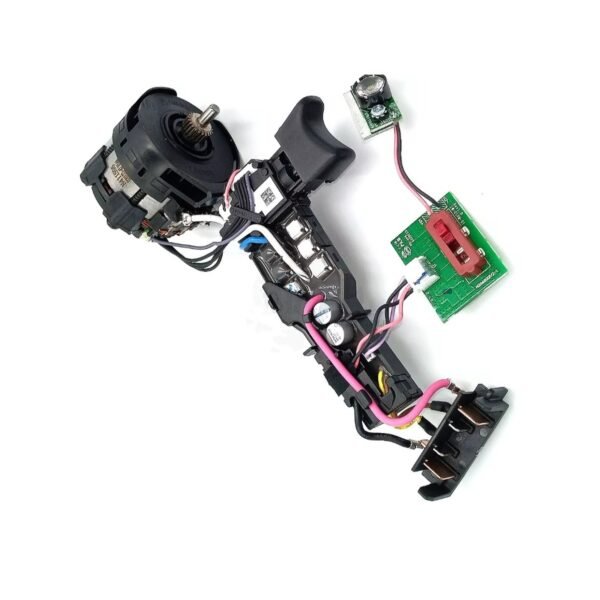
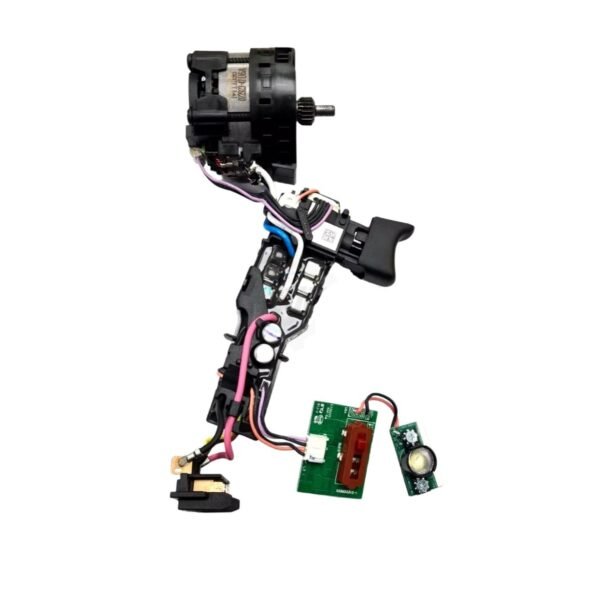
Premium Motor & Switch Assembly N438606 Compatible with DeWalt. | FixPartHub
- The “Brushless” Repair Reality: Unlike older tools, modern XR brushless drills do not have carbon brushes you can swap out. When the tool completely dies under a heavy load, the electronic control board or the stator coils have burned out. This complete modular assembly is the only guaranteed fix.
- All-in-One “Brain & Heart” Module: This is not just a switch. The N438606 is a fully integrated, pre-wired assembly that includes the variable-speed trigger switch, the epoxy-sealed electronic control module (ECM), the battery terminal block, and the heavy-duty copper stator.
- Cure the “Dead Trigger” Glitch: Does your drill’s LED work light turn on, but the motor refuses to spin? Or does the motor stutter and emit a harsh electronic burning smell? Replacing this module restores flawless communication between your battery and the drivetrain.
- Exact DCD Series Fitment: Precision-engineered replacement part. Designed specifically for the legendary 20V MAX XR Brushless compact drill/driver series. Fully compatible with the DCD791 (Type 1, 10) and the DCD796 Hammer Drill (Type 1, 10).
- FixPartHub Professional Standard: Save your premium bare tool from the landfill. Pro Tip: Because the control board is potted in epoxy, it cannot be micro-soldered or bypassed. A full modular swap is required! Did your transmission gears strip out before the motor died? Browse our catalog for premium aftermarket DCD796 gearboxes!
| Buy More, Save More | Quantity | Discount |
|---|---|---|
| Bulk Discount | 2 | 5% |
| Bulk Discount | 3 – 5 | 10% |
| Bulk Discount | 6 – 19 | 15% |
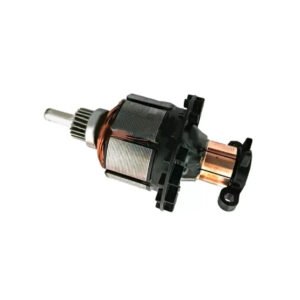


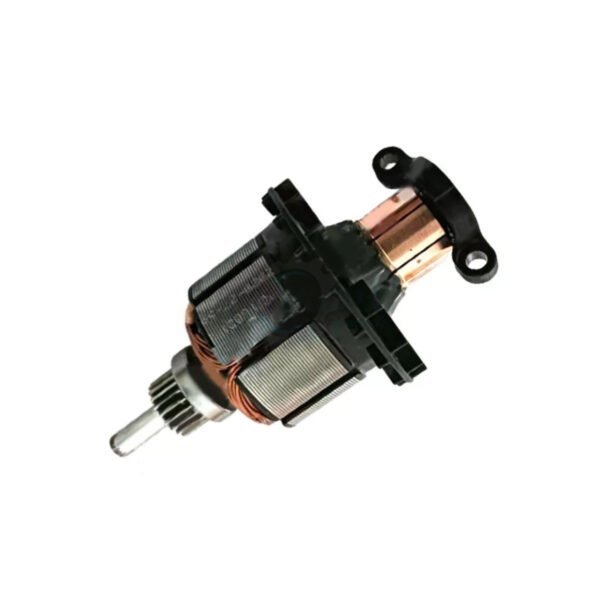


Premium N110036 Armature Rotor (Compatible with DCD785) | Fix Sparking Motors | FixPartHub
- Cure the “Smoking Drill” Syndrome: If your drill is emitting a terrible burning ozone smell or shooting excessive sparks from the ventilation vents, your original armature’s commutator has burned out. This premium replacement eliminates the fire hazard and restores safe operation.
- Restore Heavy-Duty Torque: A damaged rotor causes significant power loss, making the drill stall out on simple tasks. Engineered with high-purity copper windings, this fresh armature delivers the maximum electromagnetic force required to drive long screws and drill through tough masonry.
- Precision Dynamic Balancing: Cheap aftermarket rotors vibrate violently, tearing up your drill’s bearings. Our armature undergoes strict computerized dynamic balancing to ensure whisper-smooth rotation at high RPMs, extending the life of your entire motor assembly.
- Precision Drop-In Fitment: Designed to drop perfectly into the N595065 motor housing. Fully compatible with the legendary DCD785 20V cordless hammer drill/driver series. Replaces part number N110036 directly.
- FixPartHub Professional Standard: Save hundreds of dollars by fixing your own tools. Crucial Pro Tip: NEVER install a new armature using old, burnt carbon brushes! Need a fresh set of carbon brush holders to complete the overhaul? Search our unlisted power tool catalog!
| Buy More, Save More | Quantity | Discount |
|---|---|---|
| Bulk Discount | 2 | 5% |
| Bulk Discount | 3 – 5 | 10% |
| Bulk Discount | 6 – 19 | 15% |