Revive Your Premium XR Brushless Drill
The DCD791 and DCD796 are the undisputed kings of the compact brushless drill category. However, the technology that makes them so powerful-the brushless electronic control module-is also their most vulnerable point. Driving massive lag bolts or running large hole saws through thick lumber generates immense heat.
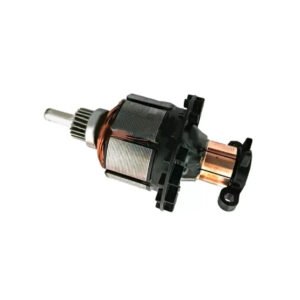
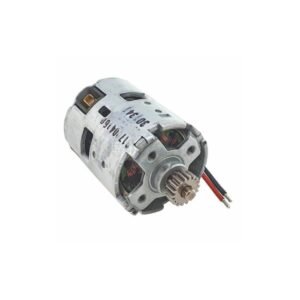
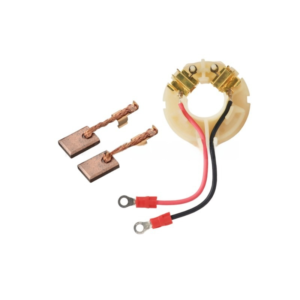
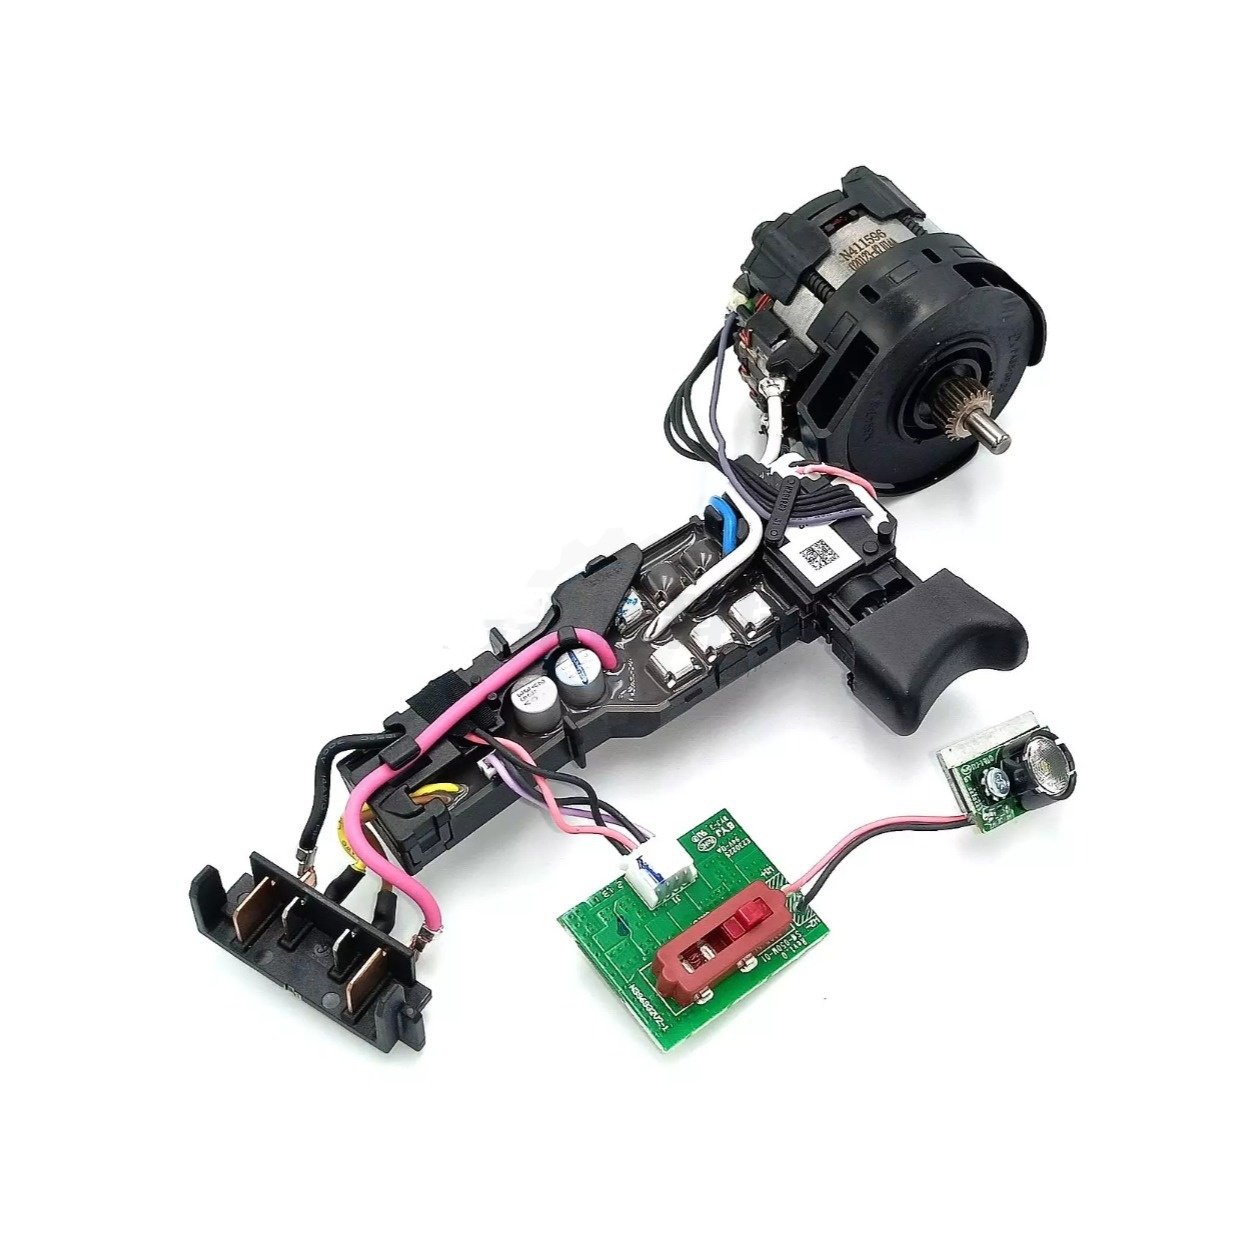
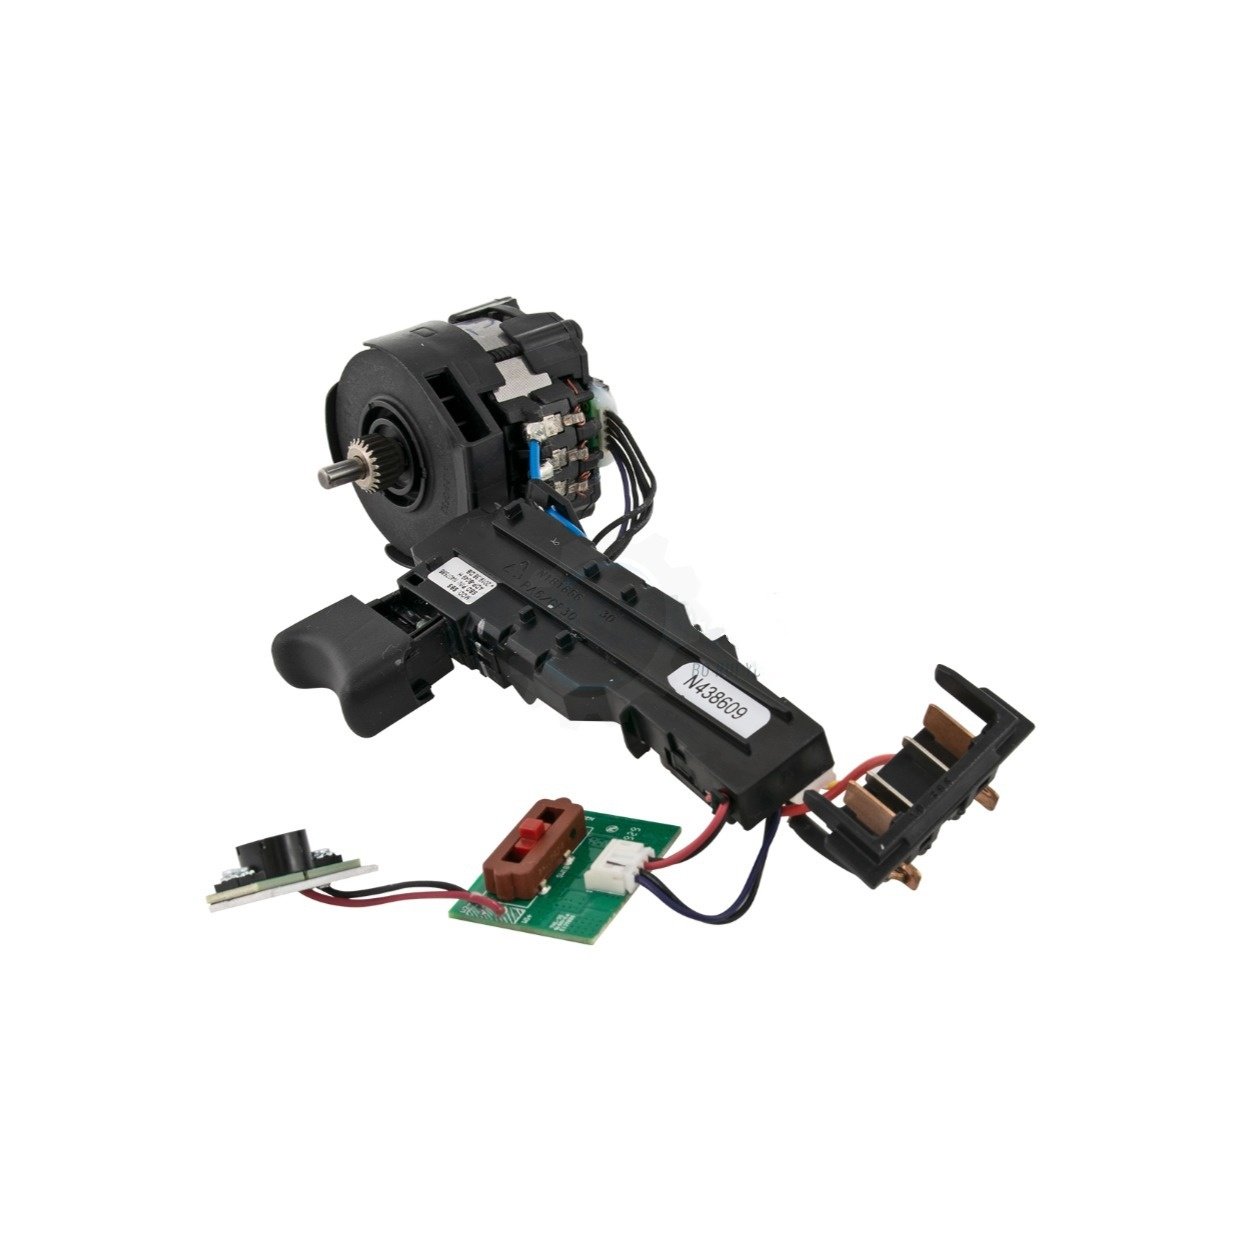
Once that heat fries the microchips embedded in the base of the drill, the tool is dead. The FixPartHub Premium N438606 Motor & Switch Assembly provides a complete, drop-in replacement for the entire electronic and magnetic drivetrain system.
Diagnosing a Fried Control Assembly
How do you know you need this specific, high-end part? Look for these classic brushless failure symptoms:
- The “Lights On, Nobody Home” Glitch: You pull the trigger and the LED work light illuminates perfectly, but the motor makes absolutely zero noise and refuses to spin.
- Severe Stuttering: The drill tries to turn but violently stutters, cogging back and forth without generating any continuous rotation.
- The “Burnt Electronics” Odor: Unlike the smell of a burnt motor winding, a fried control board smells like melting plastic and ozone.
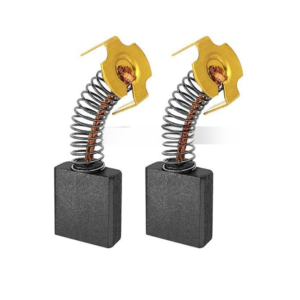
Why is it Sold as One Big Piece?
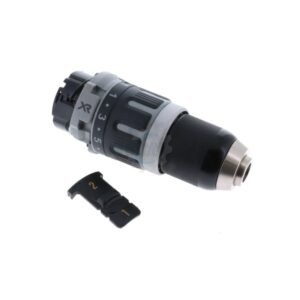
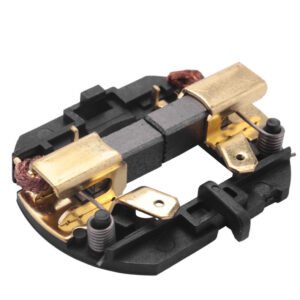
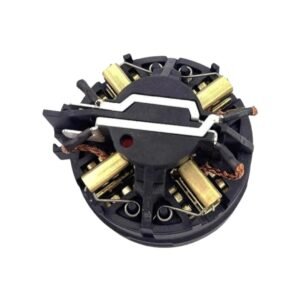
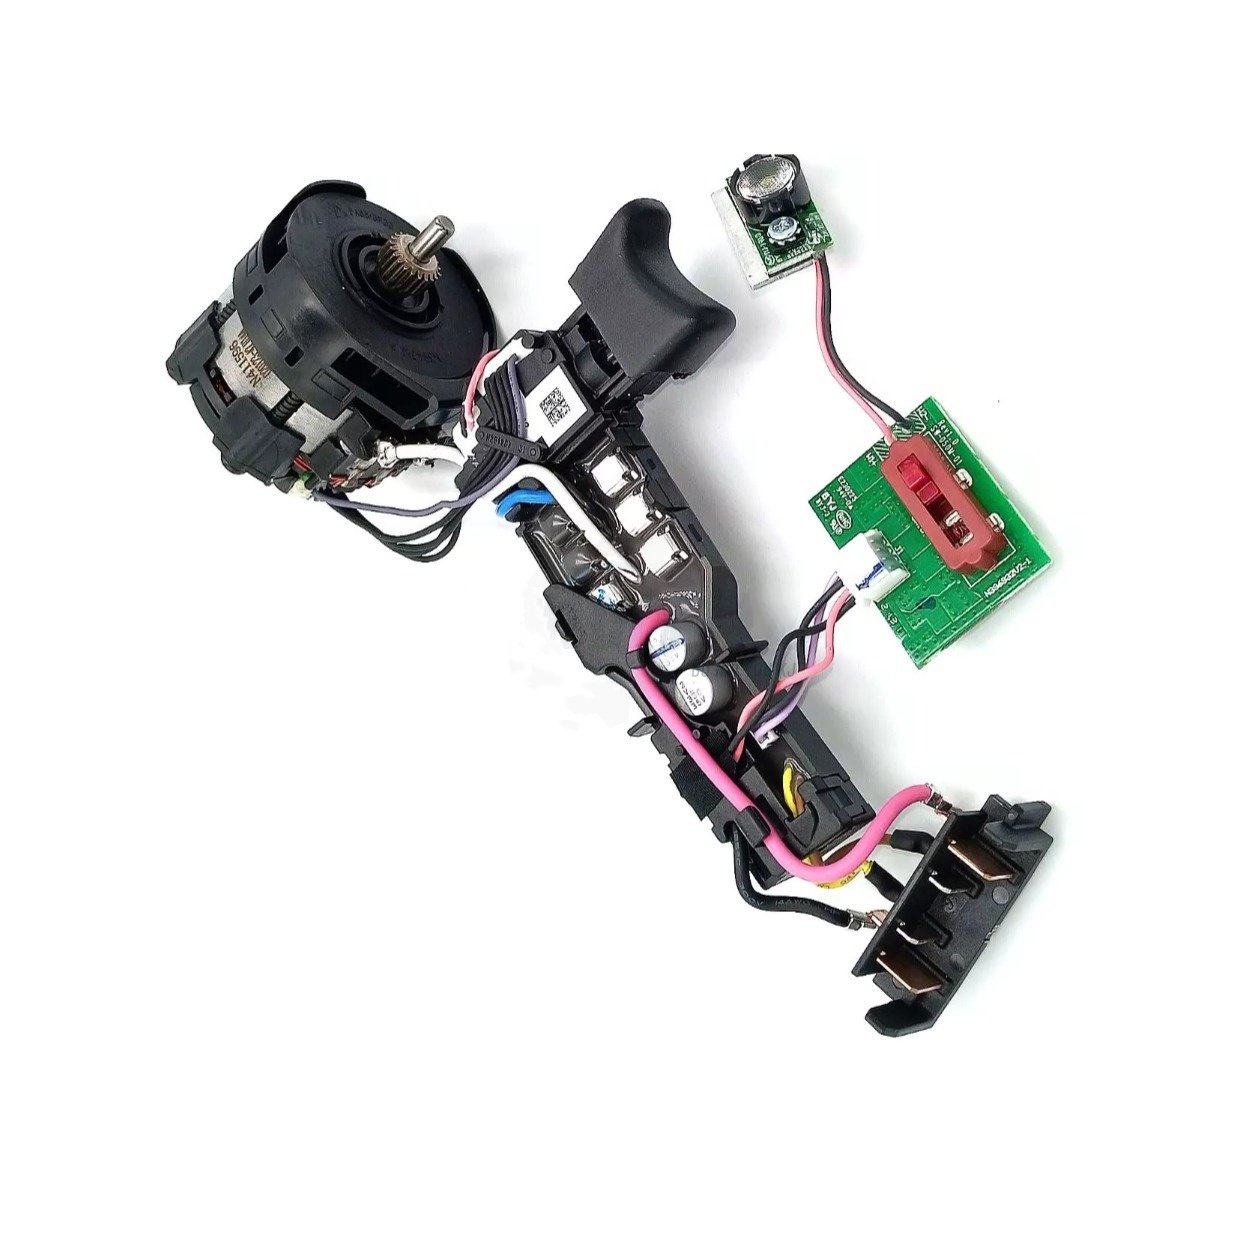
Many DIYers ask why they can’t just buy the trigger switch separately. In the modern brushless architecture, the trigger switch, the battery terminal, the bottom control board, and the top stator coil are permanently wired and soldered together at the factory to handle massive 20V amperage without resistance. The control board is also potted in hard epoxy to protect it from jobsite dust and moisture, making individual component repair impossible. This all-in-one modular assembly ensures a foolproof repair that restores factory-spec reliability.
Technical Specifications & Compatibility
| Part Type | Premium Aftermarket Brushless Stator, Control Board, & Switch Assembly |
|---|---|
| Replaces Part Number | N438606 |
| Primary Compatibility | DCD791 (Compact Drill), DCD796 (Hammer Drill) – 20V MAX XR Series |
| Included Components | Stator coil, electronic control module (ECM), trigger switch, battery terminal |
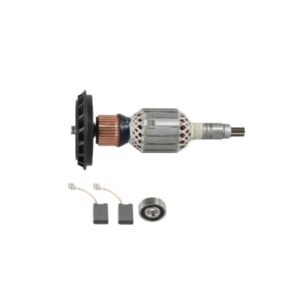
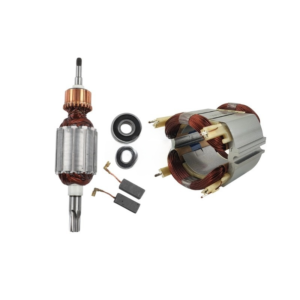
| FixPartHub Service | Are you replacing the stator, but noticed the internal magnetic rotor is heavily scarred or chipped? Contact FixPartHub with your Type number! We supply factory-grade N430362 Armature/Rotor assemblies to ensure your new stator isn’t instantly destroyed by a bad rotor! |
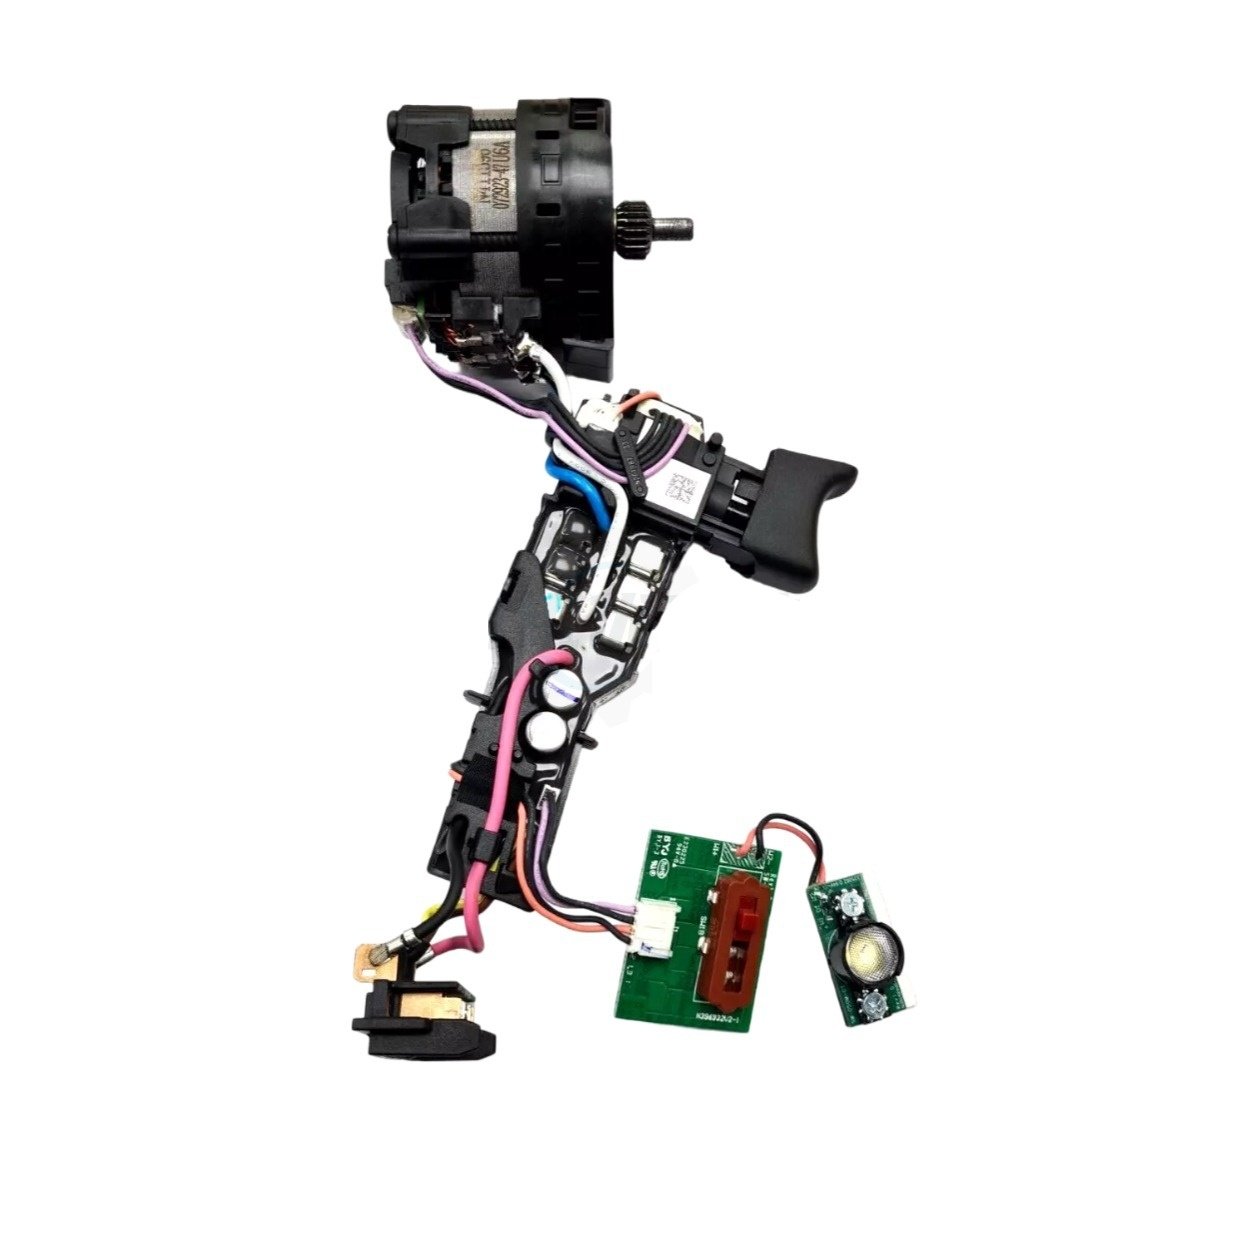
⚠️ DIY Repair Warning: When installing this assembly, pay extreme attention to how the wires are routed through the plastic clamshell housing. Because this unit carries high amperage, pinching a wire between the plastic casing halves will cause a direct short the second you insert the battery, instantly destroying the new, expensive control board!
Disclaimer: FixPartHub is an independent supplier of premium aftermarket replacement tool parts. We are not affiliated with, authorized by, or endorsed by Stanley Black & Decker or DeWalt. All brand names, model numbers (such as DCD791, DCD796, 20V MAX XR), and trademarks are the property of their respective owners and are used within this listing solely for compatibility demonstration and informational purposes.
Yes, absolutely. Unlike cheap, unreliable aftermarket electronic modules that can fail quickly or burn out your motor, this is a 100% genuine DeWalt OEM replacement part (N438606). It guarantees exact factory specifications, perfect wiring lengths, and restores the original, precise variable-speed trigger response you expect from your professional 20V MAX tools.
The most common symptoms of a failing switch include a “dead trigger” (intermittent power loss when squeezing), the tool only running at maximum speed with no variable speed control, or the LED work light turning on but the motor refusing to spin. These failures are almost always caused by ultra-fine debris, such as drywall dust or concrete powder, migrating into the sealed switch contacts over time and destroying the electrical connection.
The internal clamshell space of DeWalt 20V tools is incredibly tight. Crucial Pro Tip: Take clear photos of your original wire routing before disconnecting anything. When installing this genuine N438606 switch, ensure every single wire is pressed firmly into its dedicated plastic routing channel. If a wire is left floating even a millimeter too high, clamping the two halves of the housing together will pinch and sever the wire, instantly shorting out your brand-new switch.