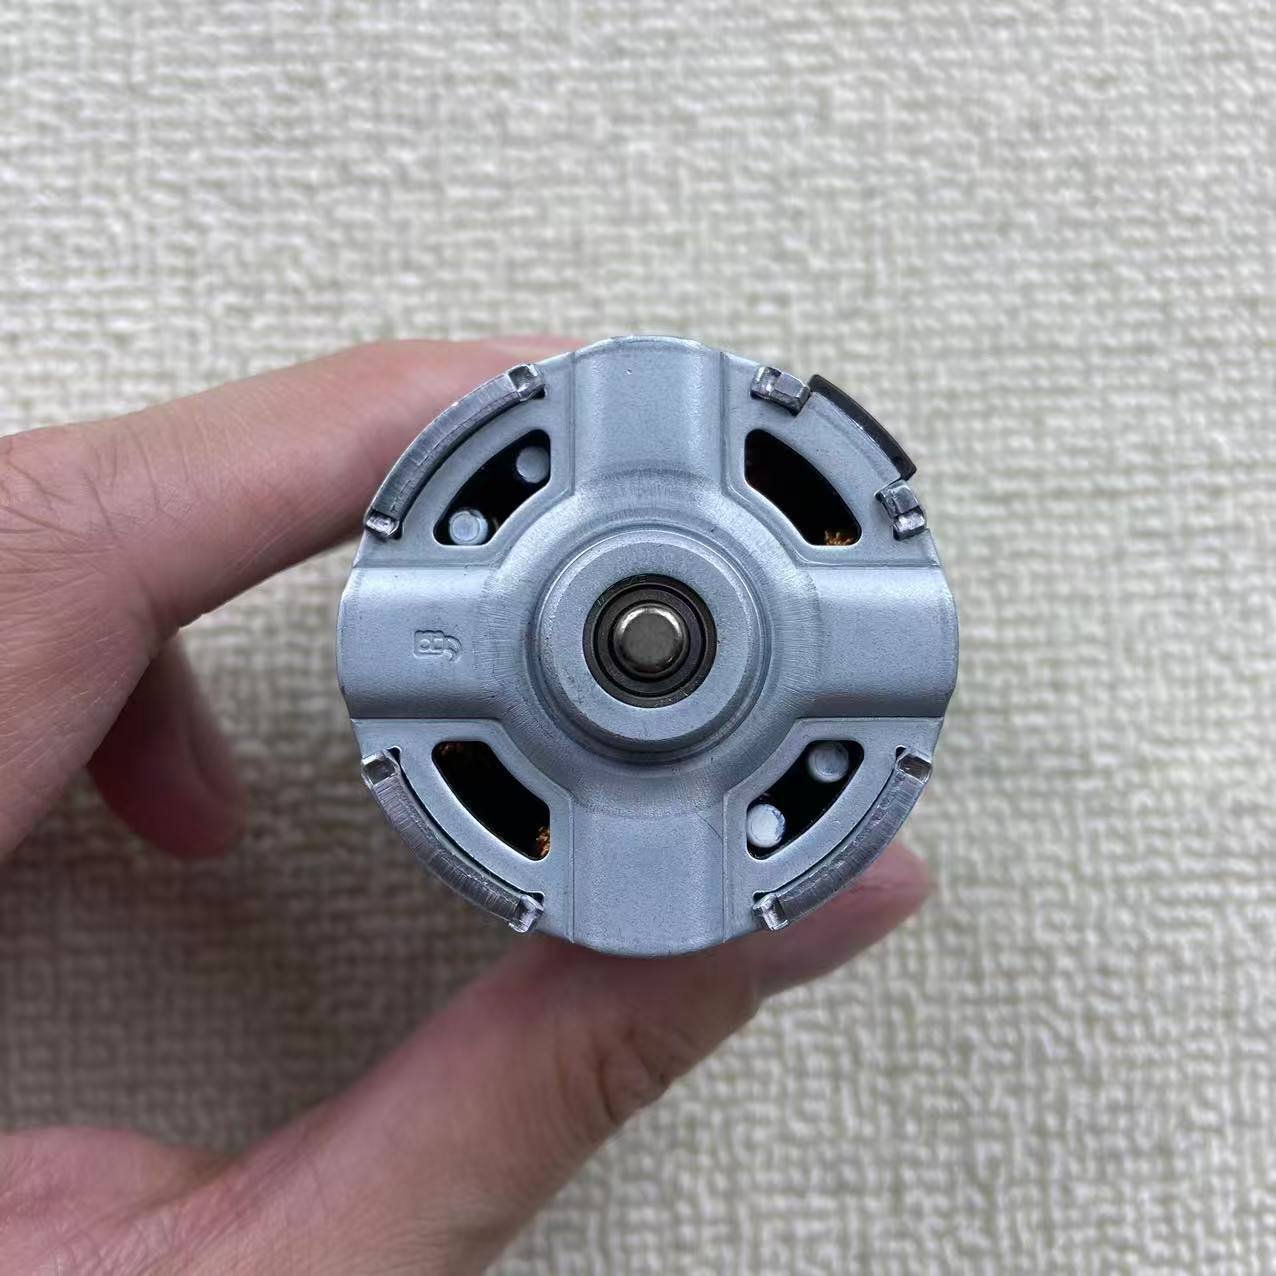
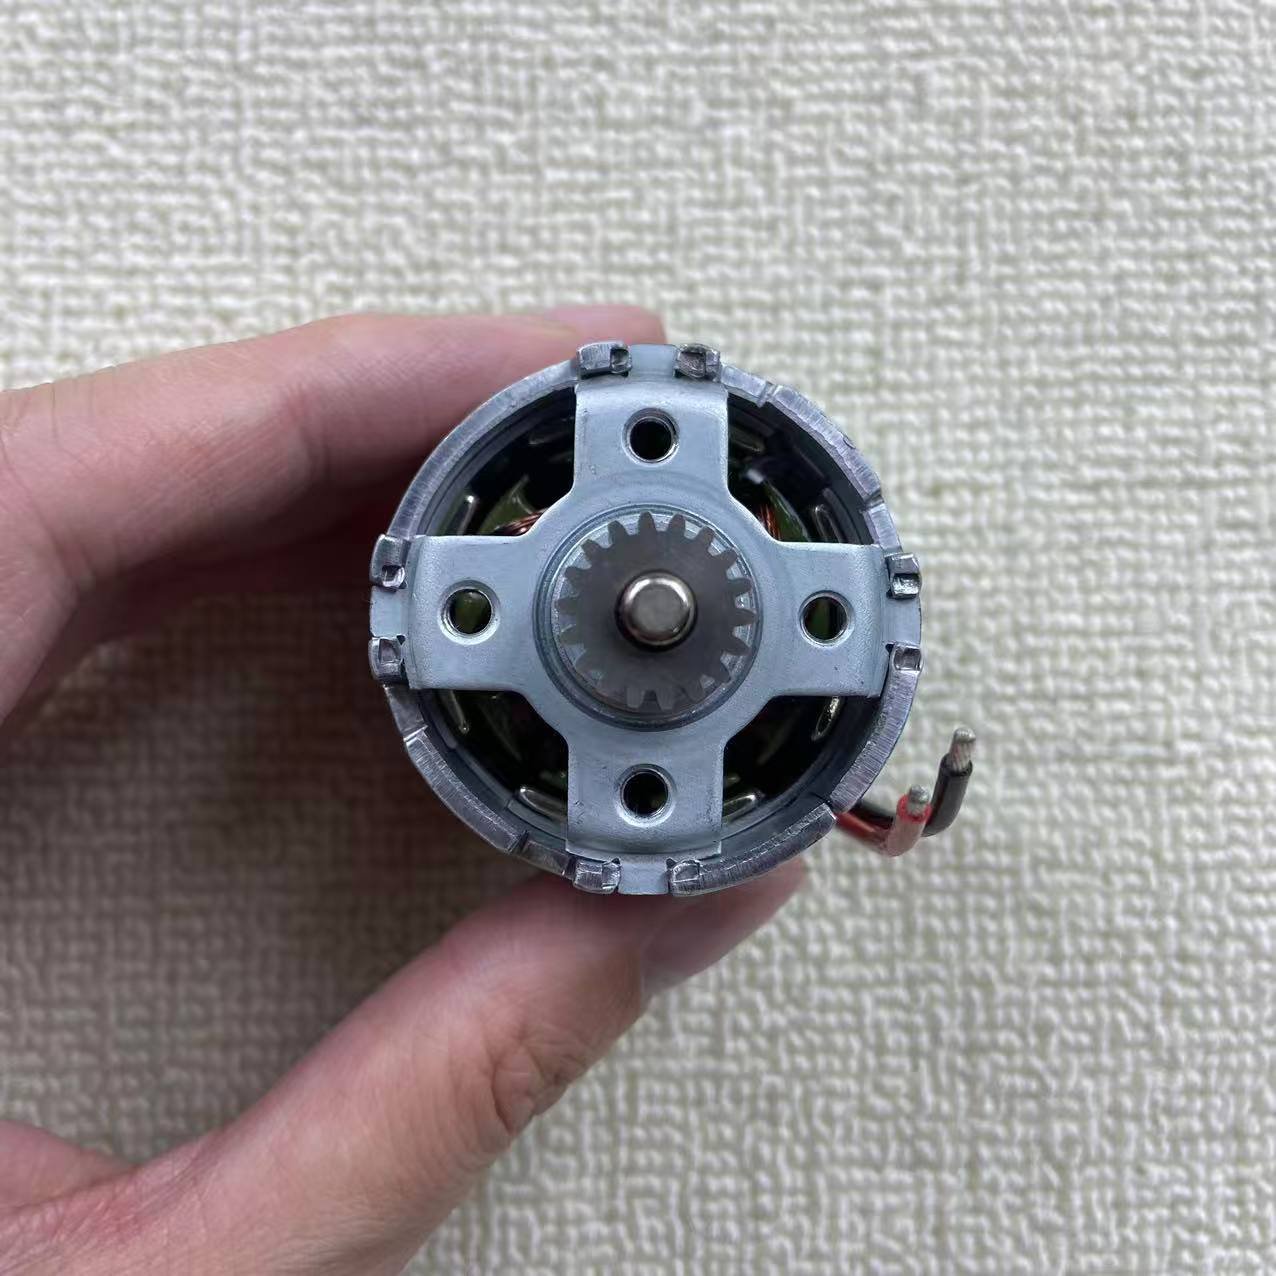
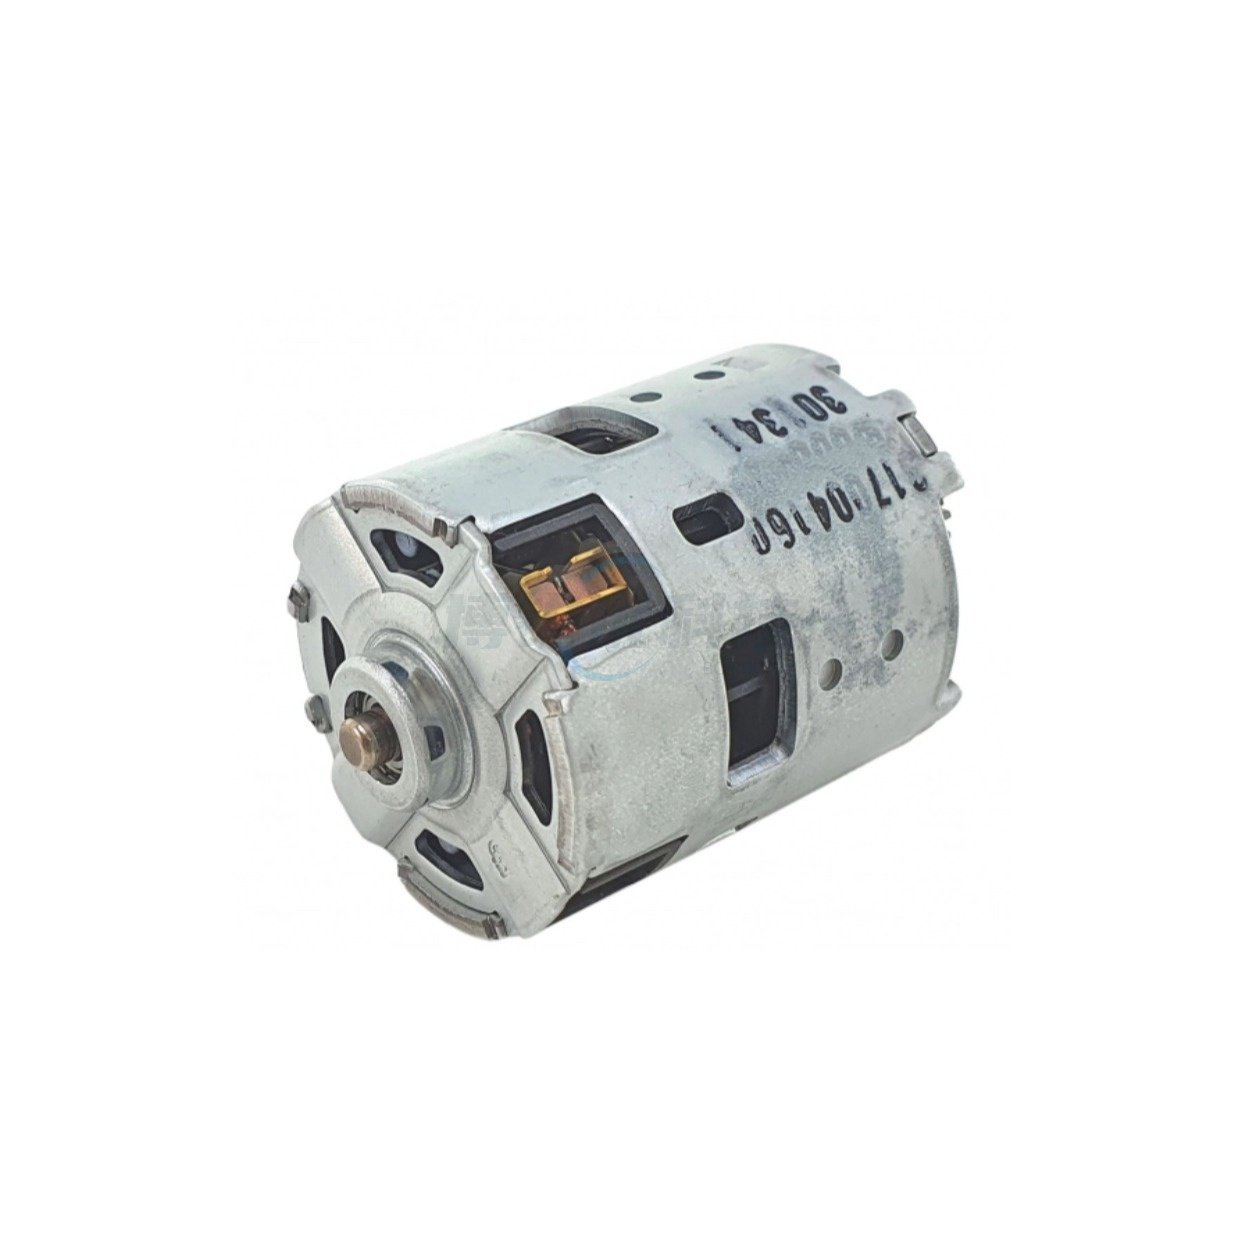
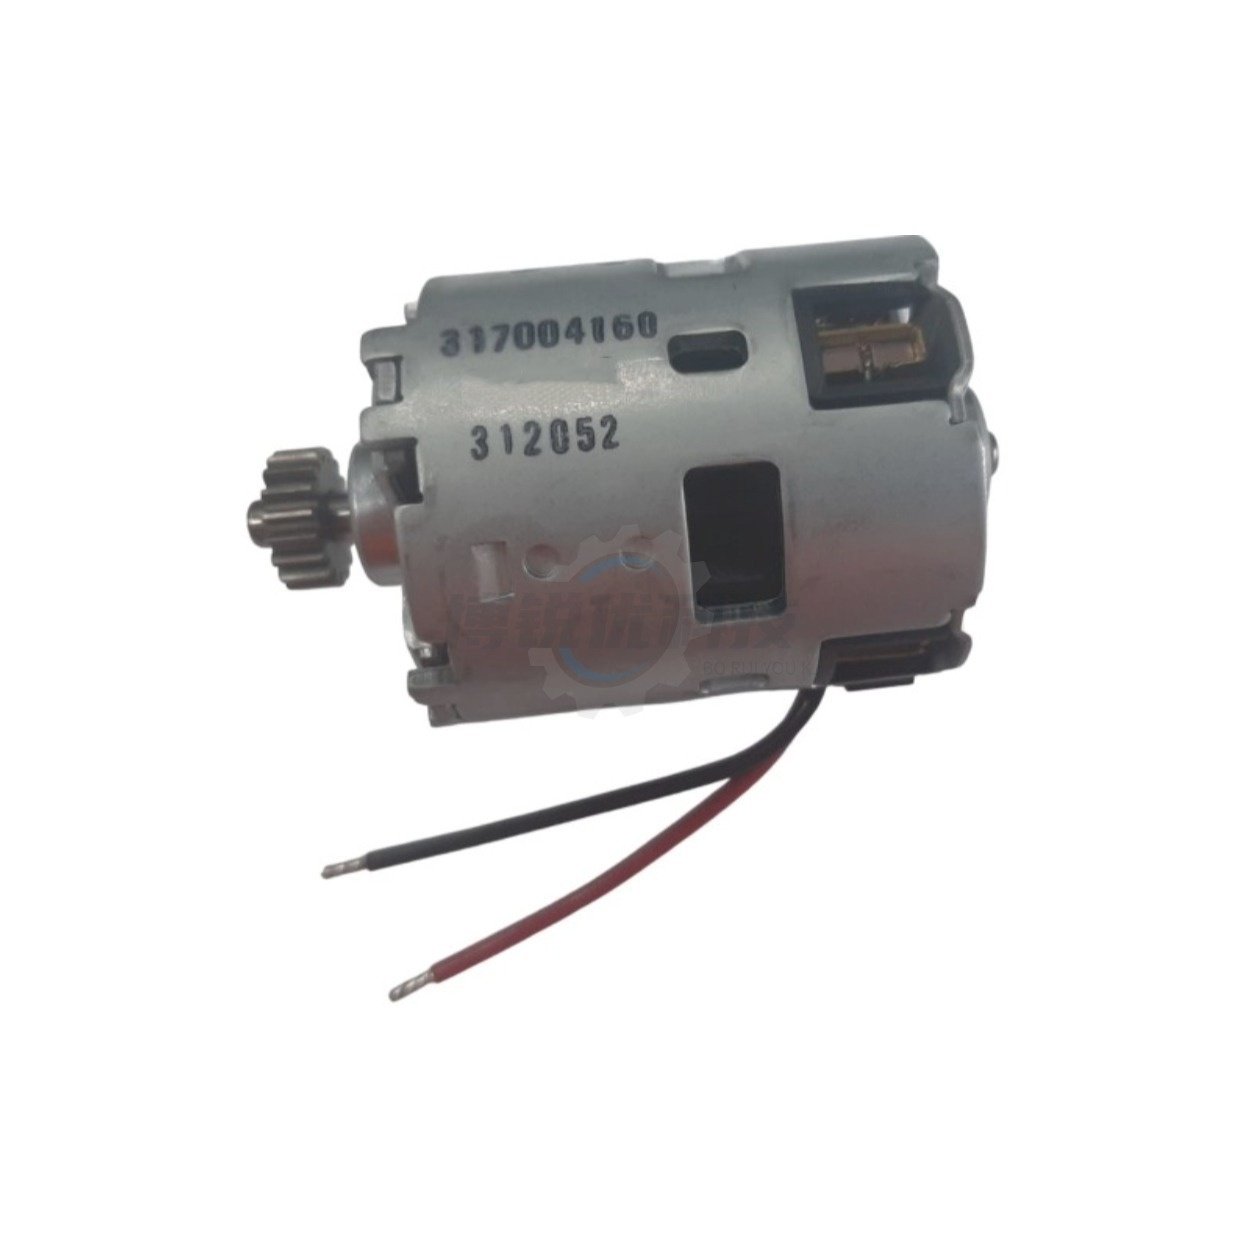
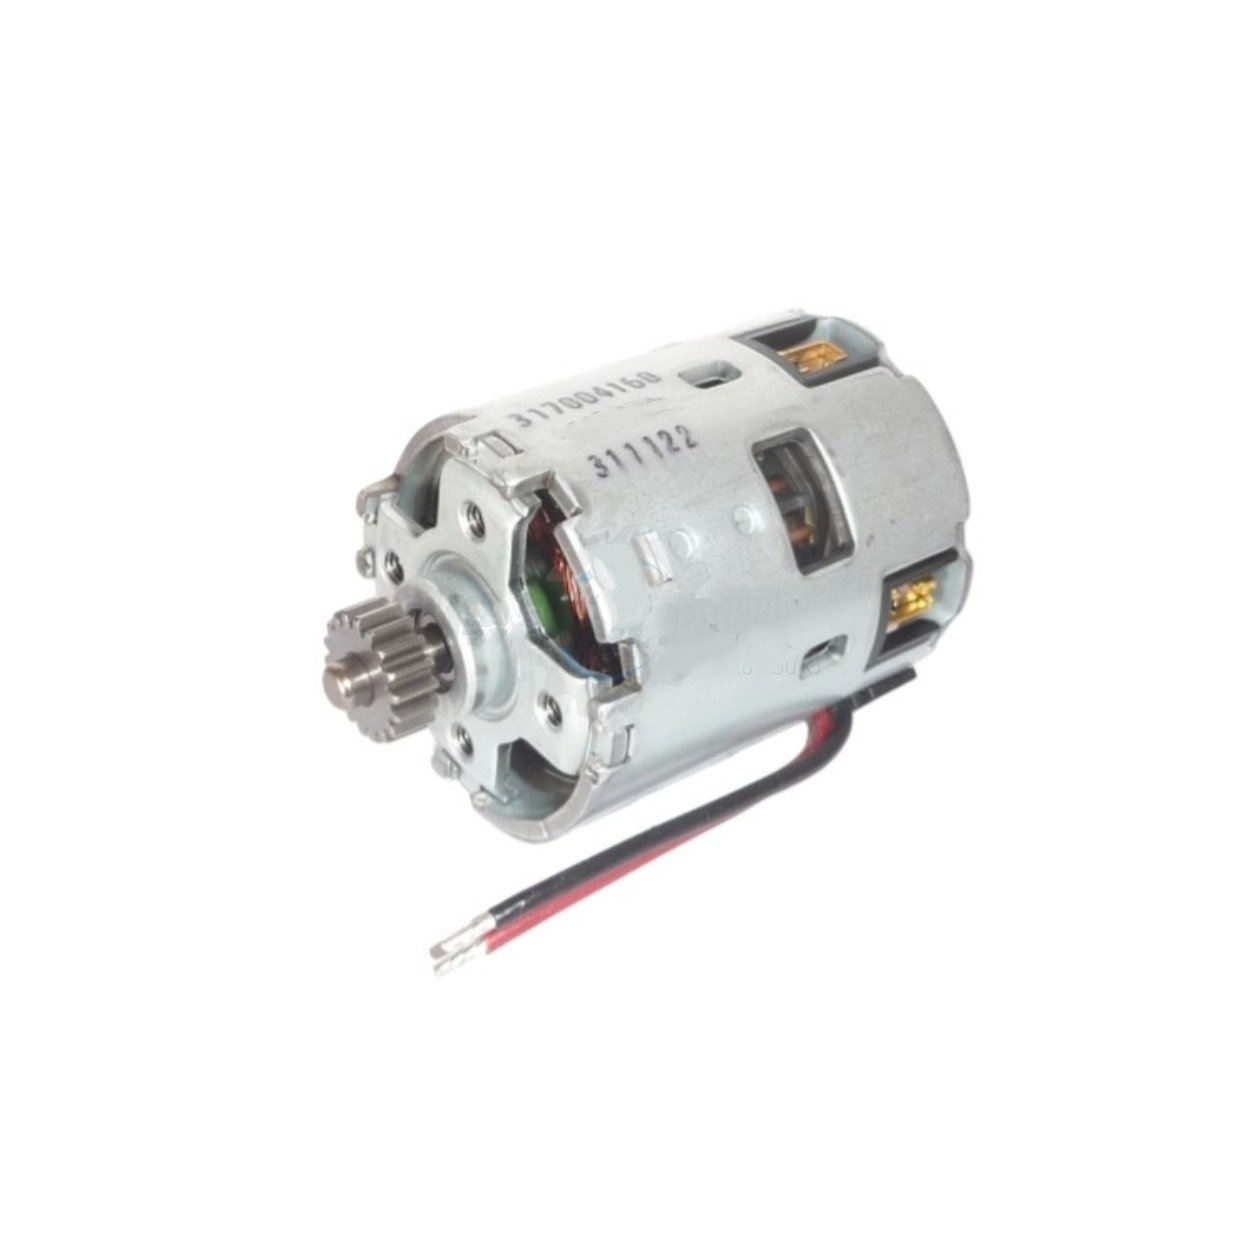
Diagnostic Data: Why the 317004160 Motor Fails
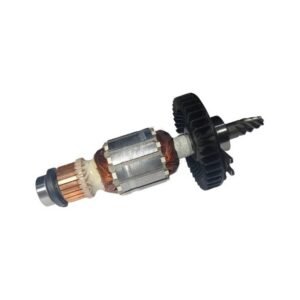
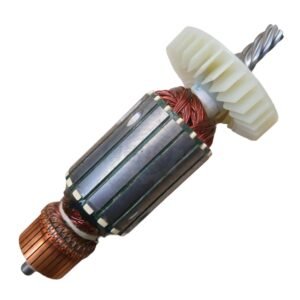
Cordless drill motors endure intense thermal cycling. Pushing a tool beyond its duty cycle—like driving massive lag bolts without letting the cooling fan evacuate heat—melts the shellac insulation on the internal armature coils. Once the insulation breaches, the copper windings short circuit, causing massive electrical resistance. This results in the motor drawing extreme amperage from the battery, generating a harsh ozone smell, and melting the internal carbon brush matrix. When the commutator bars become pitted and carbon-scored, the motor loses all rotational torque.
1️⃣ Thermal Overload (Smoking)
A distinct burning plastic smell accompanied by heavy blue sparks shooting from the side vents. The internal windings have melted their insulation.
2️⃣ Dead Spindle
You pull the trigger, the LED light turns on, but the motor remains completely silent. The internal circuit is severed, preventing any magnetic field generation.
3️⃣ Severe Torque Loss
The motor spins freely in the air but bogs down or stalls instantly when the bit touches the material. A shorted armature cannot produce sufficient rotational torque.
Component Evaluation: OEM Spec vs. Cheap Aftermarket
| Component Parameter | Substandard Knockoffs | OEM-Spec 317004160 Replacement |
|---|---|---|
| Coil Windings | Thin, unsealed copper wire that unravels under centrifugal load. | ✅ Heavy-gauge copper locked in protective epoxy resin. |
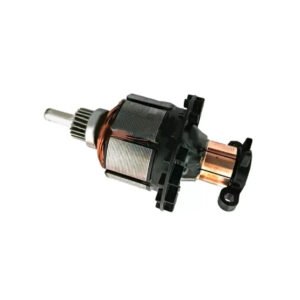
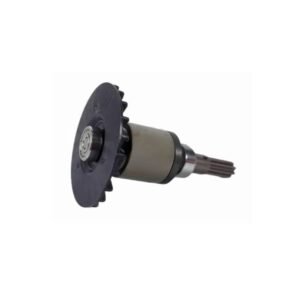
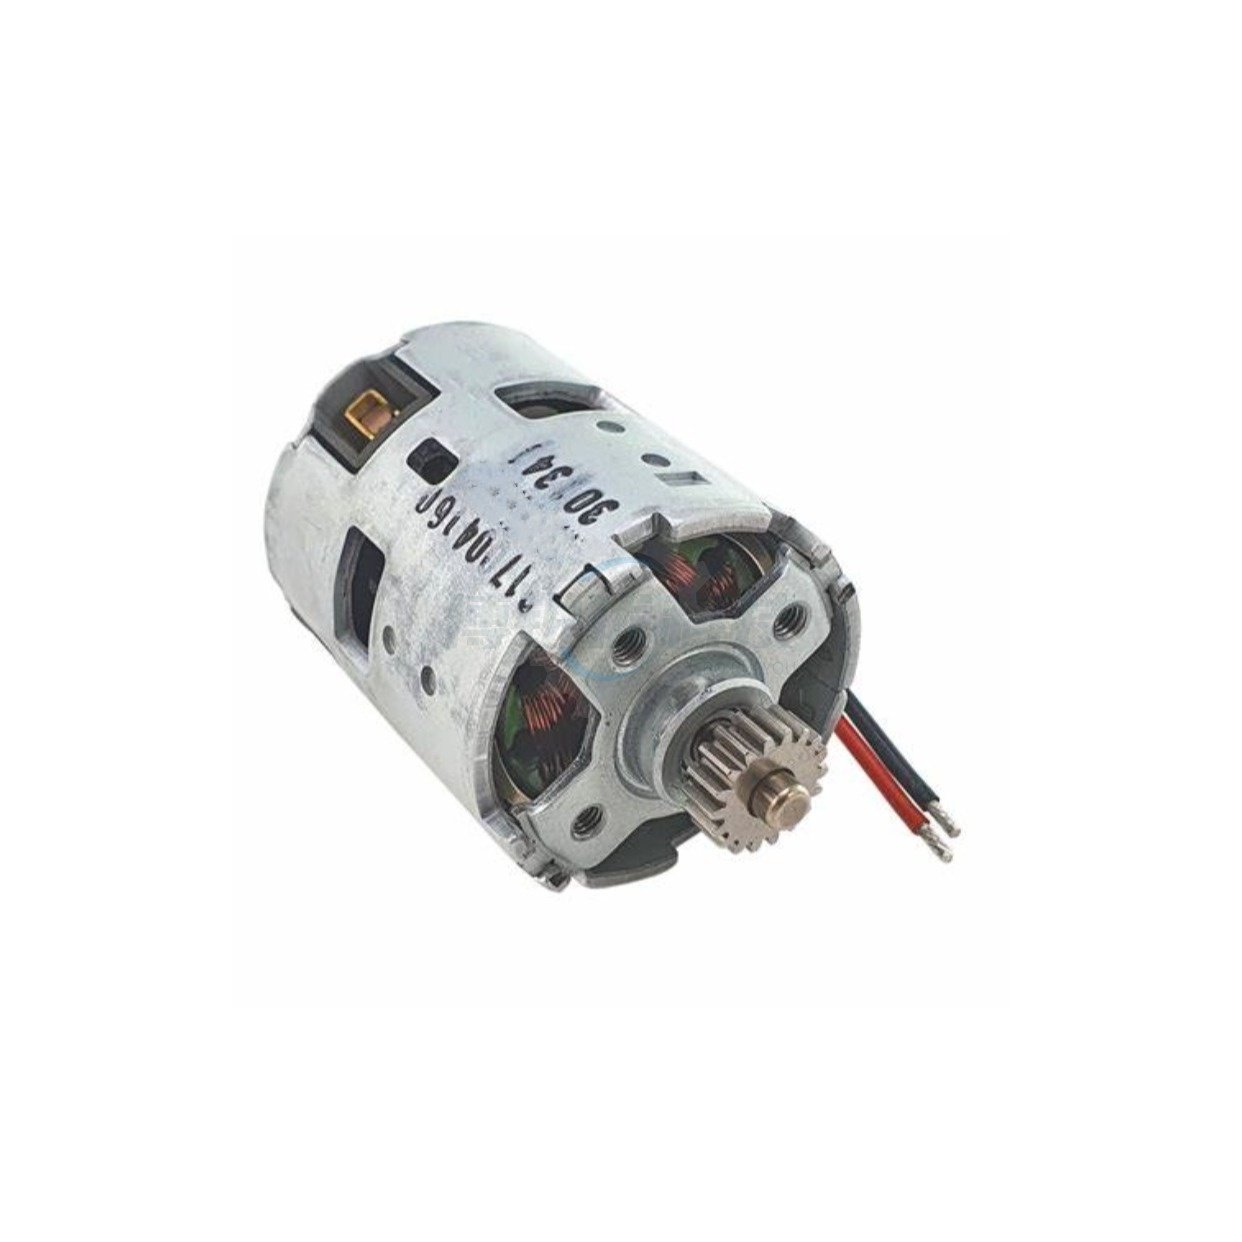
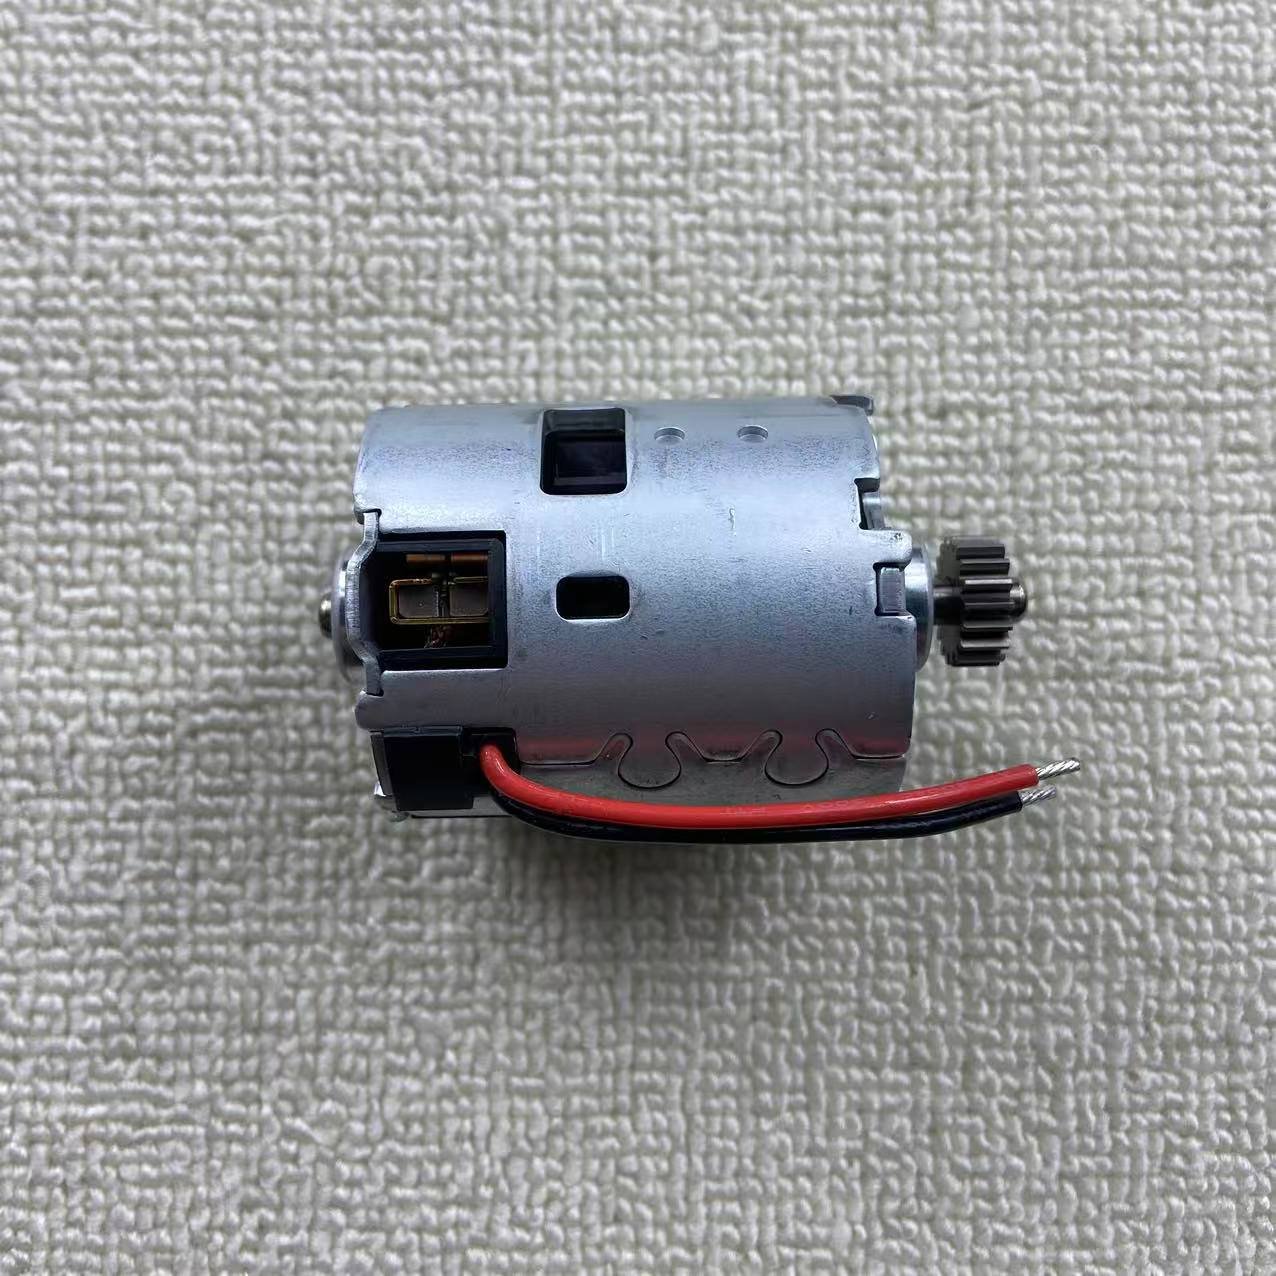
| Pinion Gear Integration | Bare shaft. Requires you to heat-press your old, worn gear onto the new unit. | ✅ Factory-pressed hardened pinion ready for immediate gearbox mating. |
| Can Assembly | Weak magnet flux causes severe RPM fluctuation. | ✅ High-gauss rare-earth magnets deliver linear torque curves. |
Teardown & Replacement Workflow
Clamshell Extraction
Remove all Torx/Phillips screws securing the housing halves. Carefully pry the clamshell apart, ensuring the speed selector switch and trigger harness remain in their molded channels.
Gearbox Separation
Lift the motor and transmission assembly out as a single unit. Gently twist the old motor counter-clockwise to unlock the pinion gear from the transmission’s planetary carrier.
Wiring Transfer
Disconnect the motor leads from the trigger switch block. Transfer the pre-tinned leads of the new 317004160 motor onto the corresponding switch terminals. Maintain correct polarity.
Reassembly & Alignment
Mate the new pinion gear directly into the transmission housing. Drop the entire block back into the plastic ribs, ensuring no silicone wires are pinched near the screw bosses.
Fitment & Cross-Reference Data
Diagnostic Q&A
Safety Notes
- Power Isolation: Always eject the lithium-ion battery pack before removing the clamshell screws. A live chassis can cause accidental spin-ups or severe short circuits while your hands are manipulating the wiring harness.
- Polarity Verification: If you wire the motor backward, the drill will run in reverse when the switch is set to forward, and the built-in electronic brake may fail. Document the wiring layout with a photo before disconnecting.
- Torque Limits: Do not use an impact driver to reseat the plastic clamshell screws. The aggressive torque will strip the plastic mounting bosses. Drive them manually to a snug fit.
Yes, absolutely. This is a 100% genuine Metabo factory replacement motor assembly (part number 317004160). Unlike cheap aftermarket motors that often lack power and burn out quickly under heavy loads, this authentic 18V DC motor ensures your drill maintains its original German-engineered torque and durability. It is specifically designed to perfectly fit the BS 18 LT and BS 18 LT Quick cordless drill/driver models.
No. The original motors used in the Metabo BS 18 LT series are closed-can, sealed DC motors. The internal carbon brushes and armatures are not designed to be serviced individually. If your drill is emitting a heavy burning plastic smell, losing torque when driving long screws, or throwing excessive sparks from the rear vents, replacing the entire 317004160 motor assembly is the only proper and reliable solution.
Crucial Pro Tip: Installation requires a basic soldering iron. You must carefully desolder the main power wires from your burnt motor and securely solder them onto the clearly marked terminals of this new motor. Also, when mating the new motor’s pre-pressed pinion gear to your existing transmission, ensure the teeth are perfectly aligned. Never force the motor and gearbox together, or you risk binding and crushing the internal planetary gears!