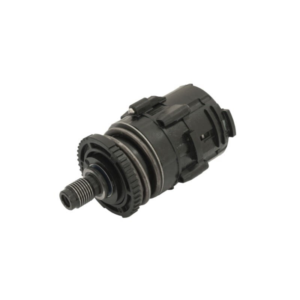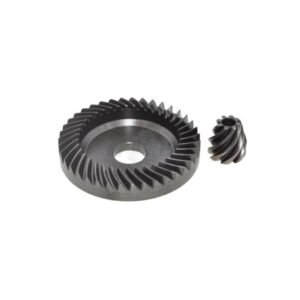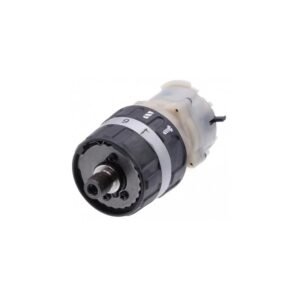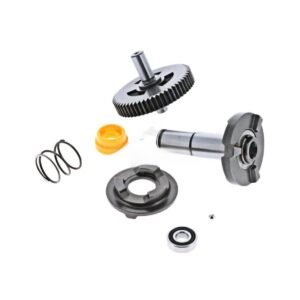
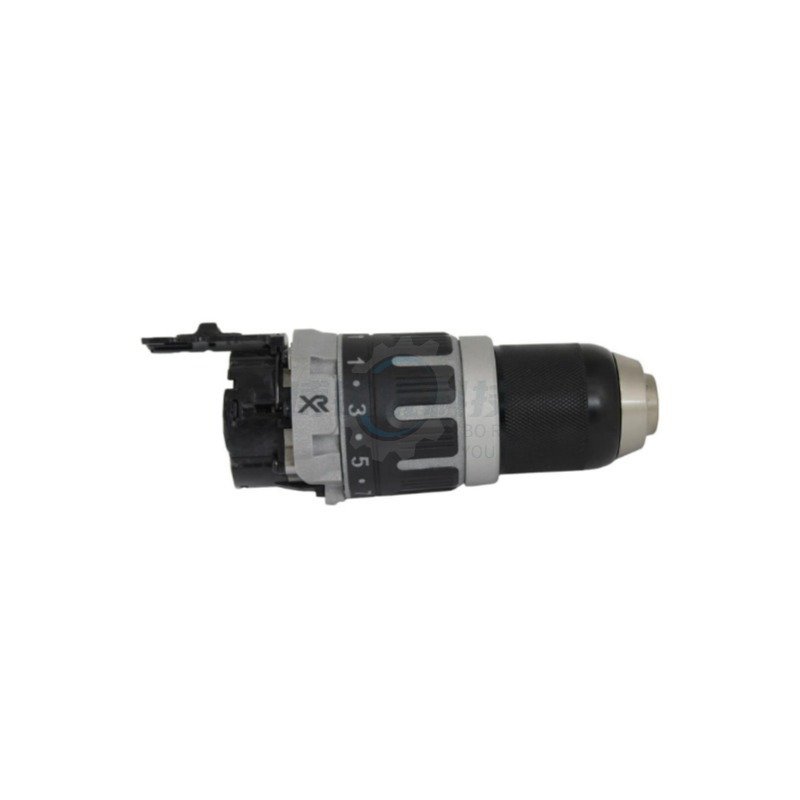
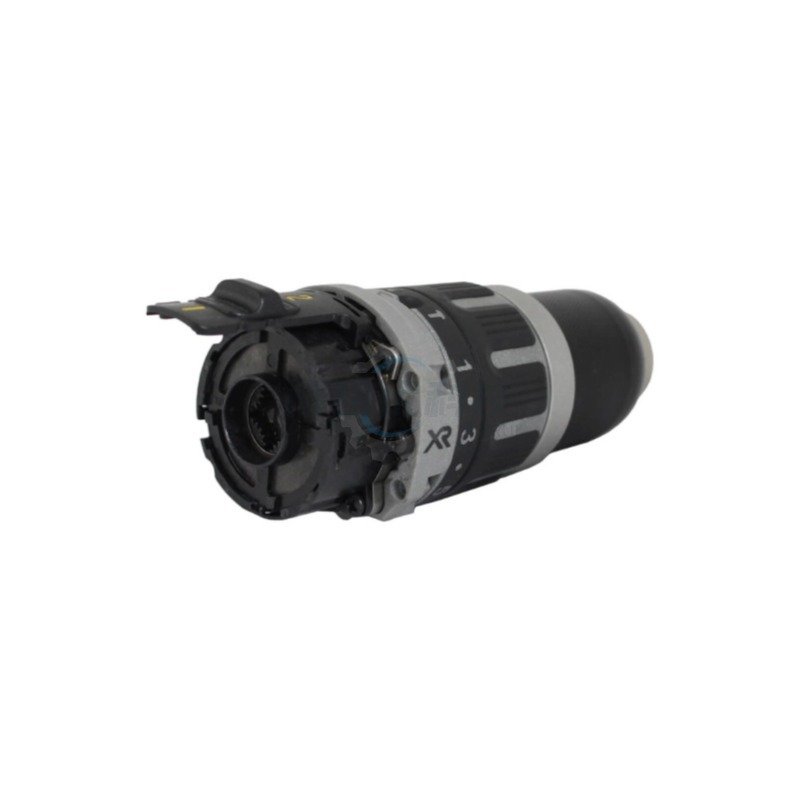
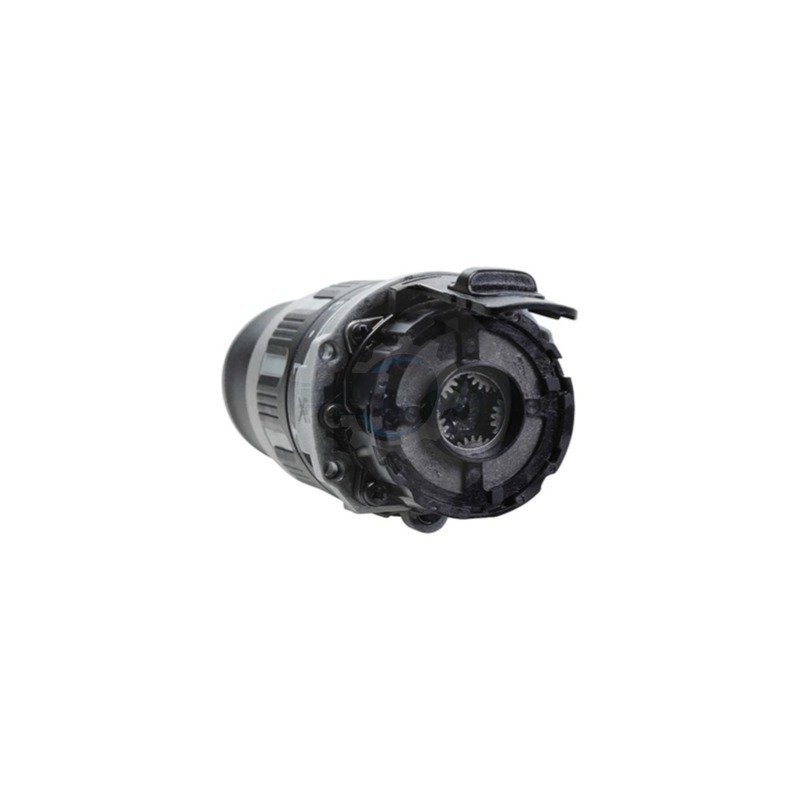
Diagnostic Data: Why the N438603 Transmission Fails
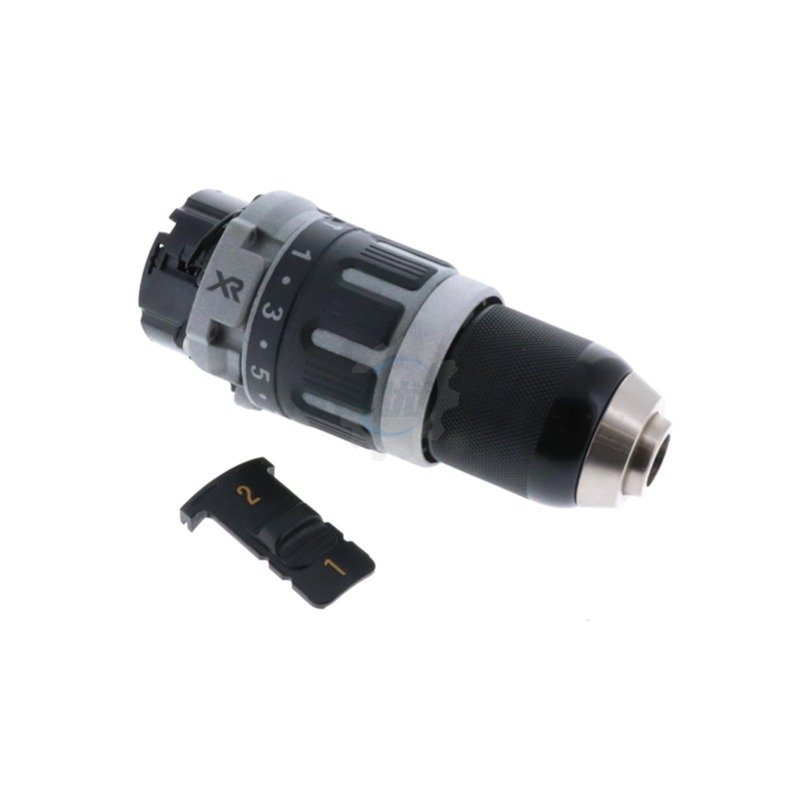
Cordless drill transmissions rely on a complex planetary gear system to balance speed and torque. The most common cause of failure is operator error: actuating the high/low speed selector switch while the motor is still spinning. This grinds the hardened steel selector ring against the planetary gears, instantly shearing the teeth. Additionally, dropping a drill directly on its chuck sends a massive kinetic shockwave straight down the spindle, shattering the internal ring gear and fracturing the clutch housing.
1️⃣ Freewheeling Spindle
The motor spins up and sounds normal, but the chuck remains completely stationary. The internal drive shaft has sheared away from the final planetary stage.
2️⃣ Jammed Speed Selector
The top gear selector switch is frozen between Gear 1 and Gear 2. Shrapnel from broken gear teeth has lodged inside the sliding selector ring channel.
3️⃣ Clutch Slippage on Drill Mode
Even when set to the locked “Drill” mode, the clutch chatters and slips under minimal load. The internal clutch engagement pins have stripped out.
Component Evaluation: OEM Spec vs. Rebuilt Salvage
| Component Parameter | Salvaged / Cheap Aftermarket | OEM-Spec N438603 Replacement |
|---|---|---|
| Gear Metallurgy | Sintered powder metal prone to micro-fractures under impact. | ✅ High-carbon hardened steel planetary arrays. |
| Lubrication State | Dry assembly or low-viscosity oil that leaks into the motor. | ✅ Pre-packed with high-pressure, heat-resistant moly grease. |
| Clutch Housing | Brittle plastic casing cracks under heavy chuck torque. | ✅ Glass-filled nylon composite resists torsional twisting. |
Teardown & Replacement Workflow
Chuck Extraction
Open the chuck jaws fully. Remove the internal locking screw (Note: This is a reverse-threaded left-hand screw; turn clockwise to loosen). Chuck a large Allen key and strike it sharply to spin the chuck off the spindle.
Clamshell Split
Remove all Torx screws from the handle housing. Carefully lift the top clamshell away, exposing the motor, switch, and transmission assembly. Do not pull the wiring harness.
Motor Separation
Lift the motor and gearbox out of the casing as one unit. Gently twist and pull the old N438603 transmission away from the motor face to disengage the pinion gear.
Shift Fork Alignment
Mate the new transmission to the motor. When seating the assembly back into the chassis, ensure the mechanical speed selector fork perfectly captures the groove on the sliding gear ring.
Fitment & Cross-Reference Data
Diagnostic Q&A
Safety Notes
- Total Power Isolation: Always remove the 20V lithium-ion battery pack before attempting any teardown procedures to prevent accidental high-torque spin-ups while your hands are near the gear train.
- Pinch Hazards: When mating the transmission to the magnetic motor housing, keep your fingers clear of the gap. The magnetic pull can snap the assemblies together violently.
- Torque Limits: Do not use an impact driver to reinstall the plastic clamshell housing screws. The aggressive torque will instantly strip the plastic chassis bosses. Use a manual screwdriver.
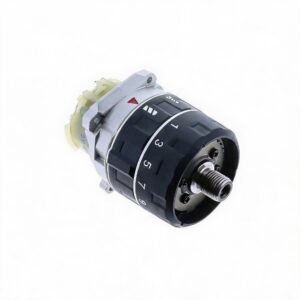
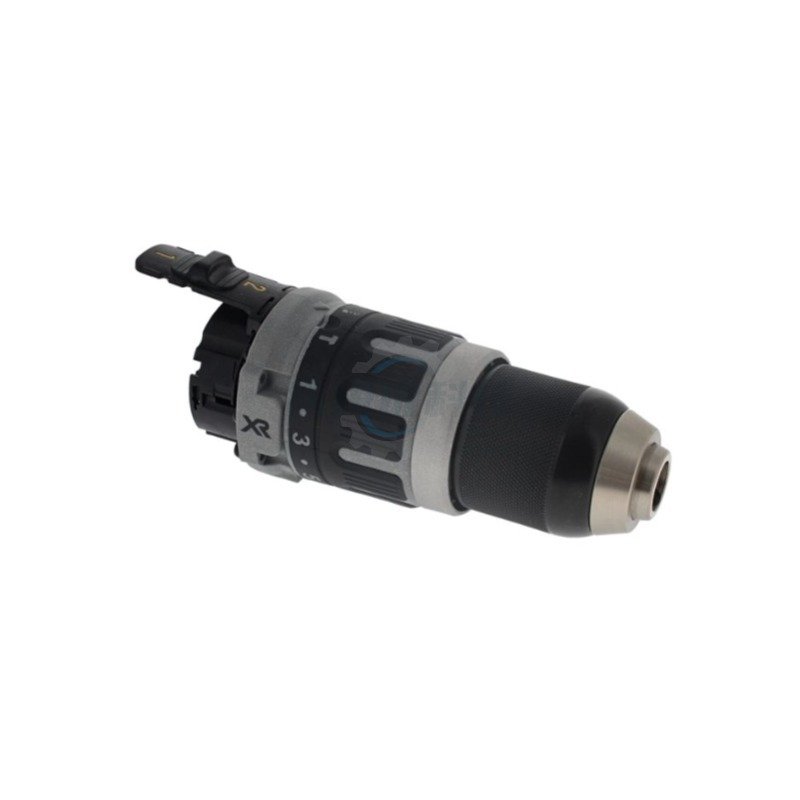
Yes. This premium replacement transmission assembly is manufactured to exact factory specifications for the DeWalt 20V MAX XR Brushless compact drill series. It is a direct drop-in replacement specifically compatible with the highly popular DCD791 (Drill/Driver) and DCD796 (Hammer Drill) models, coming fully assembled and pre-greased for immediate installation.
The most obvious sign of a blown transmission is a loud, aggressive grinding noise when you pull the trigger, where the motor spins but the chuck refuses to turn (stripped internal planetary gears). Other common symptoms include the drill randomly popping out of gear under heavy load, or severe “chuck wobble” caused by a collapsed front spindle bearing inside the gearbox assembly.
Crucial Installation Tip: When mating this new transmission to your existing brushless motor, rotate the chuck slightly by hand so the motor pinion gear meshes smoothly with the gearbox—never force them together! Most importantly, when placing the assembly back into the clamshell housing, ensure the top 2-speed gear selector switch is perfectly seated into the transmission’s shifting yoke. If it is misaligned, you will not be able to change gears, and you may snap the plastic selector when you force it.