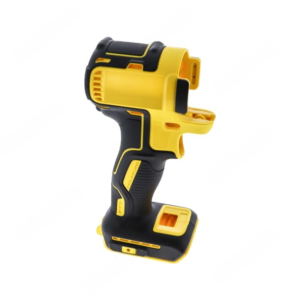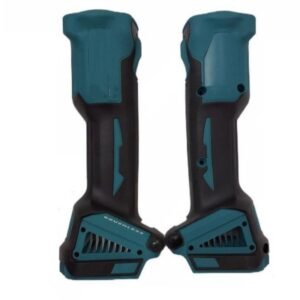
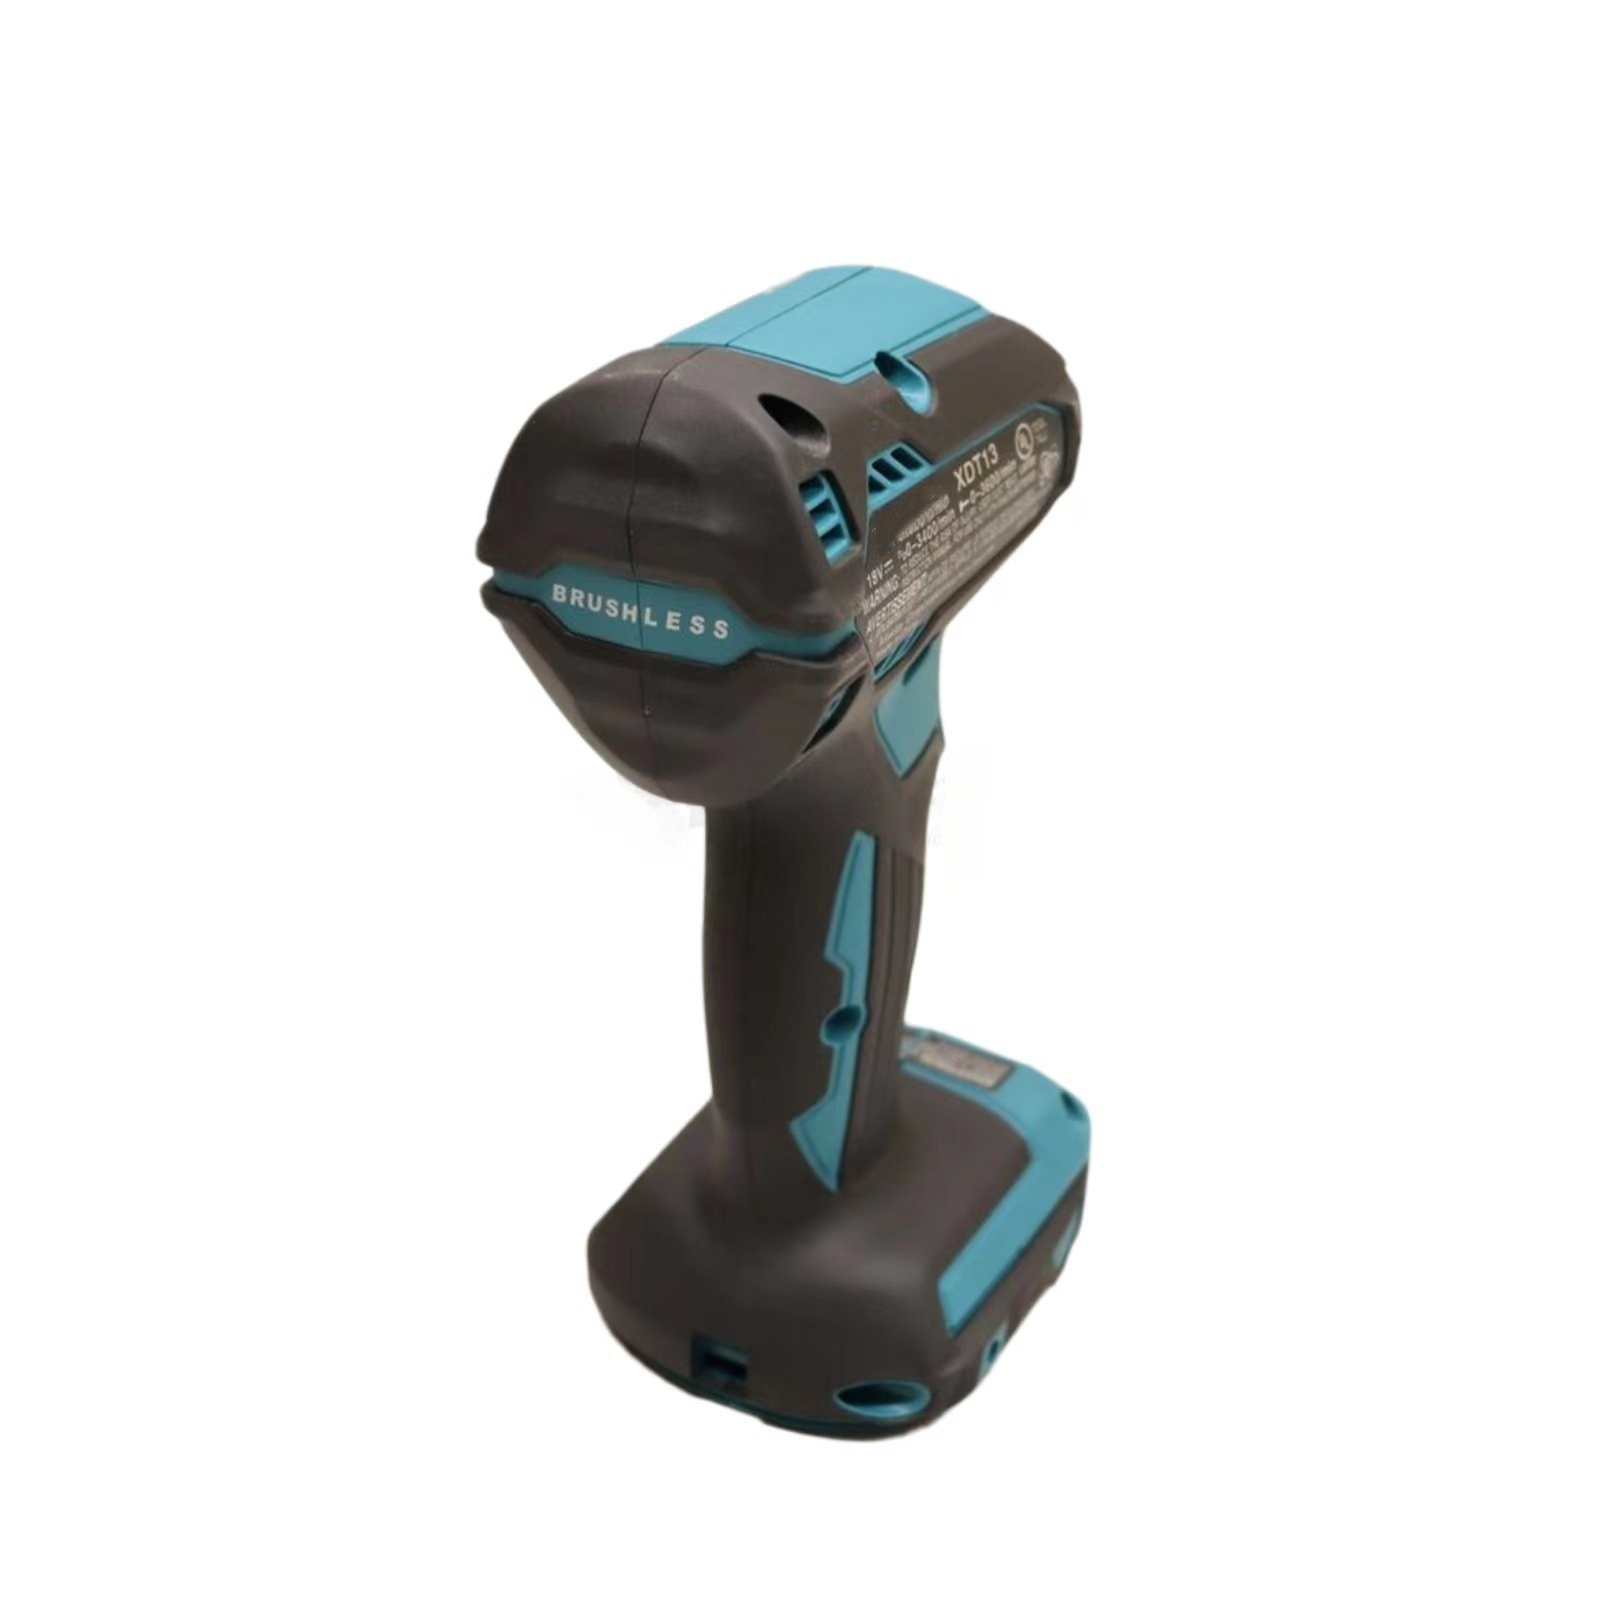
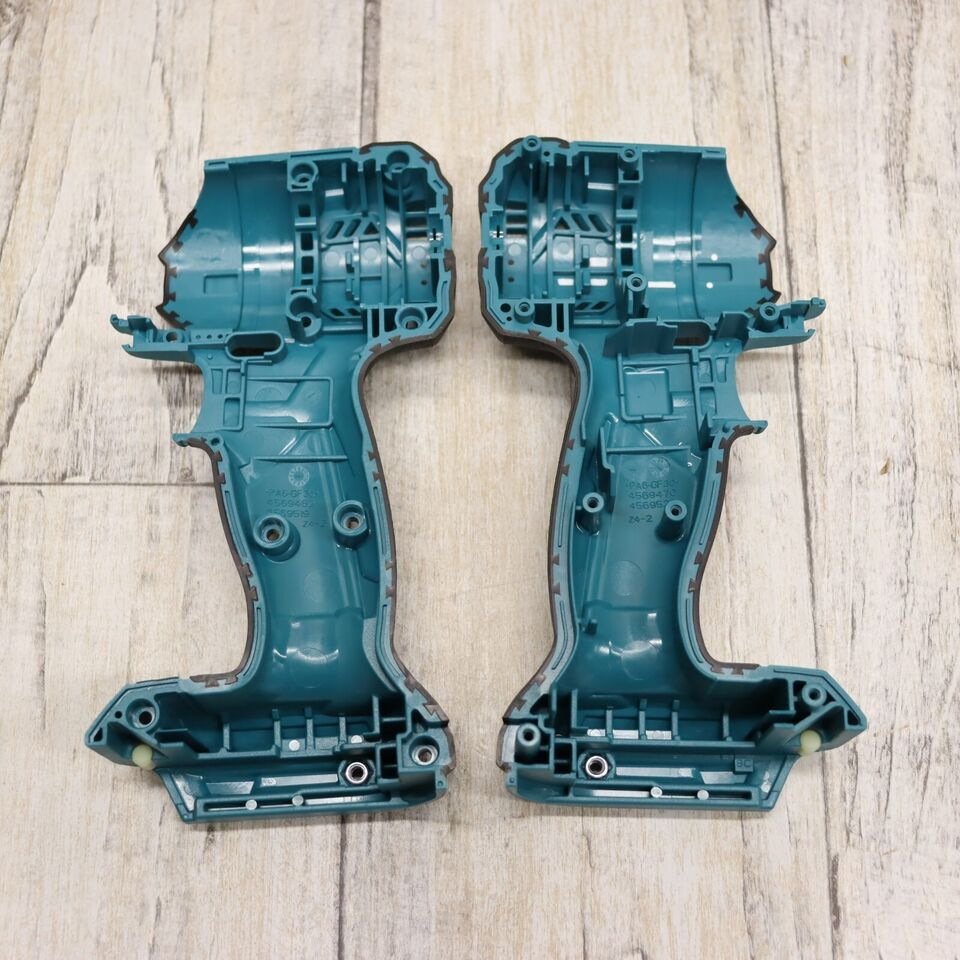
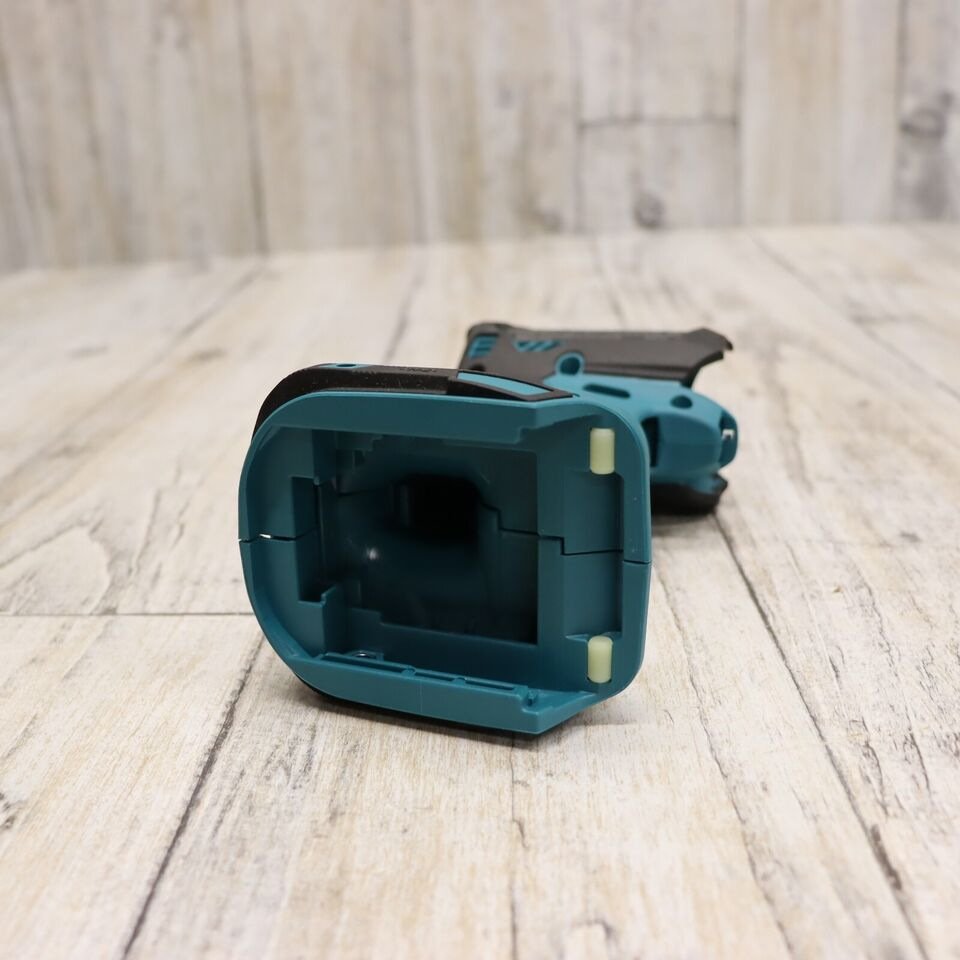
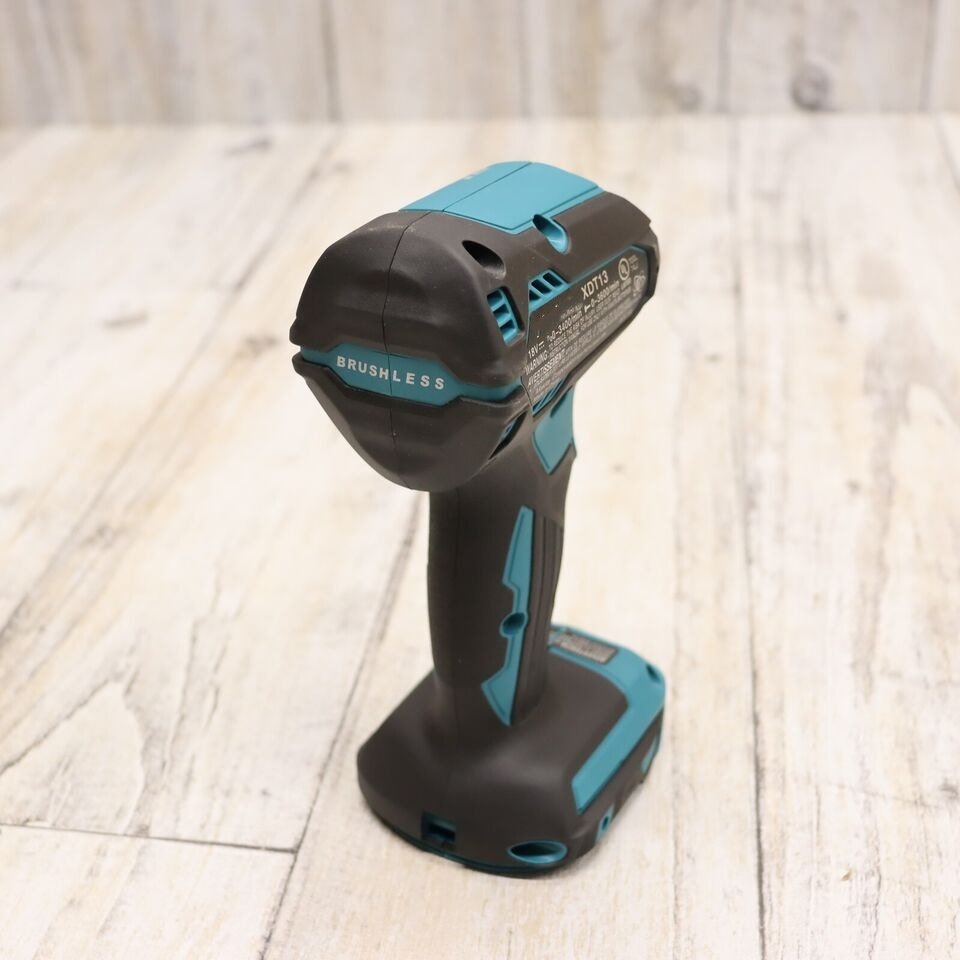
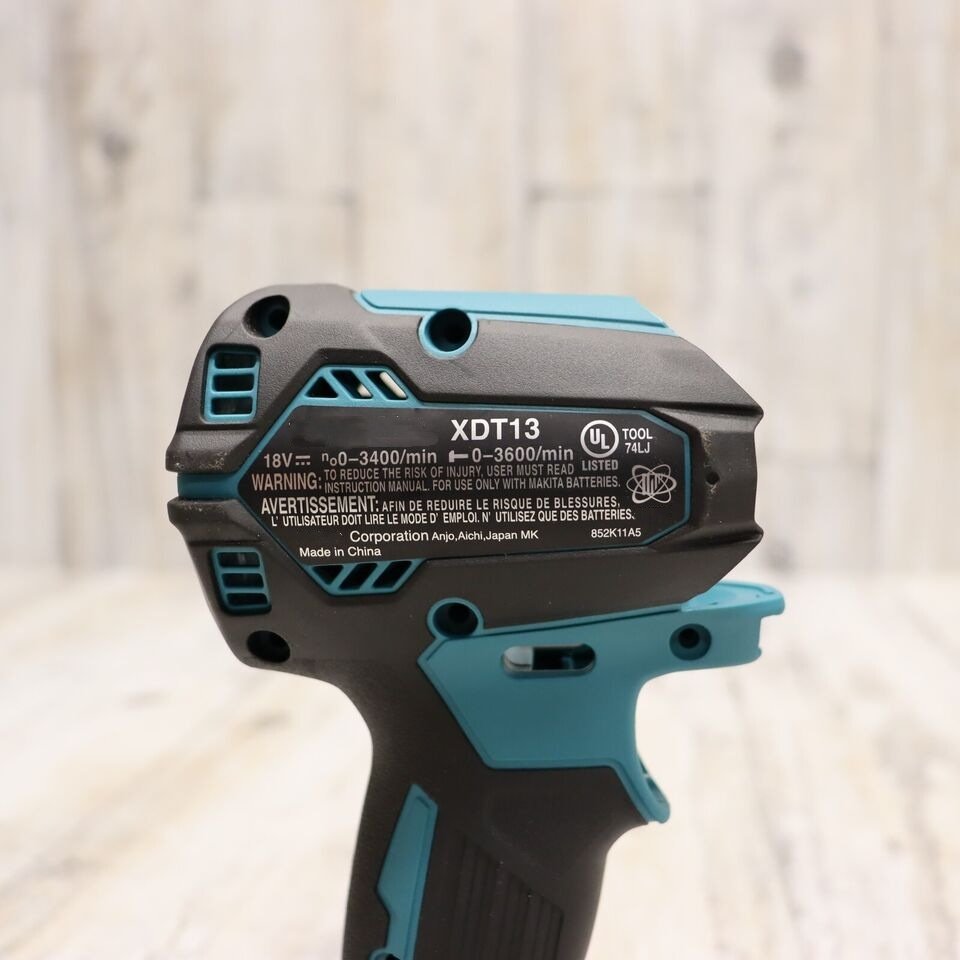
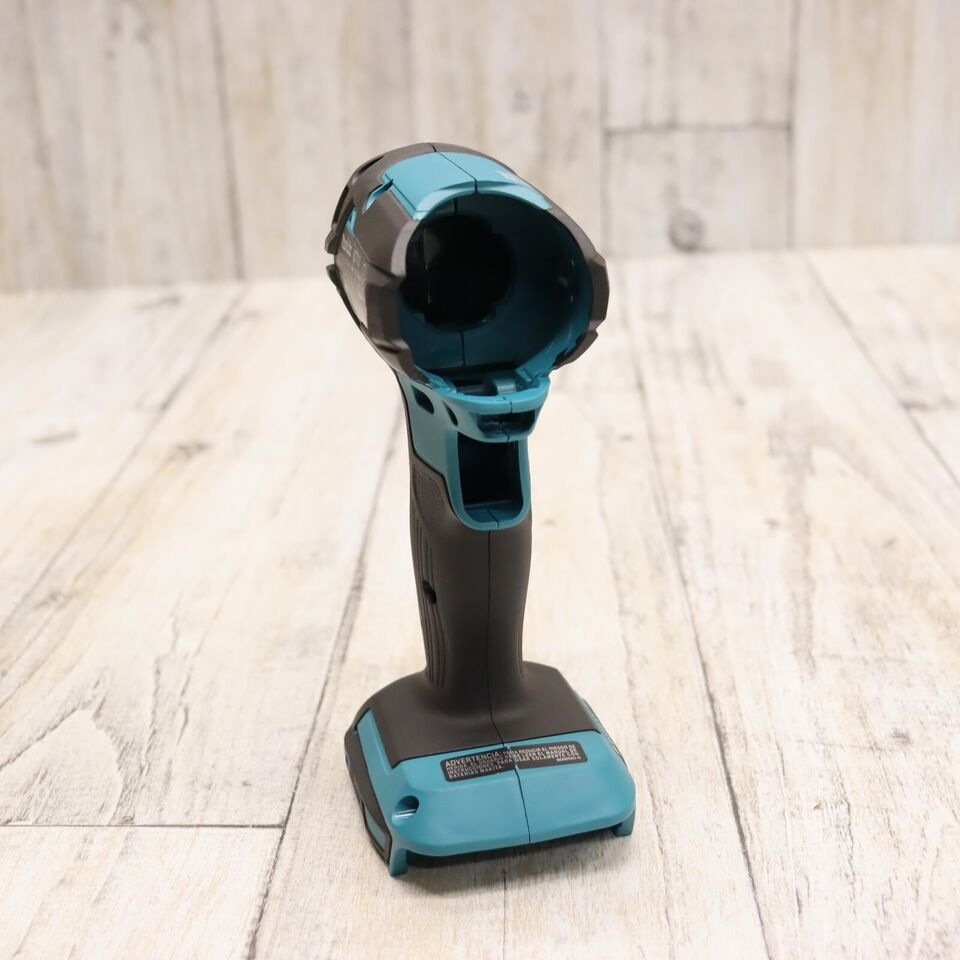
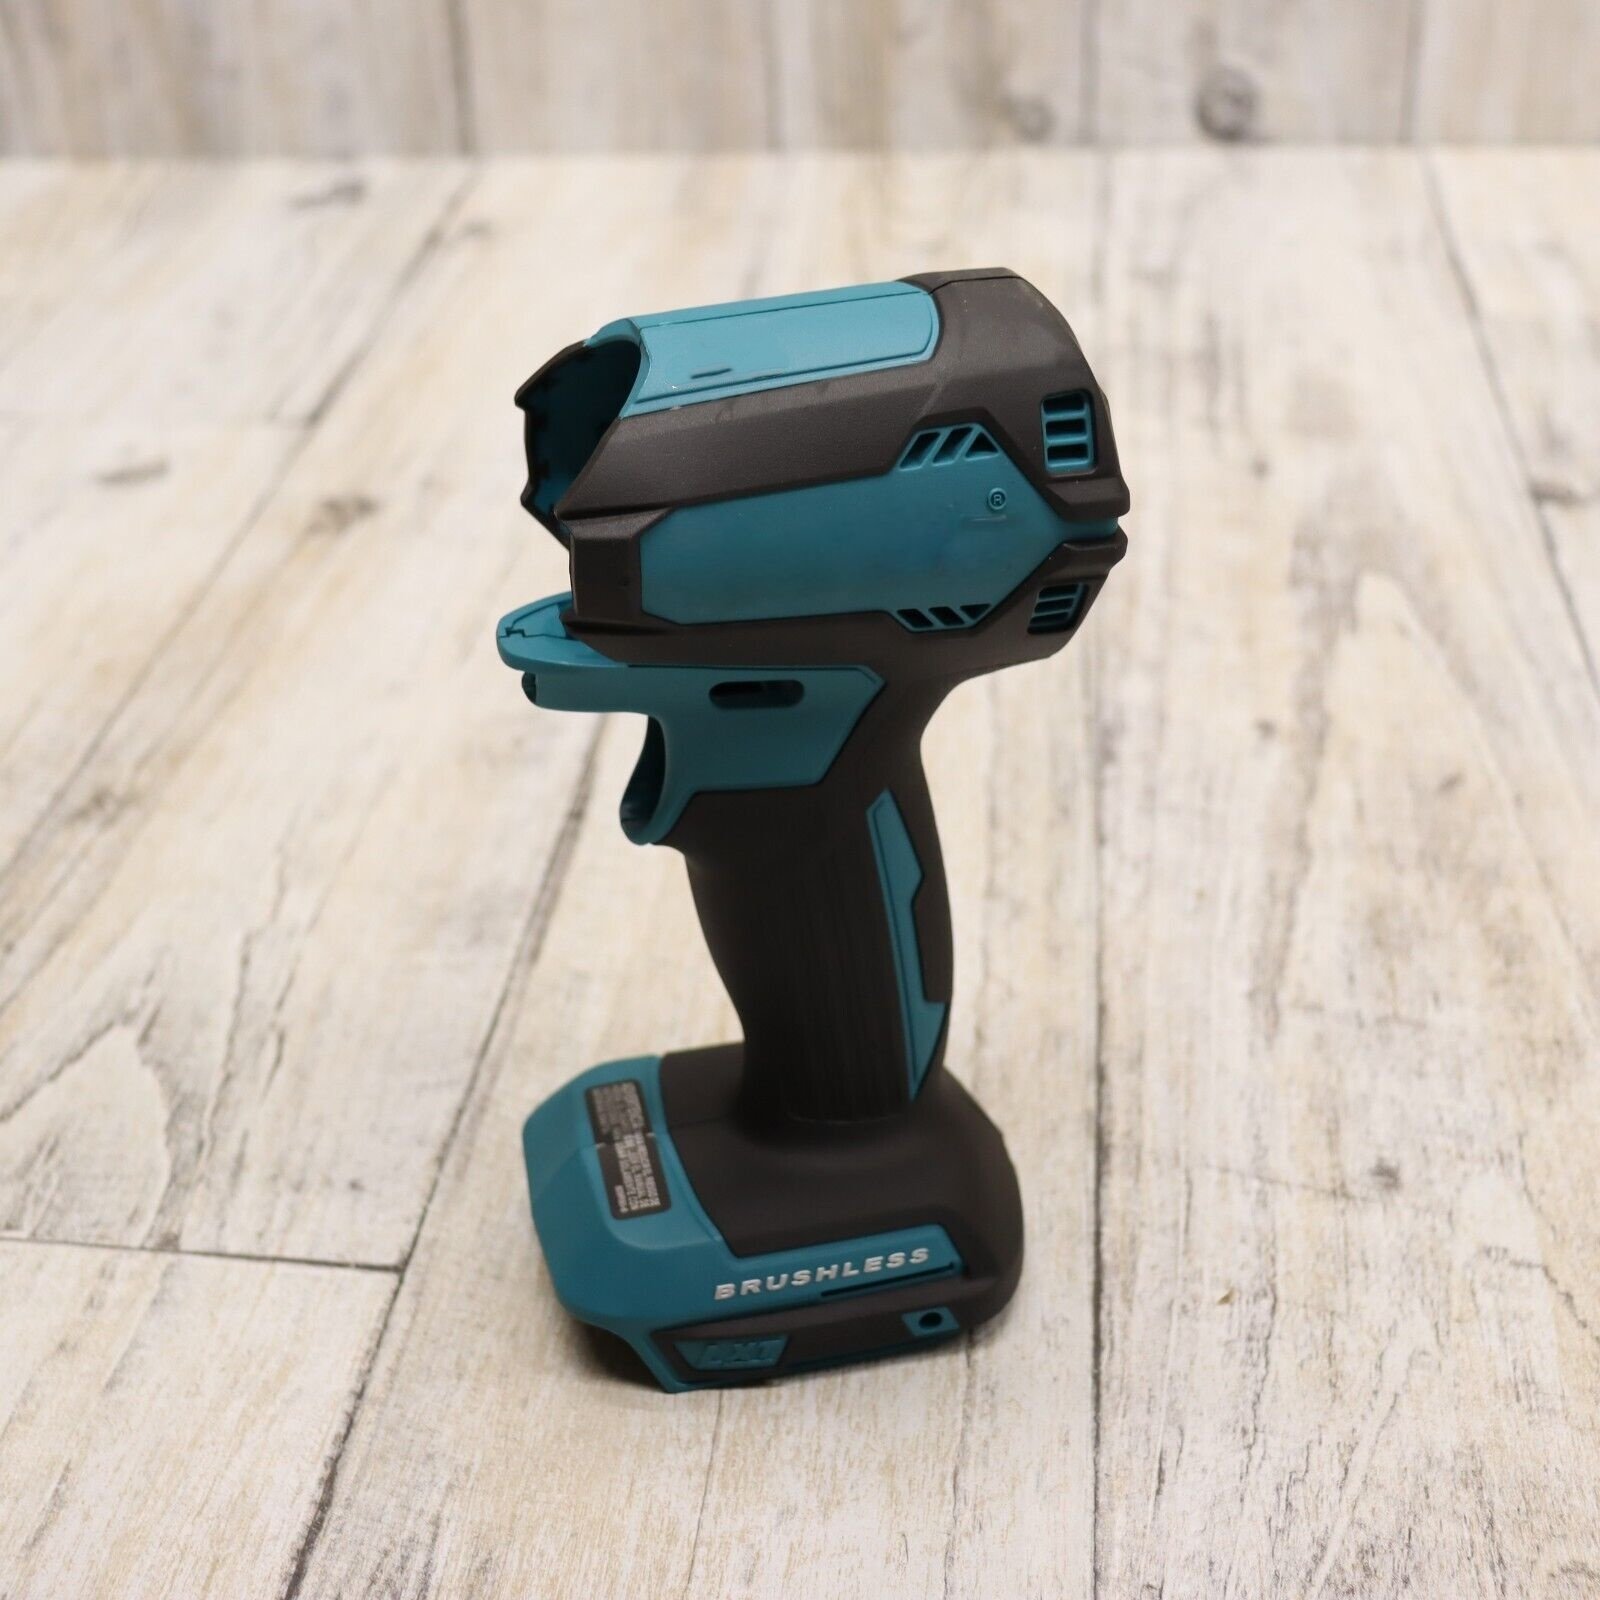
The “Ladder Drop” Reality
Makita builds incredible tools, but gravity always wins. When your XDT13 impact driver hits the concrete from 10 feet up, the heavy metal anvil and battery absorb the shock, but the plastic housing takes the catastrophic stress.
A cracked housing is more than just a cosmetic issue. In a brushless impact driver like the XDT13, the copper stator must sit perfectly tight within the internal plastic ribs of the shell. If the housing is cracked or warped, the stator will shift under heavy torque, causing the magnetic rotor to physically rub against the copper coils. This will destroy your motor in minutes.
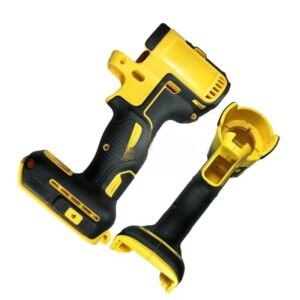
Furthermore, a split casing allows conductive metallic dust and moisture directly into the electronic control module. The FixPartHub 183E34-9 Housing Set allows you to transplant your healthy “guts” into a brand-new body, saving you over $100 compared to buying a new bare tool.
Why You Must Use a Precision-Engineered 183E34-9 Shell
Cheap aftermarket housings are notorious for having poorly molded internal retention channels. If the channels are too tight, you will pinch and sever the thin stator wires when you close the clamshell.
This premium factory-grade housing ensures:
- Perfect Wire Routing: The internal plastic bosses and wire channels match your original wiring harness exactly.
- Trigger Alignment: The forward/reverse toggle switch and variable speed trigger will sit flush without sticking or binding.
- Impact-Resistant Polymer: Made from high-strength glass-fiber reinforced plastic to handle future job site abuse.
Guaranteed Model Compatibility
This specific housing set is precision-engineered exclusively for the following 18V LXT Brushless models:
- XDT13 (18V LXT Brushless Impact Driver)
- XDT13Z (Bare Tool Variant)
- XDT13M / XDT13R (Kit Variants)
- Note: Please check the data plate on the side of your tool. This replaces factory part number
183E34-9.
The 20-Minute “Guts Swap” (How to Rebuild)
Swapping your internals to a new housing requires patience, not an engineering degree. Here is how to complete the repair safely:
- Open the Broken Shell:Remove the battery, take out all the exterior screws, and lift the top half of the cracked housing off.
- Take a Picture: Do not skip this step. Take a clear photo of how the wires are routed around the plastic screw posts near the trigger and the base of the handle.
- Lift and Transfer: Lift the entire motor, anvil, switch, and battery terminal block out as one solid unit. Lay it directly into your new 183E34-9 housing half.
- Tuck the Wires:Use a flathead screwdriver to gently push the wires deep into the retention channels of the new housing.
- Close it Up: Place the top shell on. If it doesn’t sit completely flush, do not force it or tighten the screws. A wire is out of place. Adjust the wires until the shell closes naturally, then secure it with your original screws.
Disclaimer: FixPartHub is an independent supplier of high-quality aftermarket replacement parts. We are not affiliated with, authorized by, or endorsed by Makita Corporation. All brand names, model numbers, and trademarks (including Makita and LXT) are the property of their respective owners and are used within this listing solely for compatibility demonstration and informational purposes.
Yes. This premium aftermarket replacement housing (clamshell) set is manufactured to exact factory dimensions to perfectly fit the highly popular Makita 18V LXT Brushless Impact Driver. It is specifically compatible with the XDT13 and XDT13Z (bare tool) models, serving as a direct drop-in replacement for OEM part number 183E34-9 to securely house your brushless motor and electronic controls.
While a shattered case from a high ladder drop is the most common reason, internal heat damage is a close second. The XDT13 is often pushed to its limits driving long lag bolts. Extreme, sustained heat can melt the rear plastic bearing pocket that holds the armature spinning perfectly straight. If your motor wobbles, grinds, or smells burnt but still pulls the trigger, the internal plastic mounts are likely deformed, and a new shell is required.
Brushless impact drivers have extremely delicate wiring compared to older brushed tools. Crucial Pro Tip: Take multiple close-up photos of the wire routing around the stator and bottom control board before removing your old case! Also, do not forget to transfer the original small pieces: the rubber bumper, the forward/reverse shuttle lever, and the metal belt clip nut. When closing this new shell, verify that no thin electronic wires are crossing the plastic screw posts, or you will pinch and destroy them.