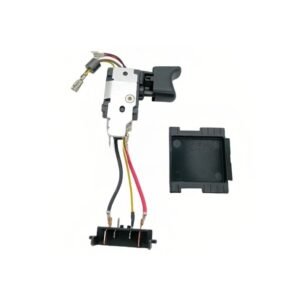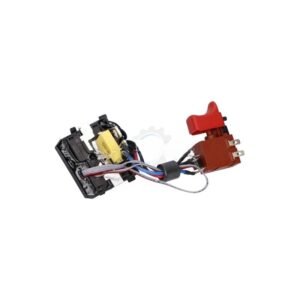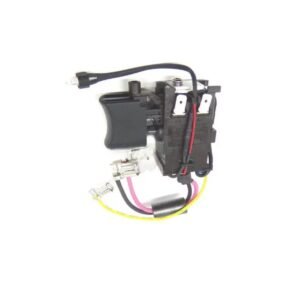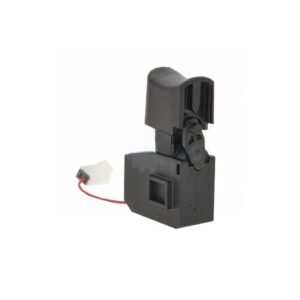
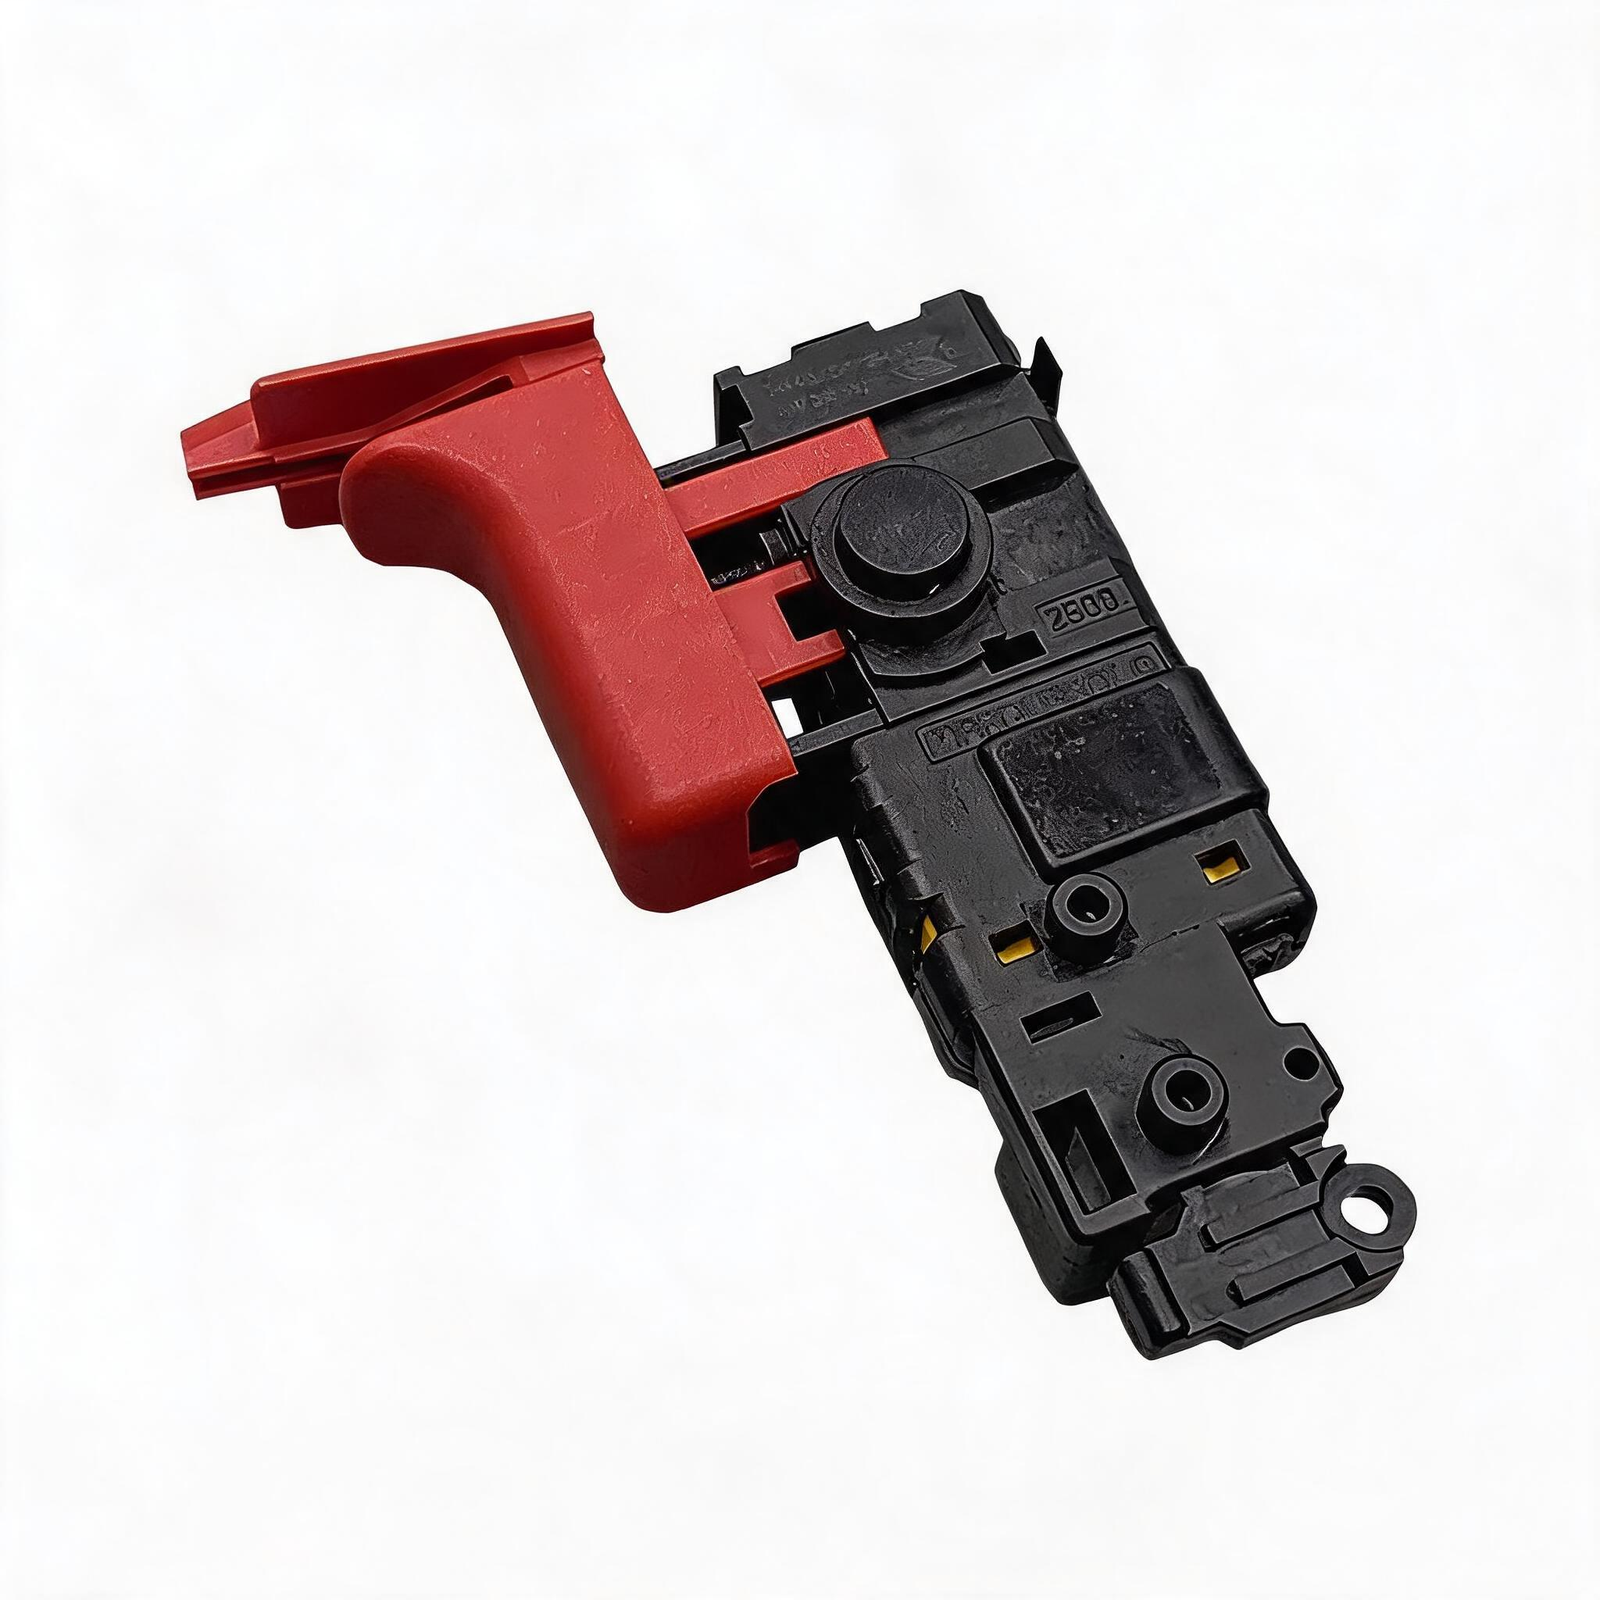
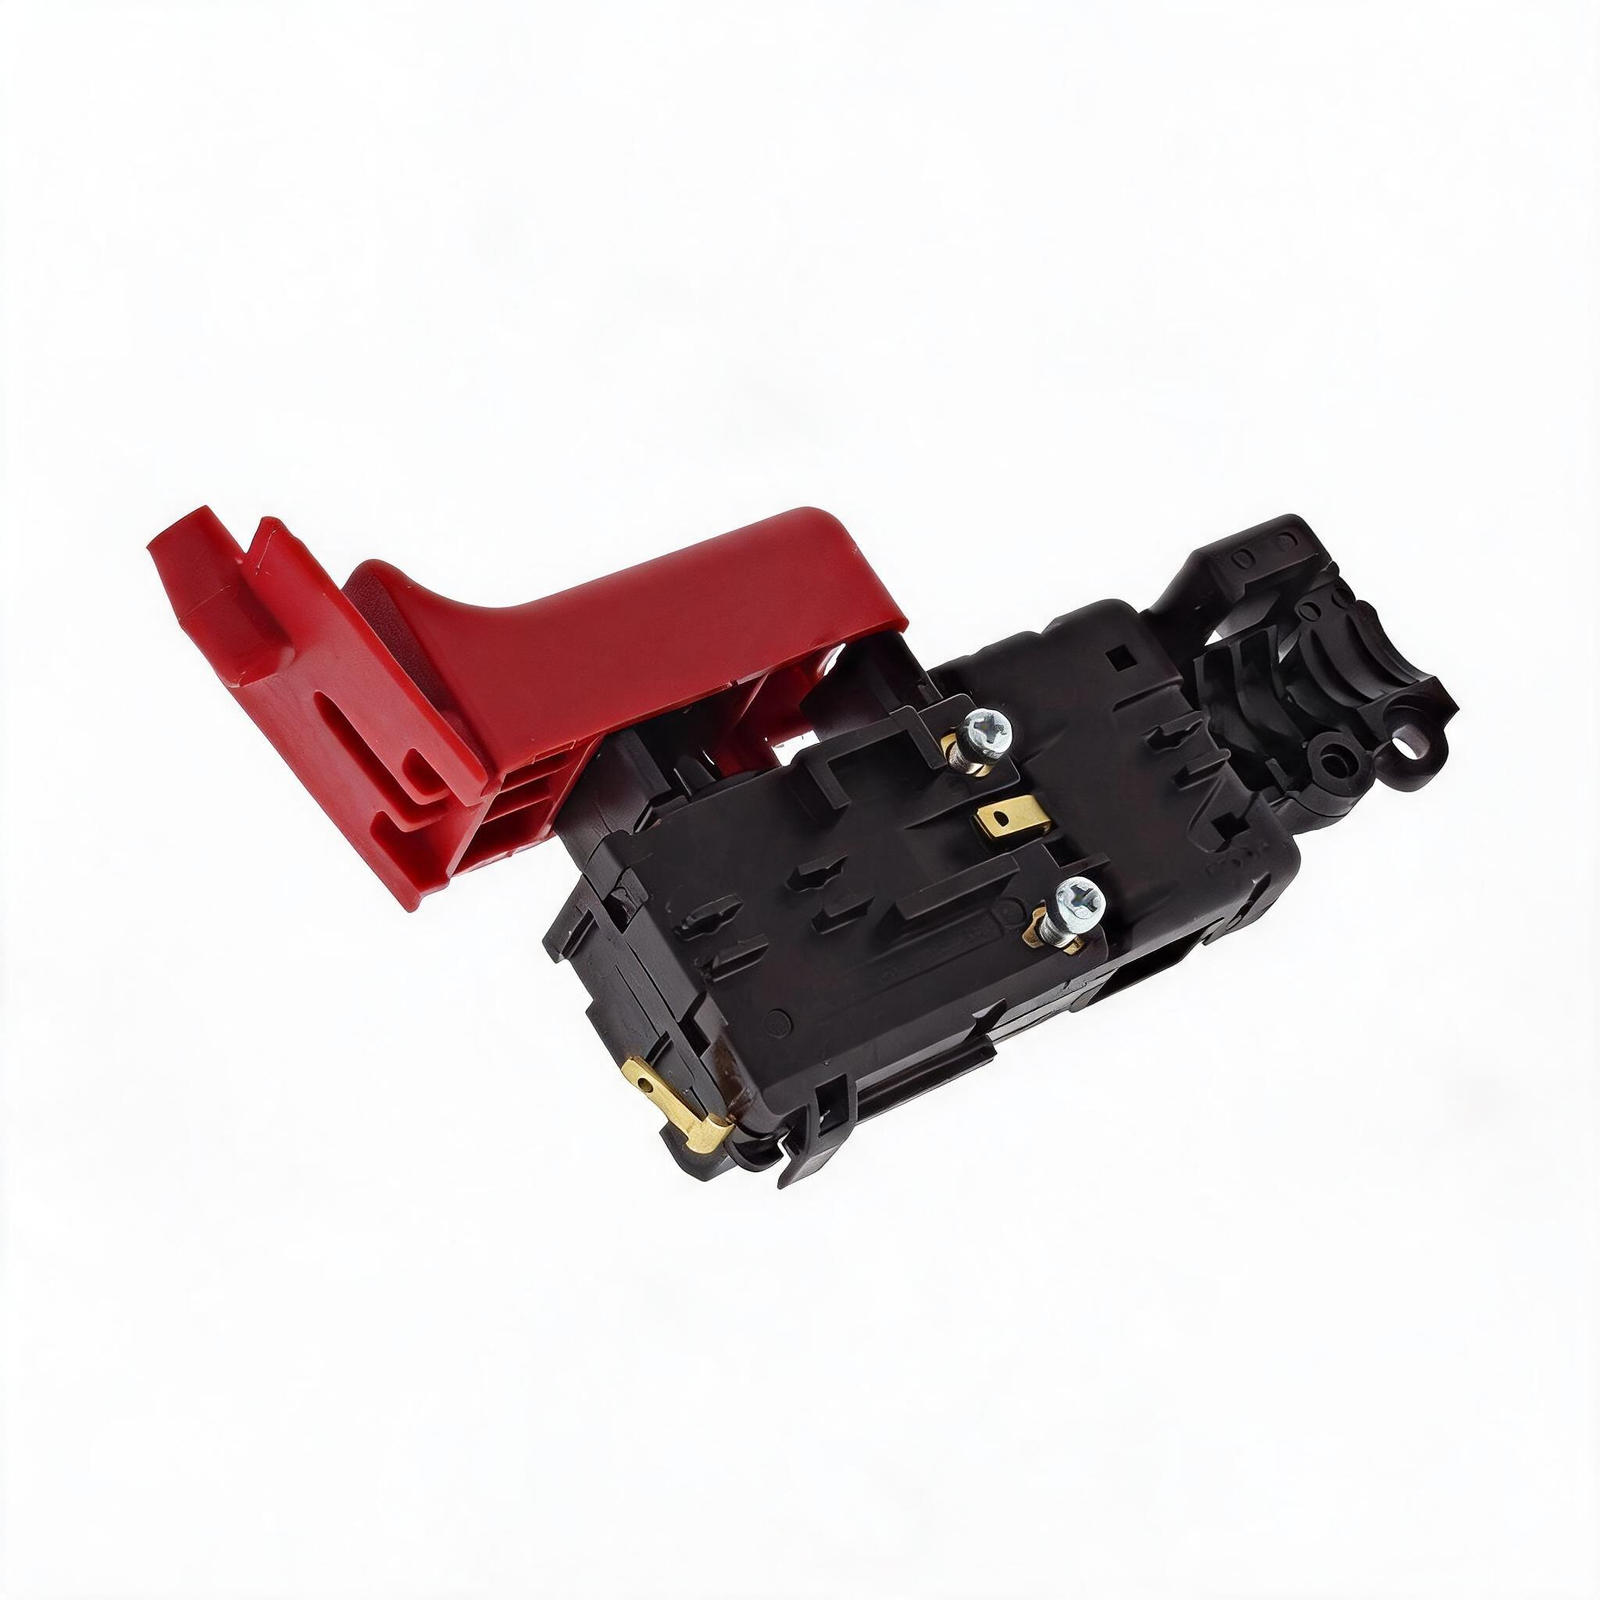
Diagnostic Data: Why the 1617200532 Switch Fails
A rotary hammer operates in the worst possible environment. Over time, micro-fine concrete dust bypasses the handle housing and packs into the switch chassis. This silica dust acts as an abrasive, destroying the variable speed carbon tracks and preventing the main copper contacts from closing completely. When the contacts sit slightly open under a high-amp load, they arc, generate extreme heat, and eventually weld themselves shut or burn out completely.
1️⃣ Dead Trigger Response
You pull the trigger and get absolutely nothing. The internal contacts are heavily oxidized or the return spring has collapsed, breaking the electrical path to the stator.
2️⃣ Speed Fluctuation
The tool stutters or only runs at maximum RPM. The variable speed sliding rheostat track is carbon-scored and can no longer regulate voltage.
3️⃣ Ozone/Burning Smell
A distinct electrical burning smell comes from the handle. The switch contacts are actively arcing and melting the plastic chassis from the inside out.
Component Evaluation: OEM Spec vs. Aftermarket
| Component | Cheap Aftermarket Failure Points | OEM Spec 1617200532 Replacement |
|---|---|---|
| Main Contacts | Thin brass. Welds shut under heavy concrete drilling loads. | ✅ High-mass silver-alloy pads for maximum arc suppression. |
| Dust Sealing | Open chassis. Fills with silica dust within weeks. | ✅ Rubberized actuator boot blocks debris ingress. |
| Terminals | Loose screw clamps. Wires vibrate out during high-BPM hammering. | ✅ High-tension lock-in blocks grip wires securely. |
Teardown & Replacement Workflow
Handle Separation
Remove the Torx/Phillips screws from the rear clamshell handle. Pry the housing halves apart, keeping track of the rubber cord protector.
Terminal Extraction
Use a fine pick or a micro flathead screwdriver to press the release tensioners on the switch block. Pull the power and stator wires free. Do not yank the wires.
Switch Swap
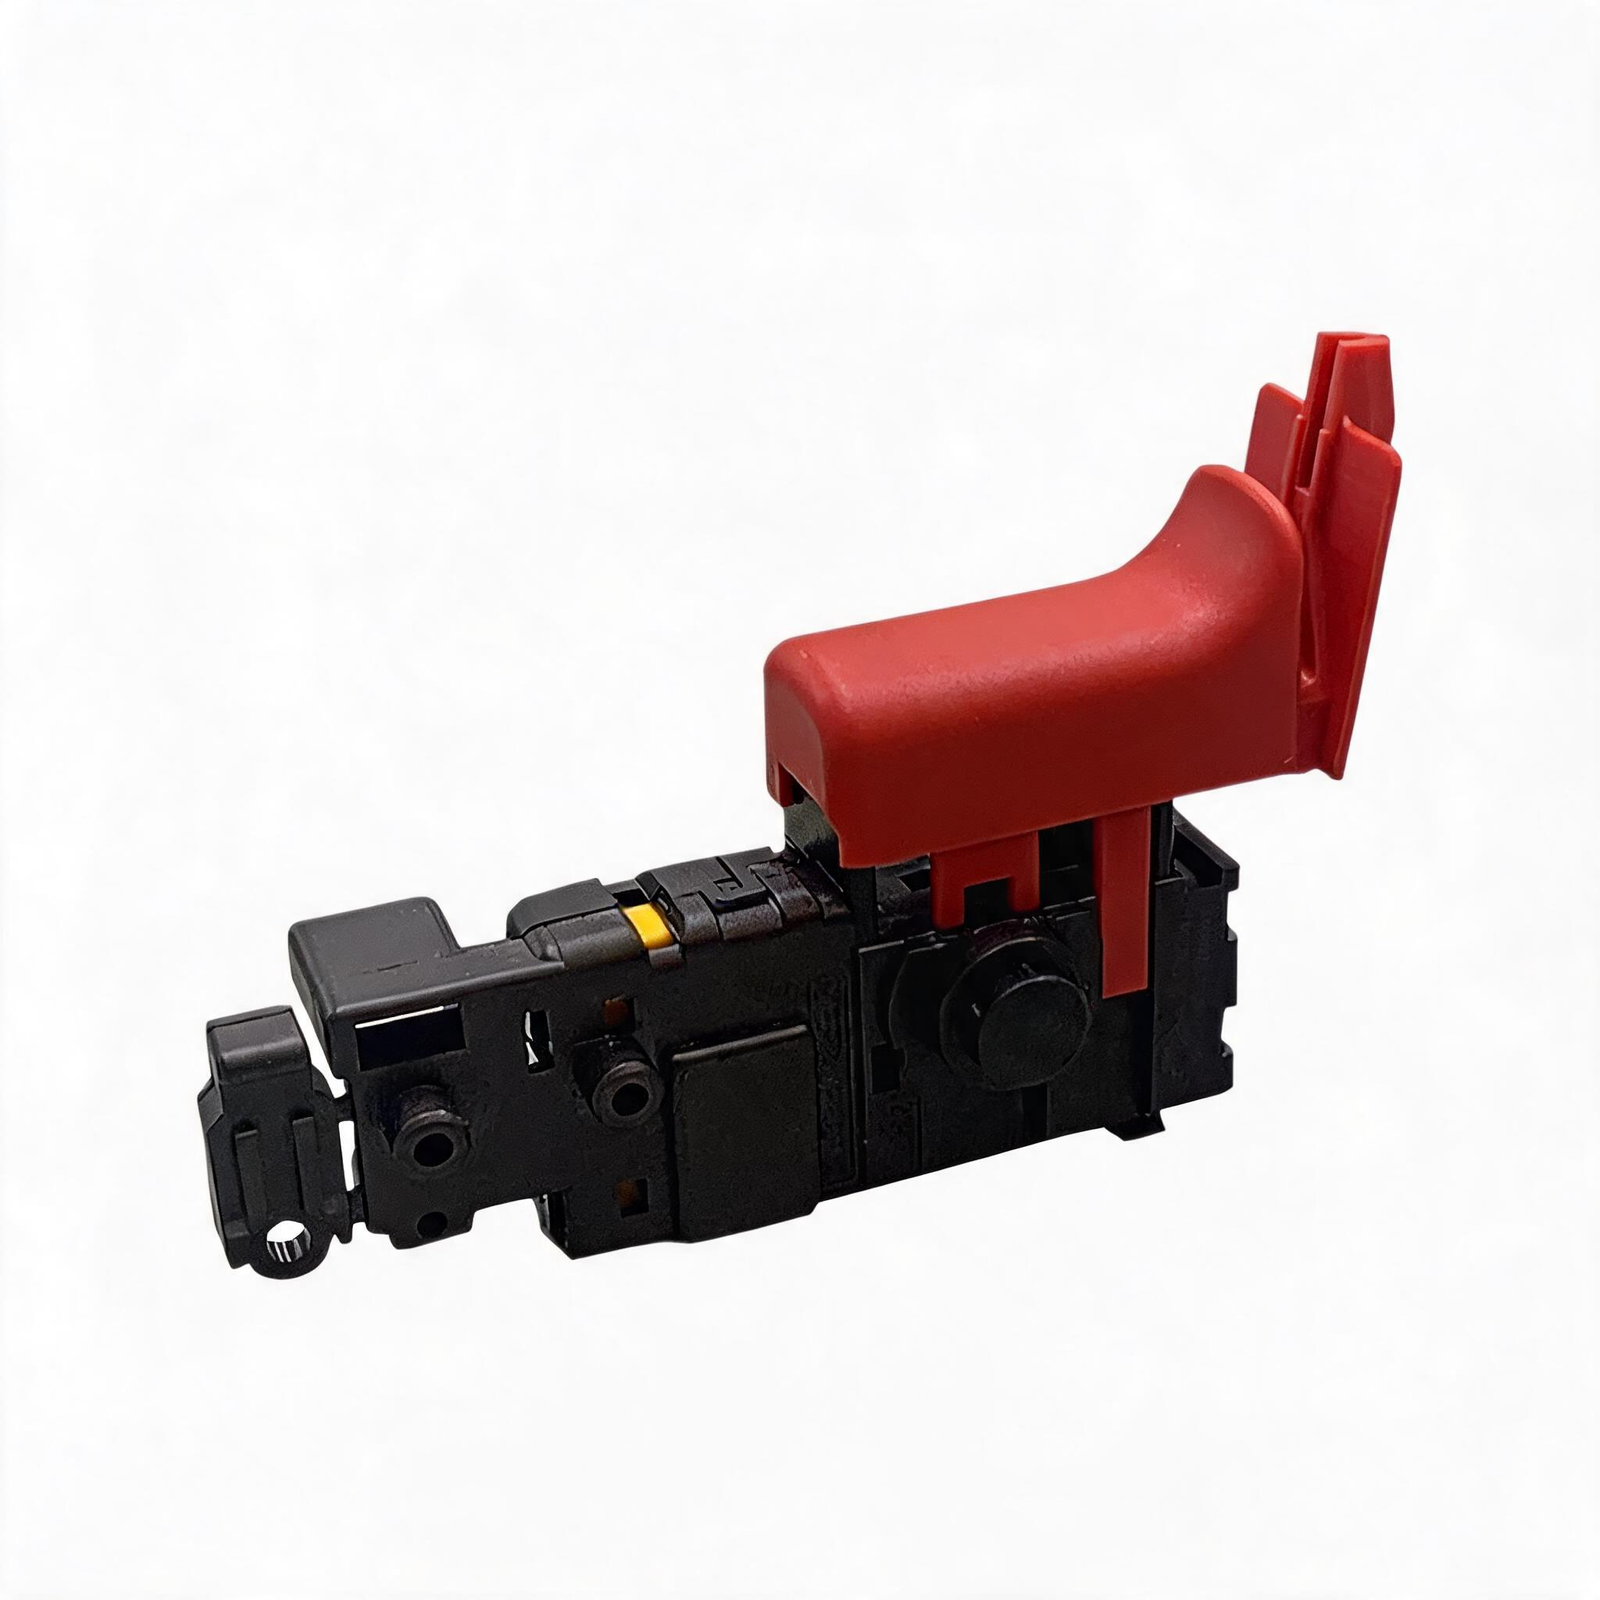
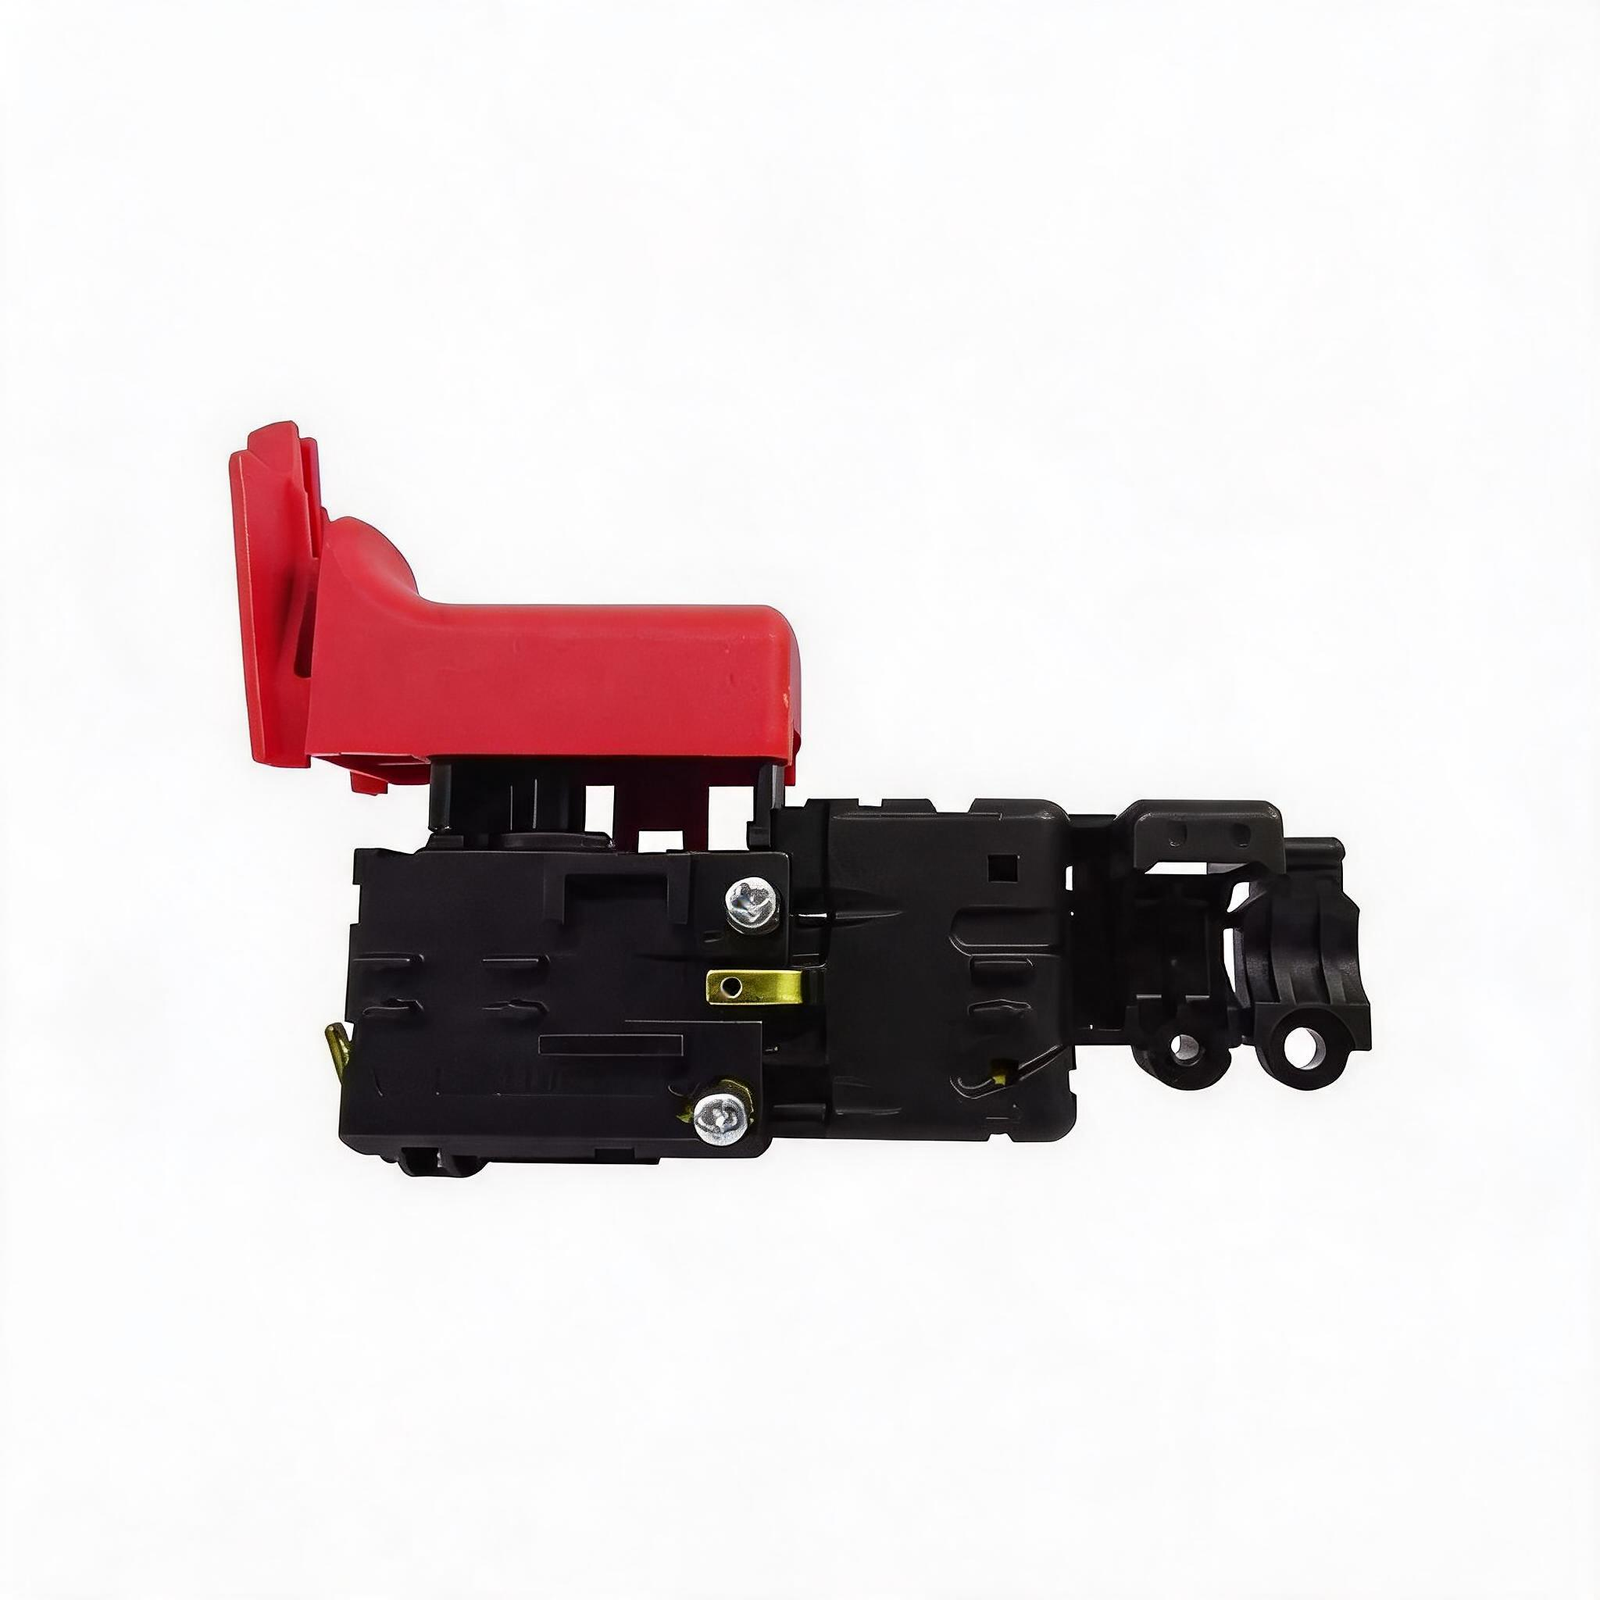
Drop the new 1617200532 switch into the housing chassis. Ensure the forward/reverse lever mechanical linkage aligns perfectly with the switch yoke.
Wire Routing Check
Seat the wires into the new tension blocks. Route all cables completely inside the plastic ribs. Pinched wires will immediately short out when the handle is screwed together.
Fitment & Cross-Reference Data
Diagnostic Q&A
Safety Notes
- Power Isolation: Never rely on the trigger lock during maintenance. Physically unplug the cord from the wall before removing the housing screws.
- Wire Insulation Inspection: While the handle is open, inspect the cord where it exits the strain relief. If the outer jacket is torn, replace the cord simultaneously to prevent a ground short.
- Torque Limits: Do not over-torque the plastic handle screws. Standard impact drivers will strip the plastic threads instantly. Use a manual screwdriver to seat the clamshell.
Unplug the tool and access the switch. Put a multimeter in continuity mode. Probe across the input terminal and its corresponding output terminal while pulling the trigger. You should hear a solid beep (close to 0.0 ohms). If the meter reads infinite resistance (OL), the internal contacts have failed.
The sliding rheostat inside the switch controls the variable speed function. When concrete dust destroys the carbon track, the switch loses its ability to regulate resistance and defaults to passing full line voltage immediately. Replacing the switch restores the variable speed curve.
This specific OEM spec switch is a direct replacement for the standard 2-26 and GBH2600 series rotary hammers. Always verify your tool’s nameplate part number to ensure exact fitment, as some regional variations use different terminal layouts.