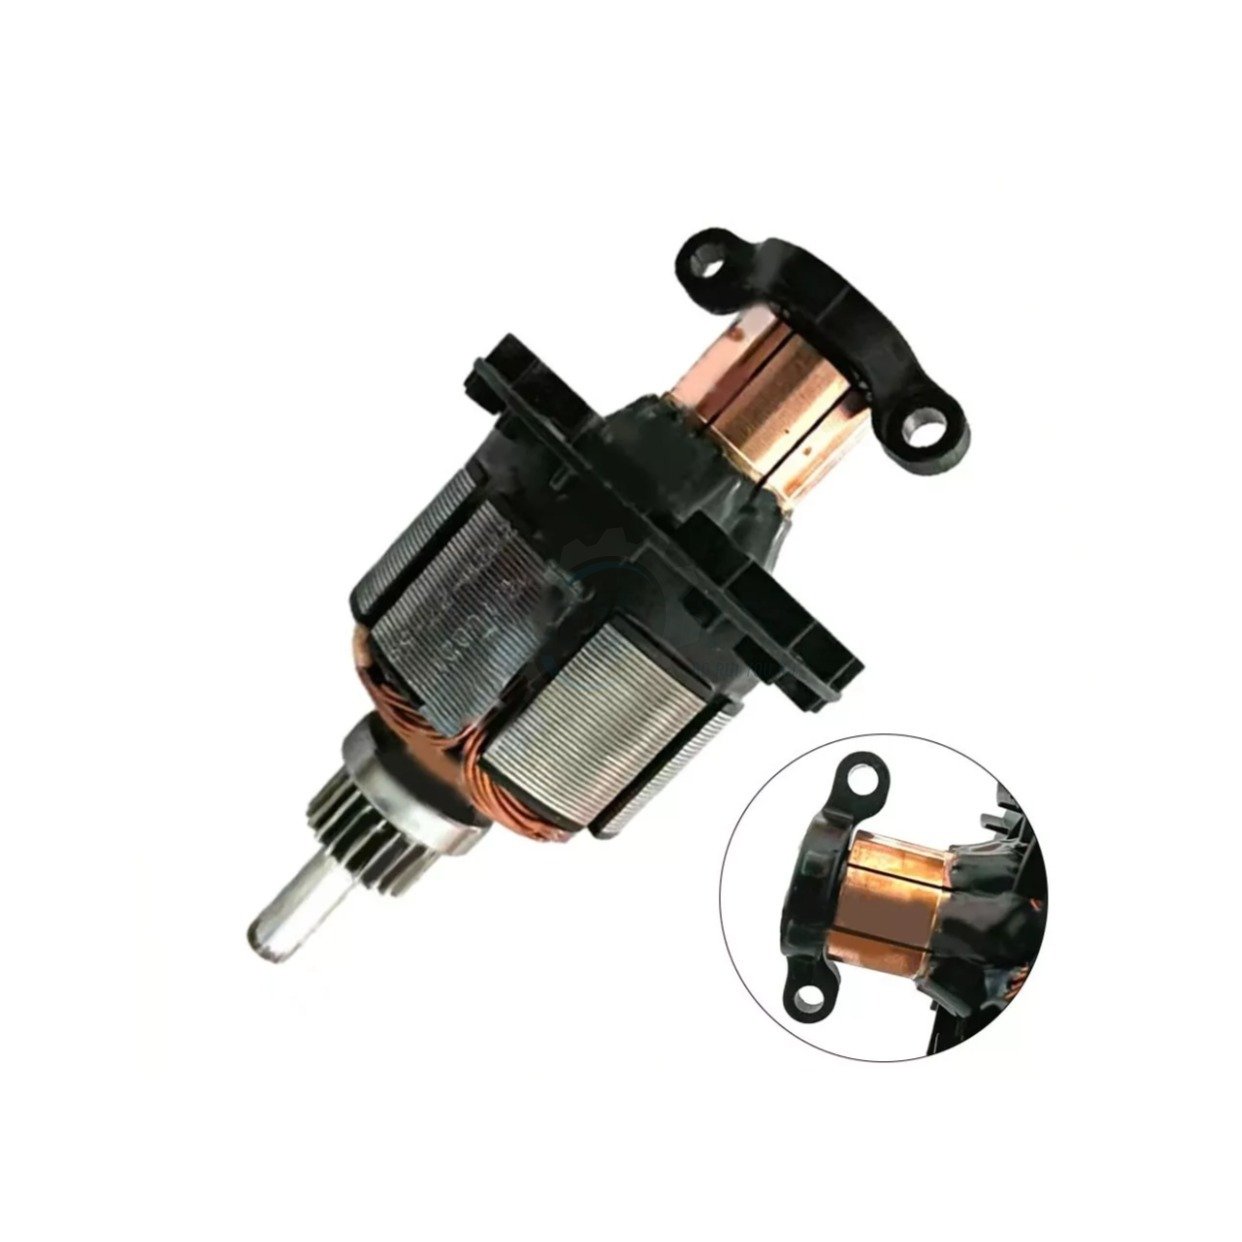
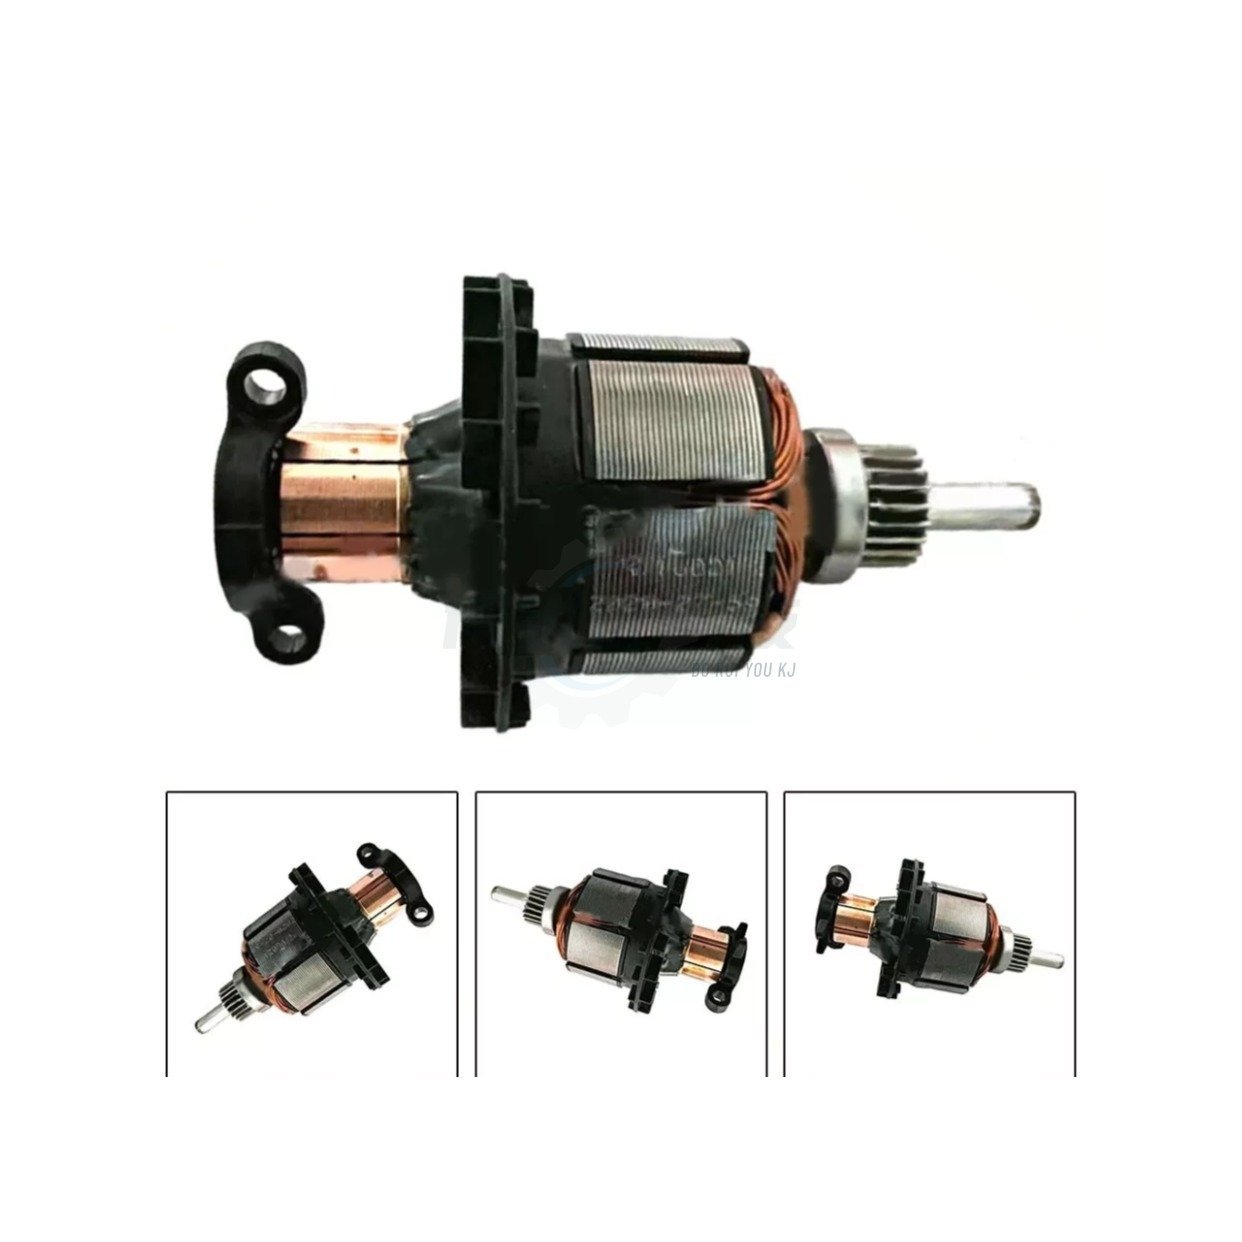
Diagnostic Data: Why the N110036 Armature Fails
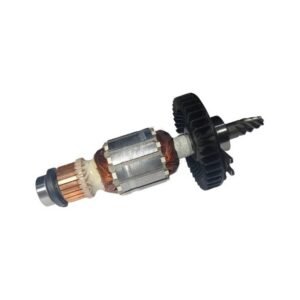
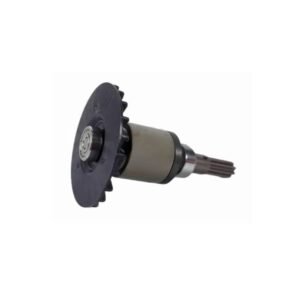
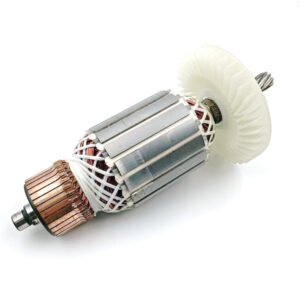
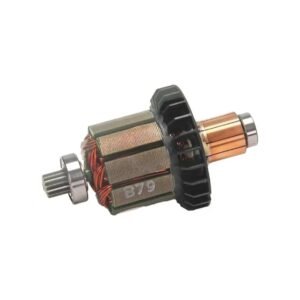
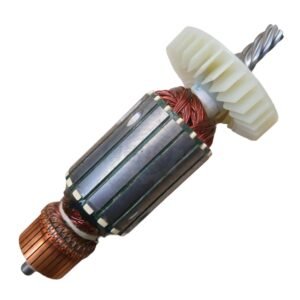
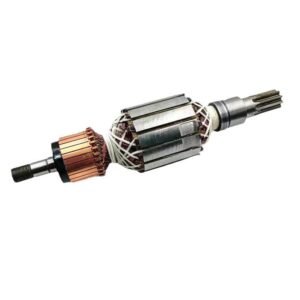
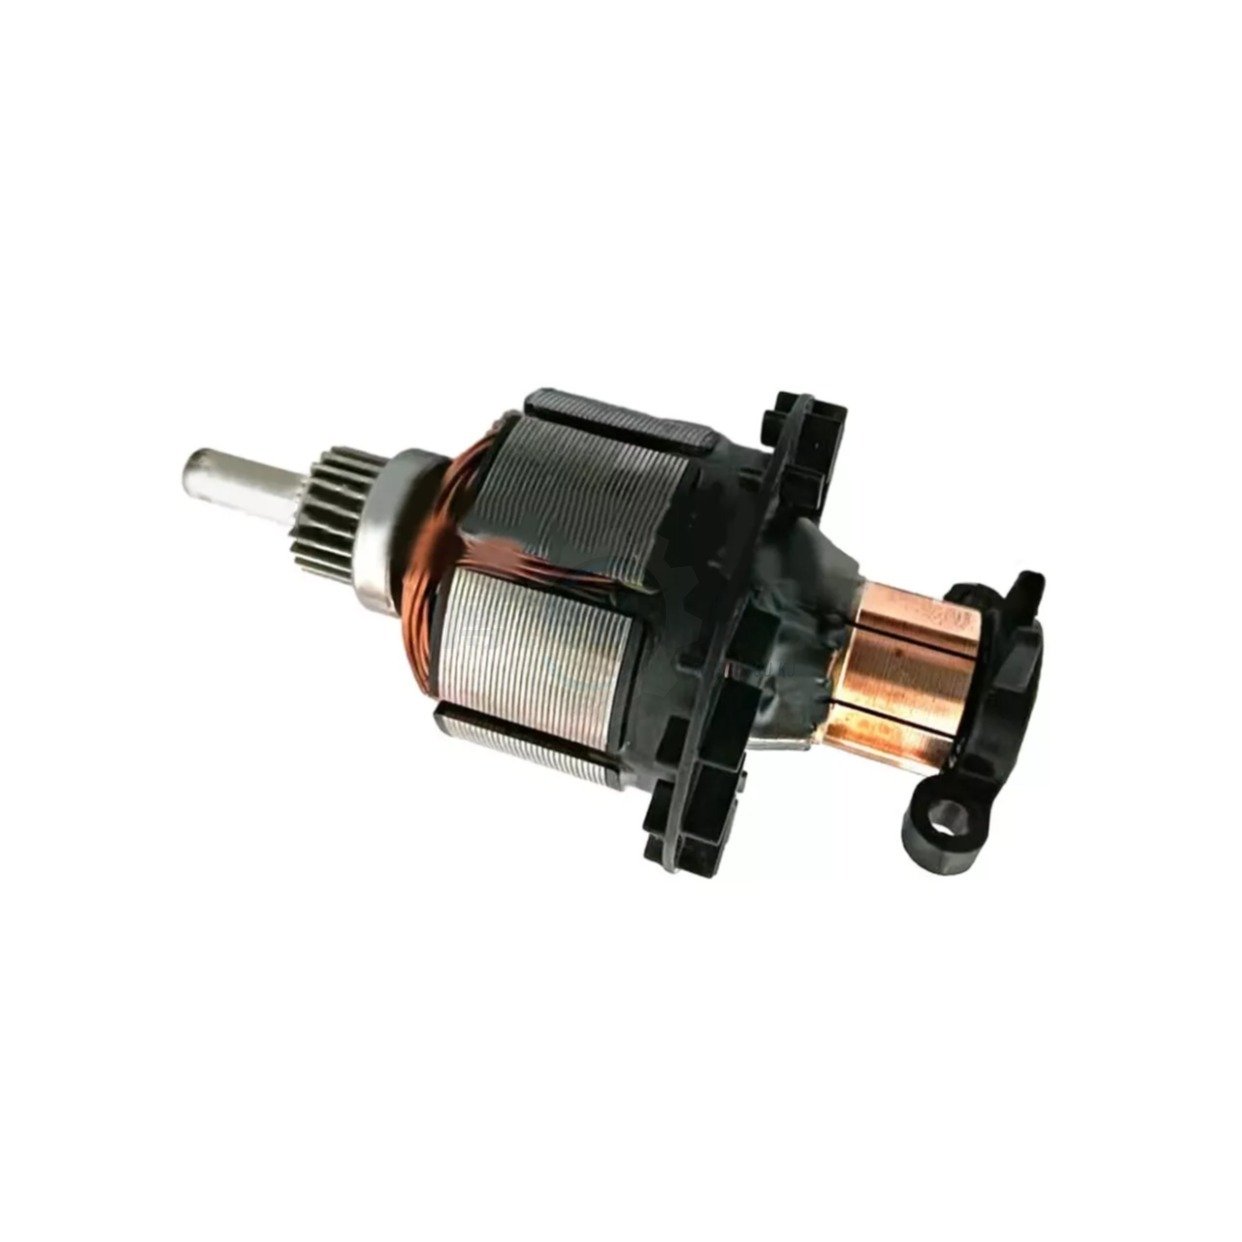
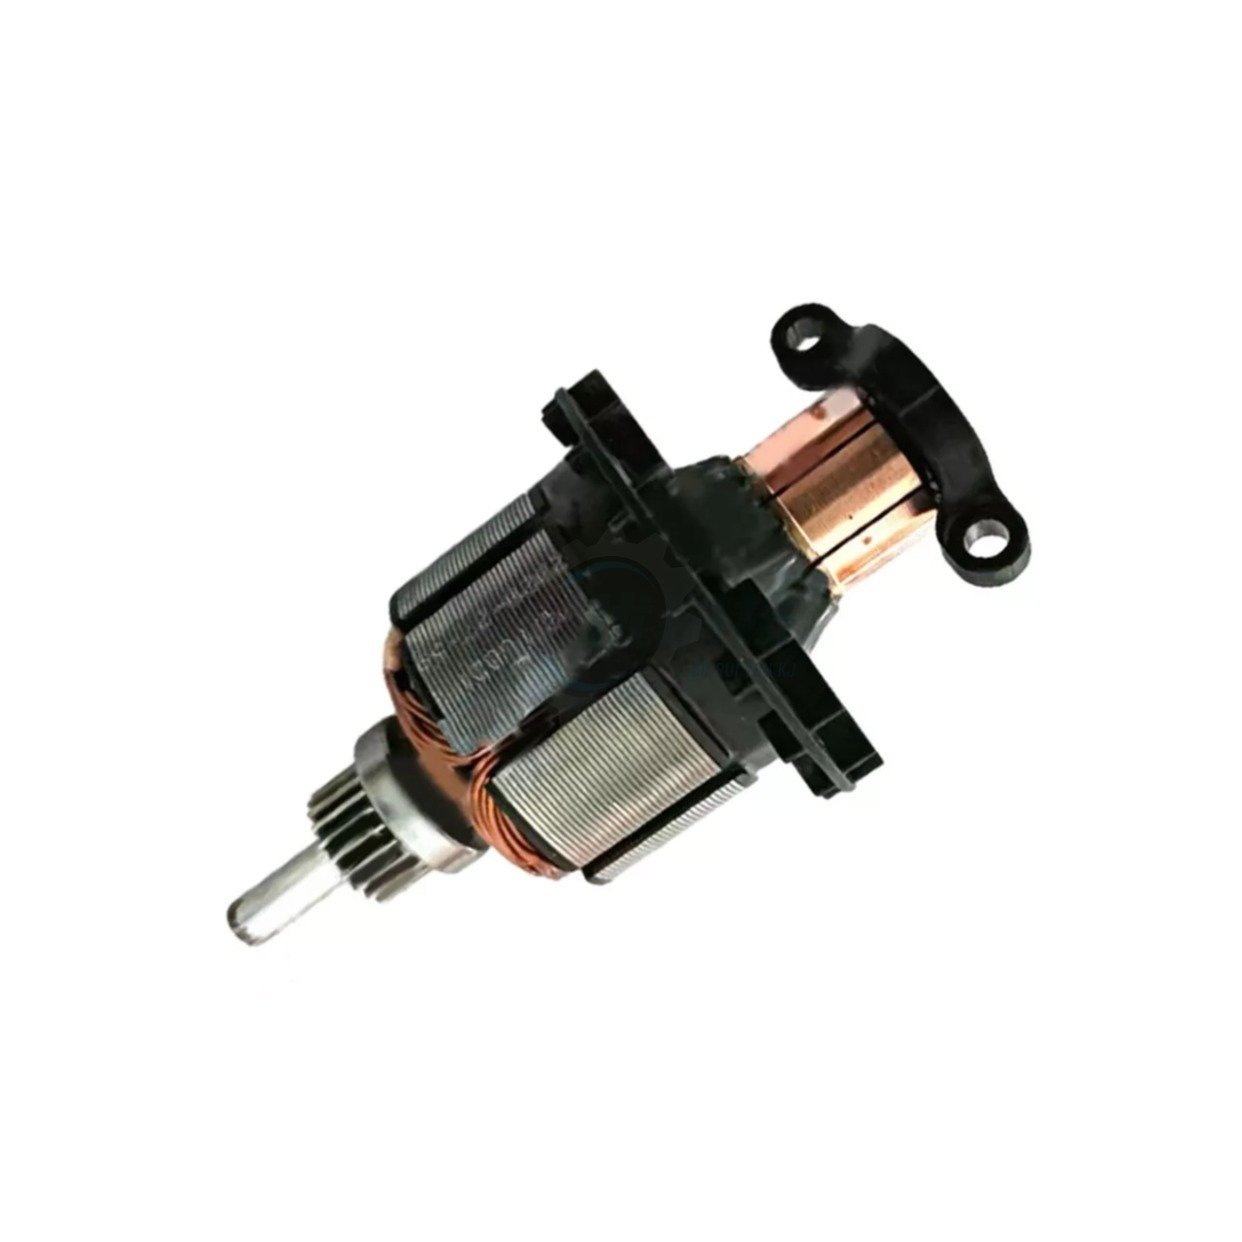
The armature is the rotating heart of a brushed DC motor. Operating a cordless drill under extreme torque—like driving massive lag screws or pushing a hole saw through dense hardwood—generates intense thermal loads. If the cooling fan cannot dissipate the heat fast enough, the shellac insulation on the copper windings melts, causing an internal short circuit. Furthermore, debris bypassing the air vents can physically pit the commutator bars. Once the commutator is scarred, the carbon brushes bounce, creating massive electrical arcing that literally welds and destroys the internal contacts.
1️⃣ Thermal Overload (Smoking)
A distinct ozone or burning plastic smell accompanied by heavy blue sparks shooting from the motor vents. The internal windings have breached their insulation.
2️⃣ Dead Spots
You pull the trigger and hear a hum, but the chuck refuses to turn. The motor only fires up if you manually spin the chuck past the burned-out commutator sector.
3️⃣ Severe Torque Loss
The drill spins freely in the air but bogs down instantly when the bit hits the material. A shorted armature cannot generate the required magnetic field strength.
Component Evaluation: OEM Spec vs. Cheap Aftermarket
| Component Parameter | Substandard Knockoffs | OEM-Spec N110036 Replacement |
|---|---|---|
| Coil Windings | Thin, unsealed wire that unravels under high centrifugal force. | ✅ Heavy-gauge copper locked in protective epoxy resin. |
| Commutator Segments | Soft brass alloy that grooves rapidly under brush friction. | ✅ Hardened copper segments for maximum arc resistance. |
| Drive Spline | Poorly milled gear teeth causing transmission chatter. | ✅ Factory-machined spline for flawless planetary mating. |
Teardown & Replacement Workflow
Clamshell Extraction
Remove all Torx/Phillips screws securing the two halves of the handle housing. Carefully split the chassis, keeping the trigger wiring harness in its molded channels.
Brush Retraction
Locate the carbon brush holders at the rear of the motor. Pull the tension springs back and disengage the brushes from the commutator to prevent snapping the carbon blocks.
Stator Separation
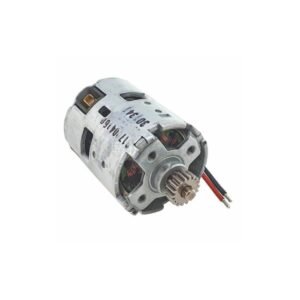
Pull the entire motor and gearbox assembly out of the shell. Firmly grasp the old armature and pull it straight out of the magnetic stator ring.
Gearbox Mating
Insert the new N110036 rotor into the stator. Ensure the splined front shaft seats perfectly into the planetary gear carrier before closing the chassis.
Fitment & Cross-Reference Data
Diagnostic Q&A
Safety Notes
- Total Power Isolation: Always remove the lithium-ion battery pack before attempting to open the clamshell housing. Accidental trigger actuation during teardown will cause severe lacerations.
- Magnetic Pinch Hazard: The stationary stator contains highly powerful rare-earth magnets. Keep your fingers clear of the gap when inserting the new armature, as it will snap violently into the magnetic field.
- Torque Limits: Do not overtighten the plastic housing screws during reassembly. Use a manual screwdriver, not an impact driver, to prevent stripping the chassis threads.
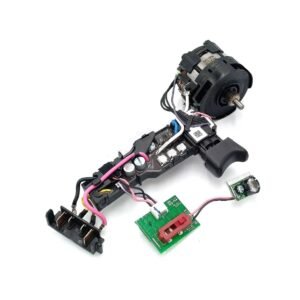
Yes. This premium aftermarket N110036 armature is engineered as a direct replacement component for the DeWalt N595065 motor assembly. It is perfectly compatible with the highly popular 20V MAX compact drill series, specifically the DCD785 (Hammer Drill) and DCD780 (Drill/Driver) models, allowing you to rebuild your motor without buying the expensive complete assembly.
A blown armature is usually visually obvious. If your drill suddenly loses power under load, emits a heavy electrical burning smell, or throws excessive, bright sparks (or even smoke) from the rear cooling vents, the copper windings or the commutator on the armature have fried. Once the internal copper melts, a complete rotor replacement is the only way to revive the tool.
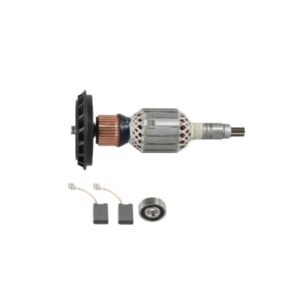
Crucial Motor Rebuild Tip: Never install a brand-new armature and run it against old, damaged carbon brushes! When the original rotor burns out, the intense heat usually glazes, pits, or shatters the carbon brushes. Running bad brushes against this new copper commutator will instantly scratch and destroy it. Always inspect and replace your carbon brush holder assembly alongside this new armature for a proper, long-lasting repair.