The End of Wavy, Sanded Corners
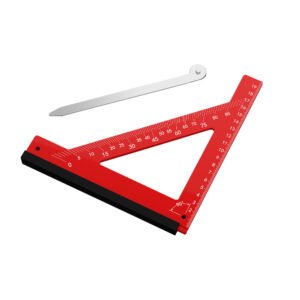
Freehanding a large radius on a custom dining table using a jigsaw and a belt sander always results in wavy, asymmetrical corners. True craftsmanship demands mechanical guidance. These large-format radius templates lock onto your workpiece, giving your router bearing a massive, mathematically perfect track to follow. Whether you are building conference tables, custom speaker baffles, or architectural millwork, these jigs deliver factory-perfect symmetry in seconds.
💡 Pro Tip: When routing heavy stock, use a jigsaw to cut away the bulk of the waste material, leaving about 1/8 inch of wood outside the template line. This prevents your router bit from catching, reduces burn marks, and dramatically extends the life of your carbide cutters.
How It Works: Mechanical Curve Dominance
Align and Clamp
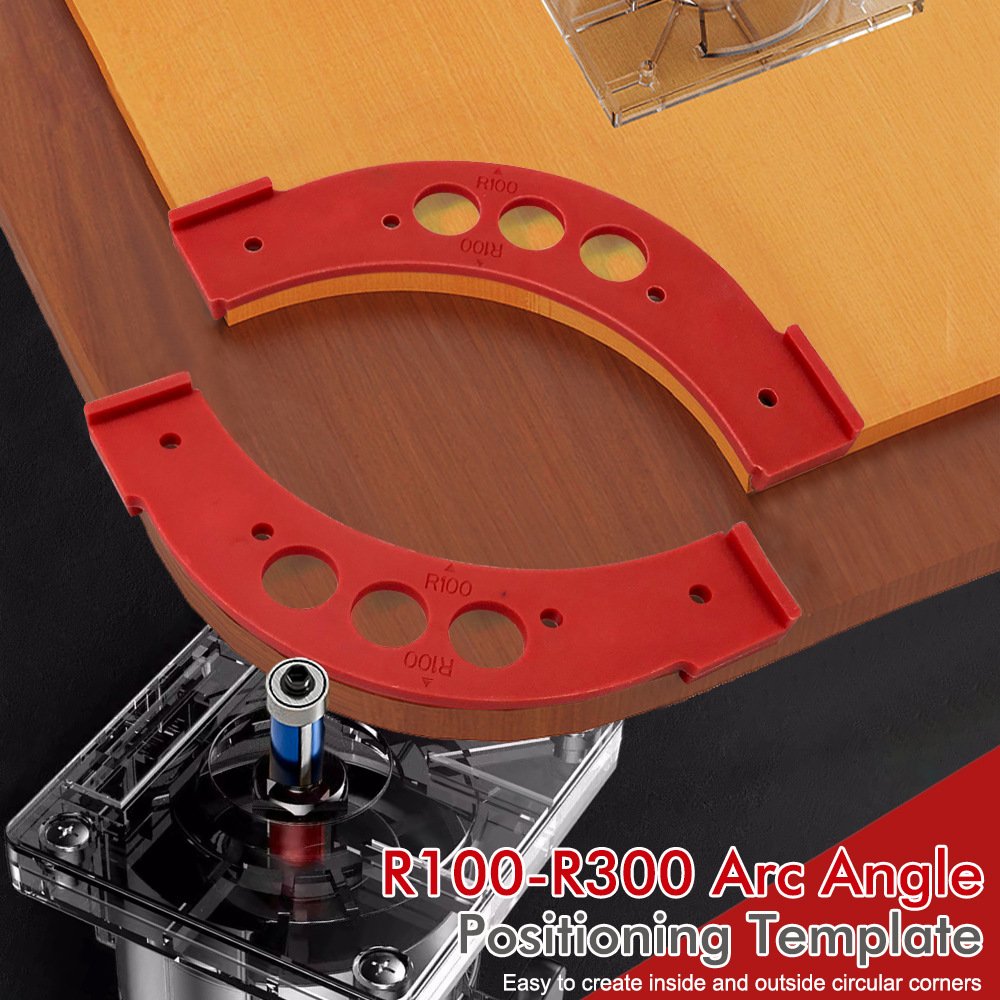
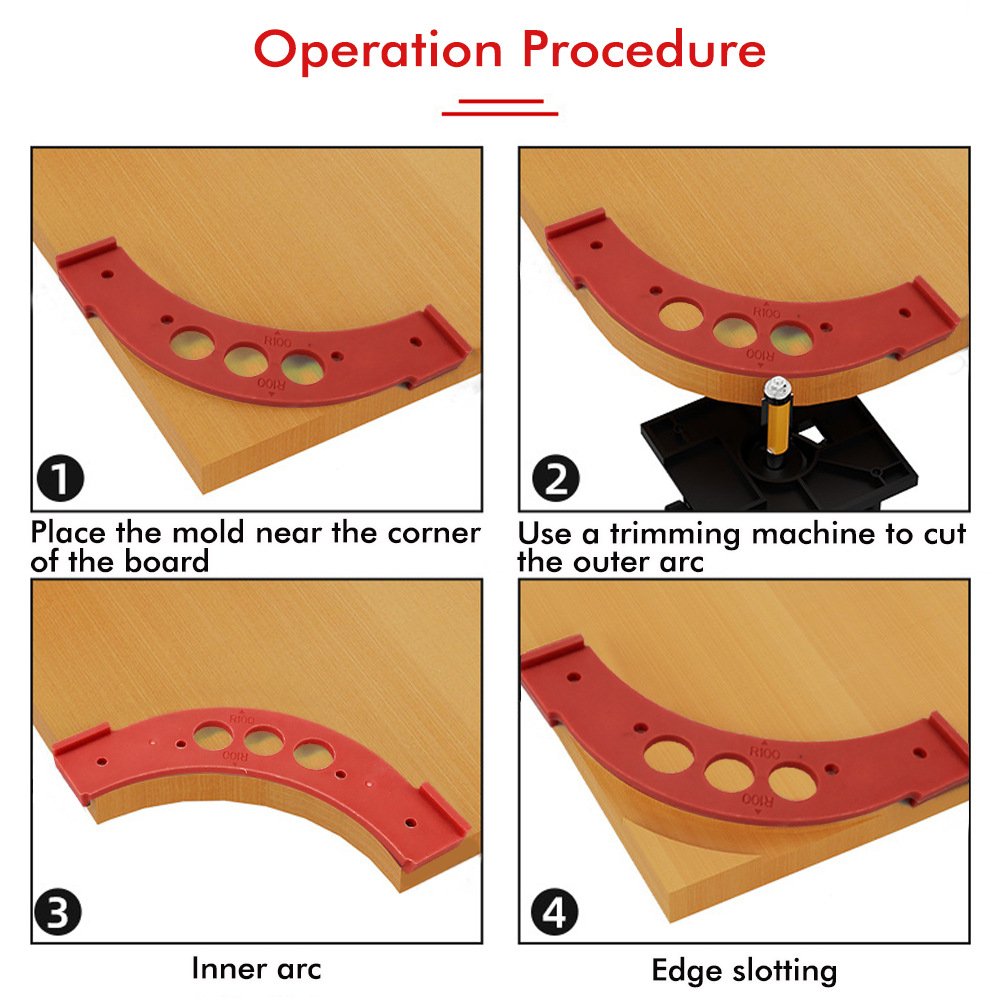
Register the template flush against the corner of your panel and lock it down tightly with heavy-duty bar clamps or double-sided template tape.
Set Router Depth
Adjust your router plunge depth so the top or bottom bearing of your flush-trim bit rides dead-center against the template edge.
Ride the Profile
Feed the router smoothly along the jig from left to right, letting the bearing dictate the perfect semi-circular arc without dipping or gouging.
Why Freehanding Destroys Custom Furniture
| Methodology | Jigsaw & Hand Sanding | FixPartHub Radius Templates |
|---|---|---|
| Symmetry | Human error guarantees no two corners will ever match perfectly. | ✅ Mechanical tracking ensures 100% mathematical symmetry. |
| Edge Quality | Leaves aggressive flat spots and requires heavy sanding blocks. | ✅ Router bit leaves a glass-smooth finish ready for finishing. |
| Time Required | Takes 15 to 20 minutes per corner to adjust and blend the curve. | ✅ Takes less than 60 seconds per corner. |
Step-by-Step Workshop Workflow
Mark the Radius: Position the template over the corner and trace the arc onto the wood so you know exactly where your cut path will be.
Rough Cut: Remove the heavy 90-degree waste corner with a bandsaw or jigsaw to relieve structural pressure on your router bit.
Secure the Jig: Clamp the template precisely to your layout lines, ensuring the metal clamp bars are completely clear of the router path.
Route to Perfection: Make a smooth, continuous pass with your pattern bit keeping firm horizontal pressure against the template wall.
Compatible Materials
Tech Q&A: Template Configuration
❓ Q: Can I use these jigs on a router table instead of hand routing?
A: Absolutely. You can use strong double-sided template tape to secure the jig directly to your workpiece and run it safely across a router table equipped with a bottom-bearing pattern bit.
❓ Q: What size router bit is required for these templates?
A: Any standard flush-trim or pattern routing bit with a guide bearing will work. A heavy-duty half-inch shank bit with a minimum cutting length of one inch is highly recommended to eliminate chatter on thick hardwood.
❓ Q: Are these templates designed for inner or outer corners?
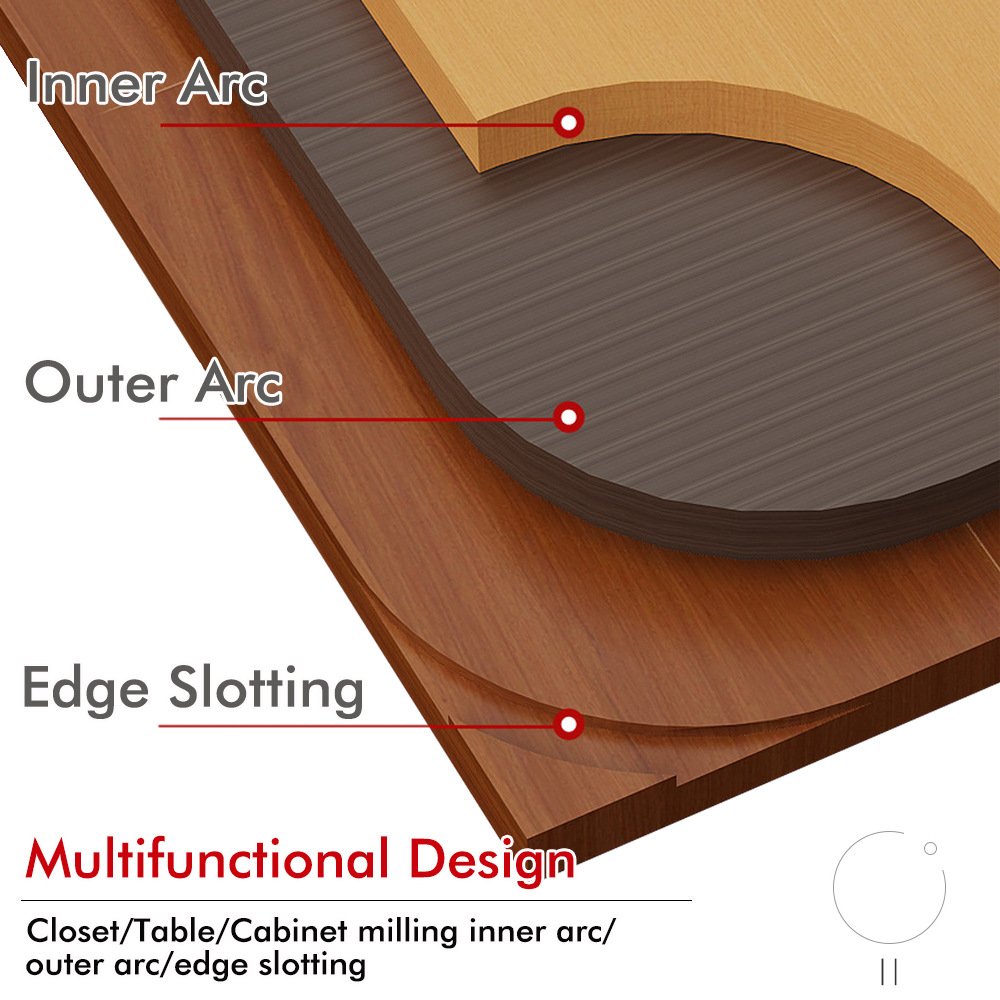
A: Both. The semi-circular physical design provides a perfect rigid guide rail for sweeping convex outer table corners, as well as plunging deep concave inner arc cutouts.
Safety & Operational Notes
- Feed Direction: Never attempt to climb-cut around the radius curve. Always feed the router firmly against the rotation of the spinning bit to maintain control.
- Router Bit Clearance: Ensure your router bit does not extend too far below the workpiece, which could accidentally cut into your workbench below.
- Personal Protection: Always wear impact-rated safety glasses and hearing protection when operating high-RPM routing equipment, as large wood chips will eject rapidly from the cut zone.
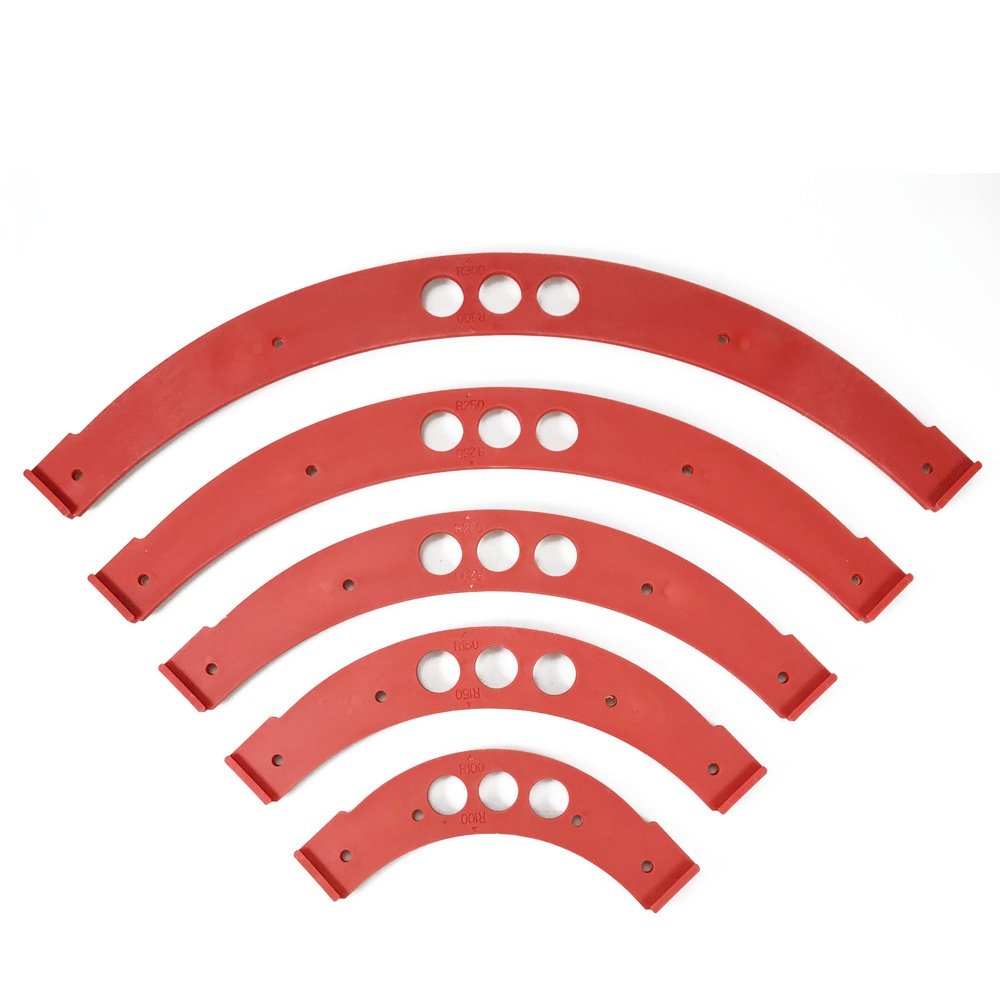
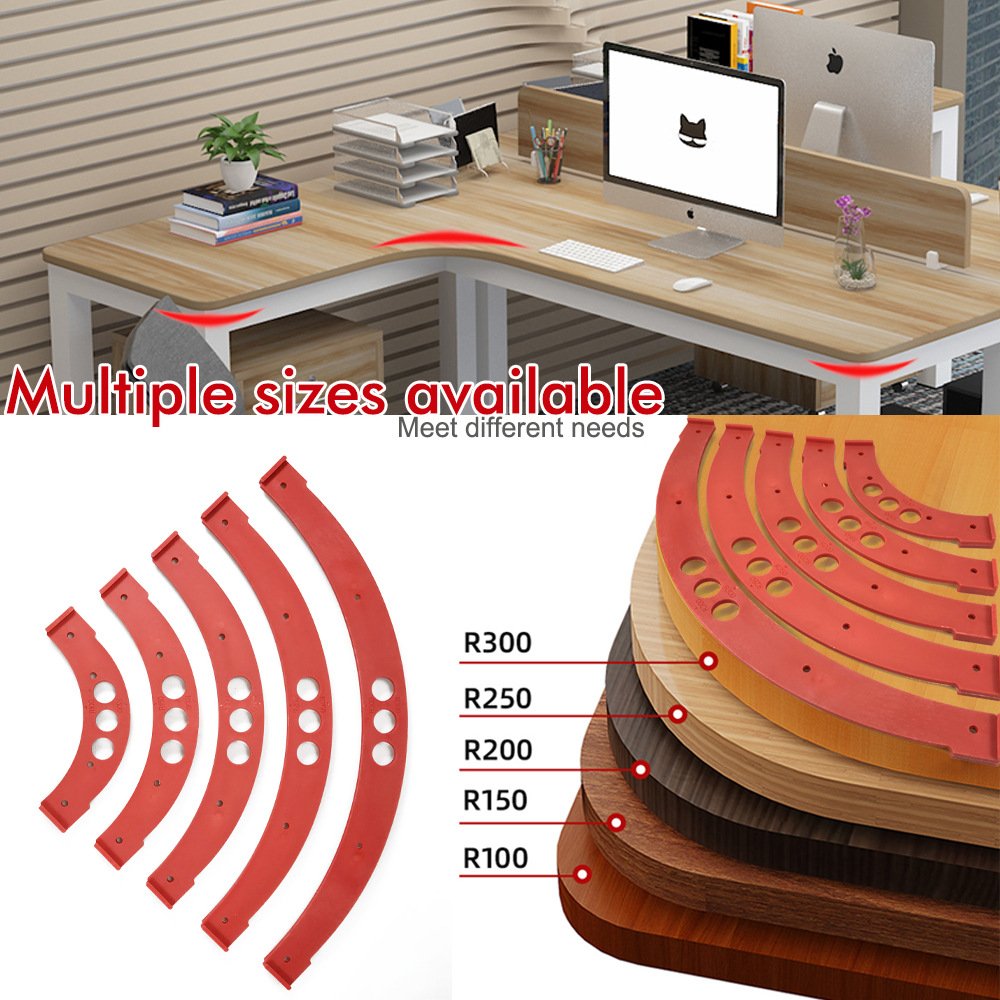
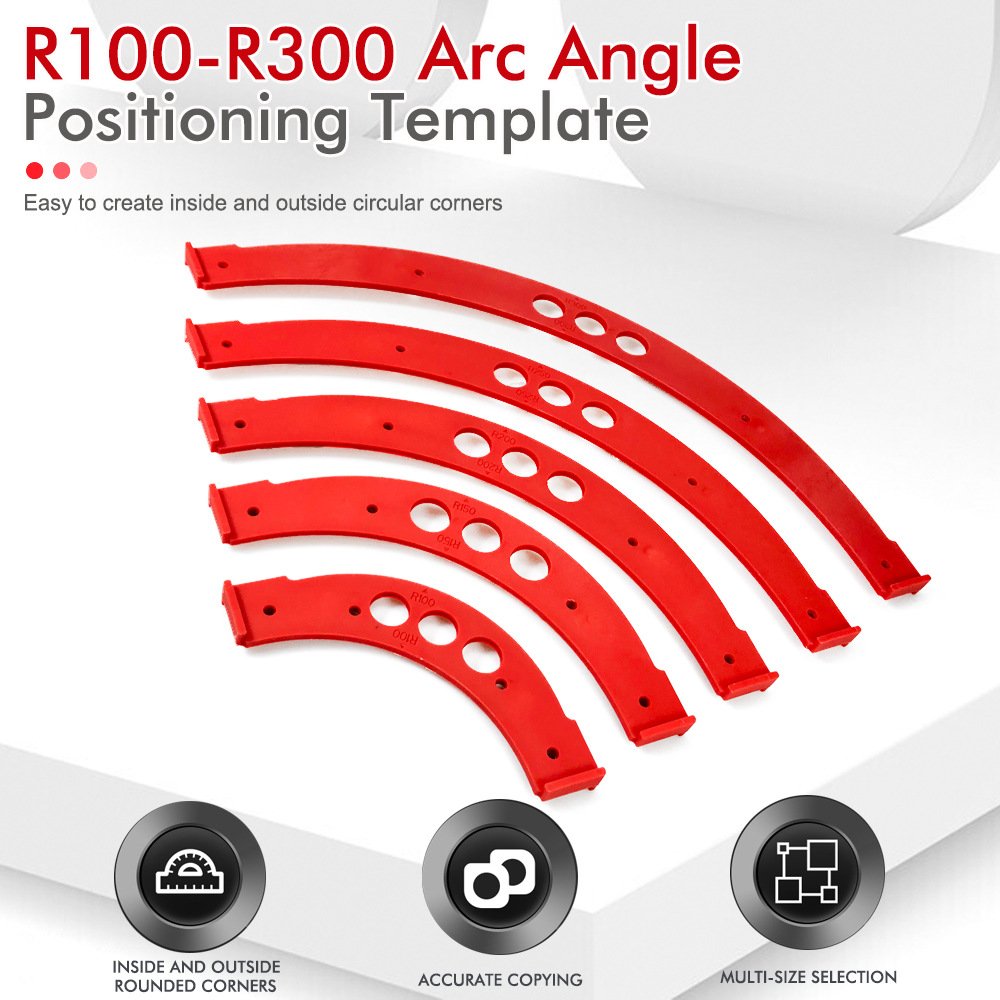
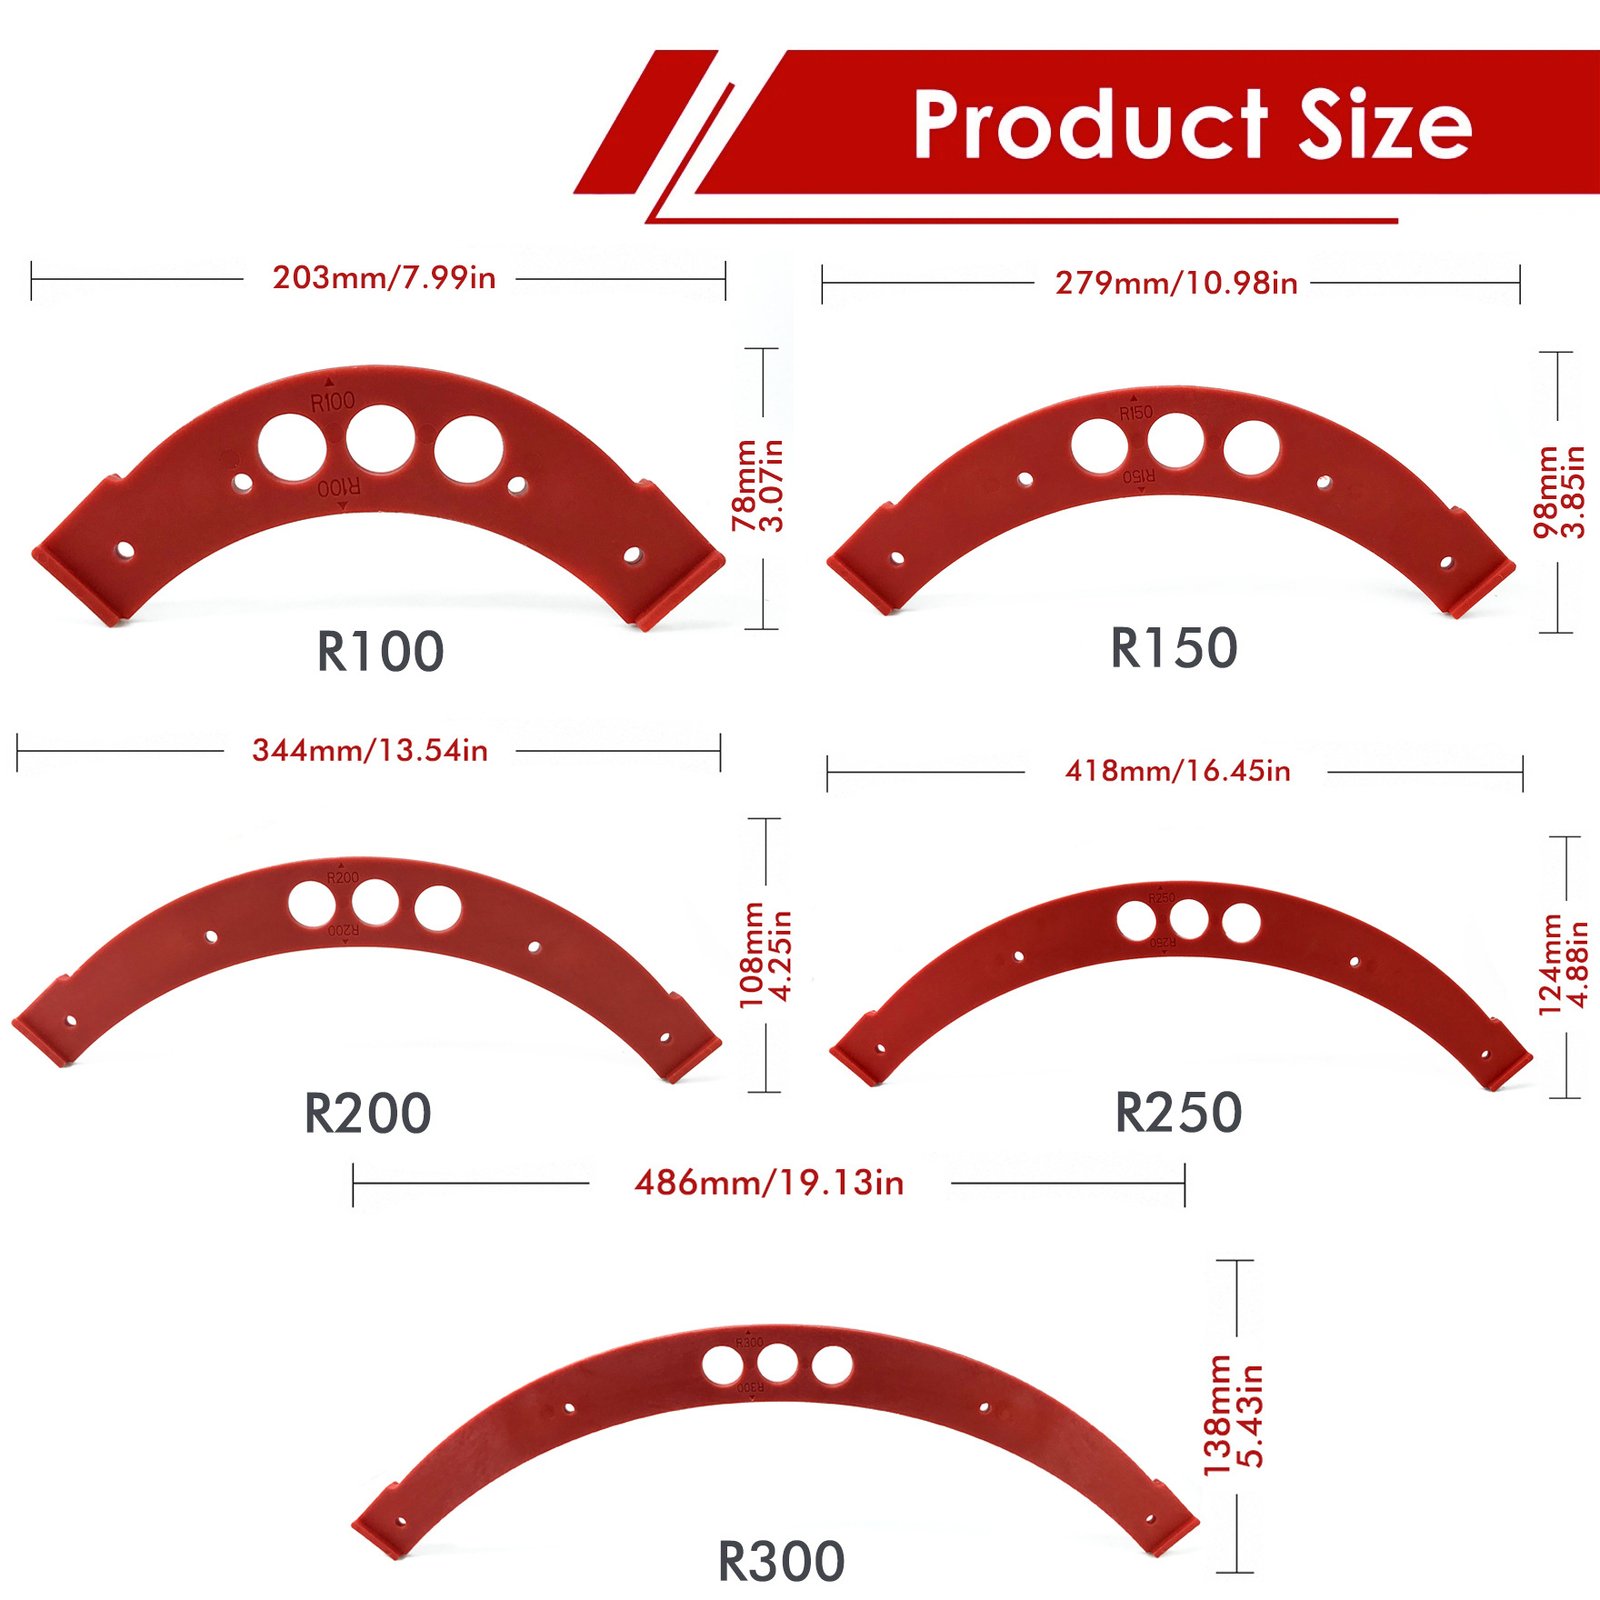
The complete master set includes five massive large-format templates: R100, R150, R200, R250, and R300. This wide range covers everything from small custom coffee tables to massive conference desks and architectural elements.
No. The templates are machined from dense, impact-resistant industrial materials specifically engineered to withstand thousands of high-speed passes from a spinning steel router bearing without indenting, flexing, or losing their true mathematical shape.
The templates feature an extra-wide interior surface area. Simply position your standard woodworking clamps toward the absolute center of the jig body. This leaves plenty of clear perimeter space for the router baseplate to glide smoothly around the outer edge without hitting the metal clamp bars.