Diagnostic Data: Why Freehand Fastener Slotting Fails
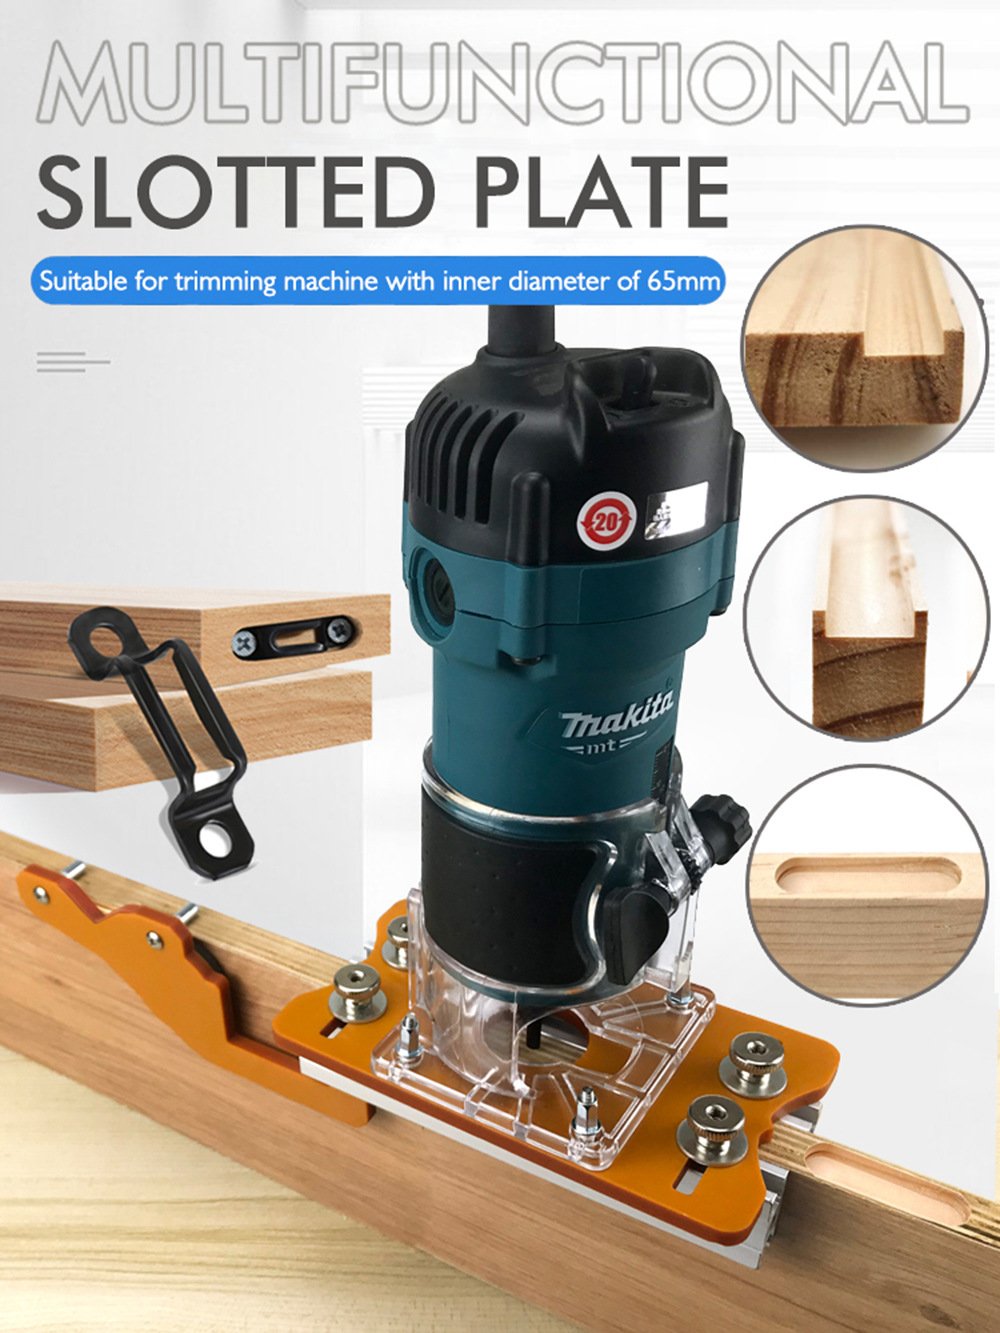
Modern knock-down cabinetry relies on 2-in-1 invisible fasteners to create hardware-free joints. These connectors demand strict machining tolerances. If your slot is off-axis by even 0.5mm, the eccentric cam will bind against the connecting pin, making assembly impossible. Freehanding a plunge cut with a standard router base almost always introduces lateral shift as the carbide bit bites into the end-grain. To execute a structural 2-in-1 joint, you must upgrade your machining workflow to a dedicated, physically locked grooving jig.
1️⃣ Lateral Bit Wander
Operator wrist fatigue allows the router to twist slightly during the plunge, creating an oversized, sloppy mortise that fails to grip the plastic fastener housing.
2️⃣ Z-Axis Depth Variance
Standard plastic router bases flex under downward pressure. The resulting uneven floor prevents the fastener from sitting perfectly flush with the panel surface.
3️⃣ Severe Joint Gapping
Misaligned slots force the panels out of square during final assembly. When you torque the cam lock, the boards push apart instead of pulling tight.
Component Evaluation: OEM Jig vs. Handheld Plunging
| Machining Parameter | Freehand Standard Router Base | 2-in-1 Connector Grooving Tool |
|---|---|---|
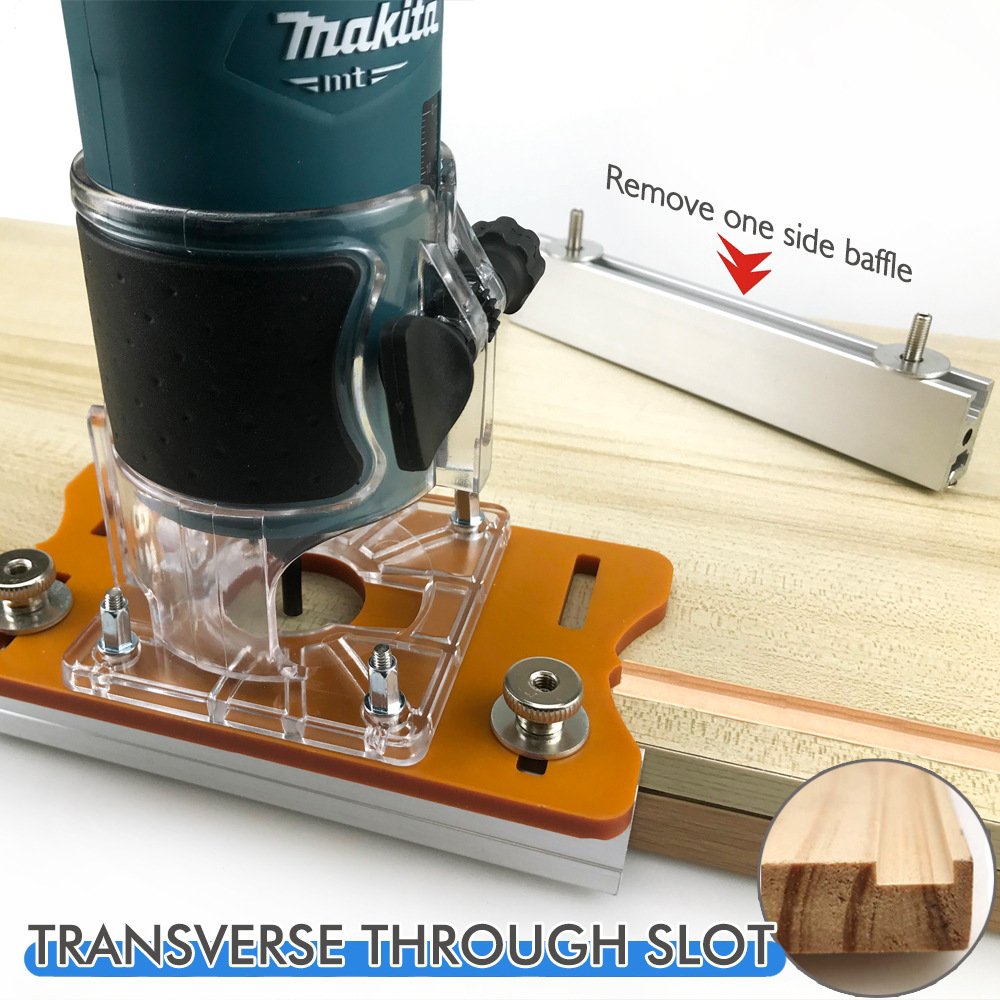
| Plunge Trajectory | Relies entirely on operator arm stability. High failure rate. | ✅ Mechanically locked on linear guide rails. |
| Panel Referencing | Requires drawing individual pencil marks for every slot. | ✅ Built-in indexing pins drop against the board edge. |
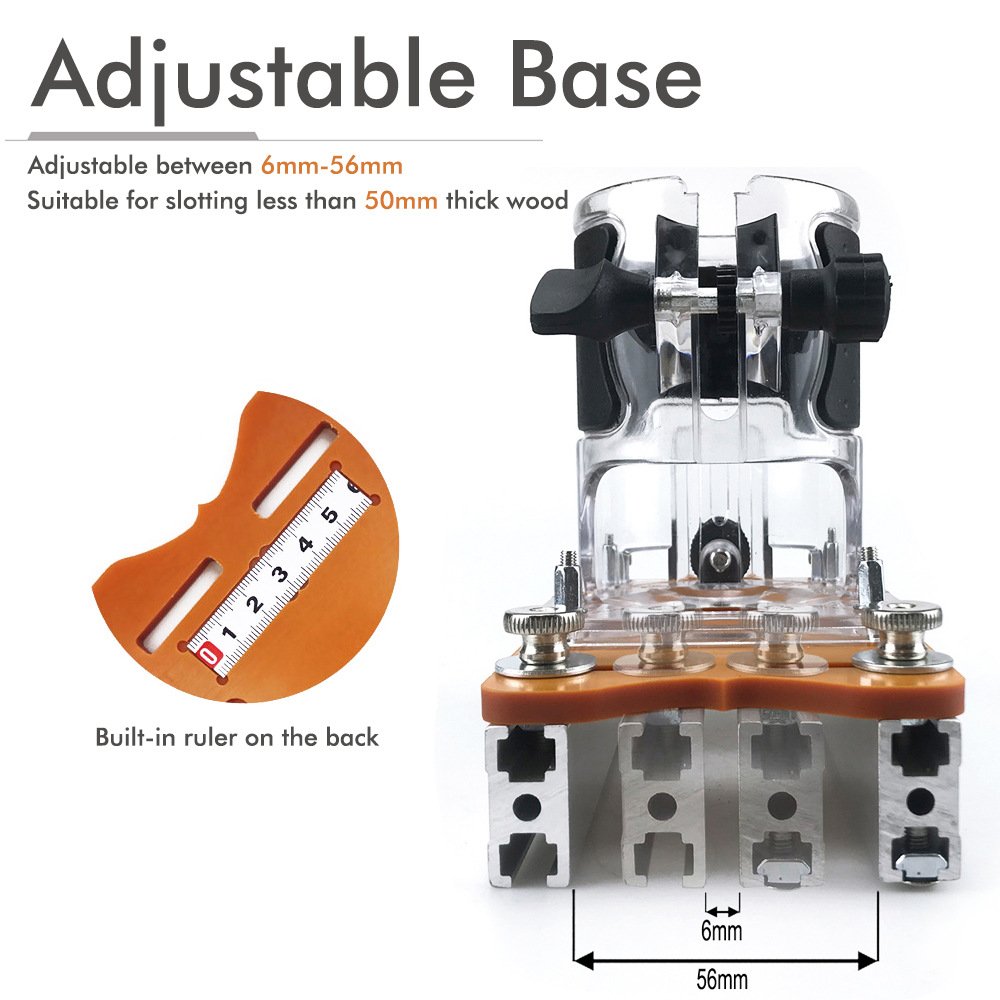
| Chassis Deflection | Acrylic sub-bases warp over time, ruining depth stops. | ✅ Solid aluminum billet prevents all Z-axis deflection. |
Teardown & Machining Workflow
Motor Integration
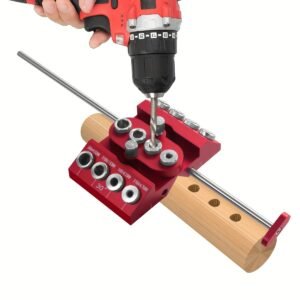
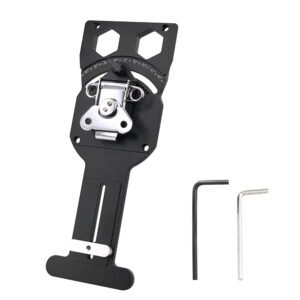
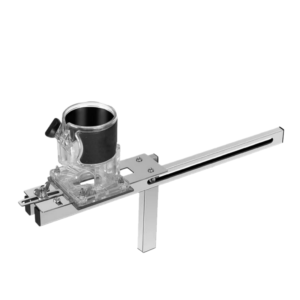
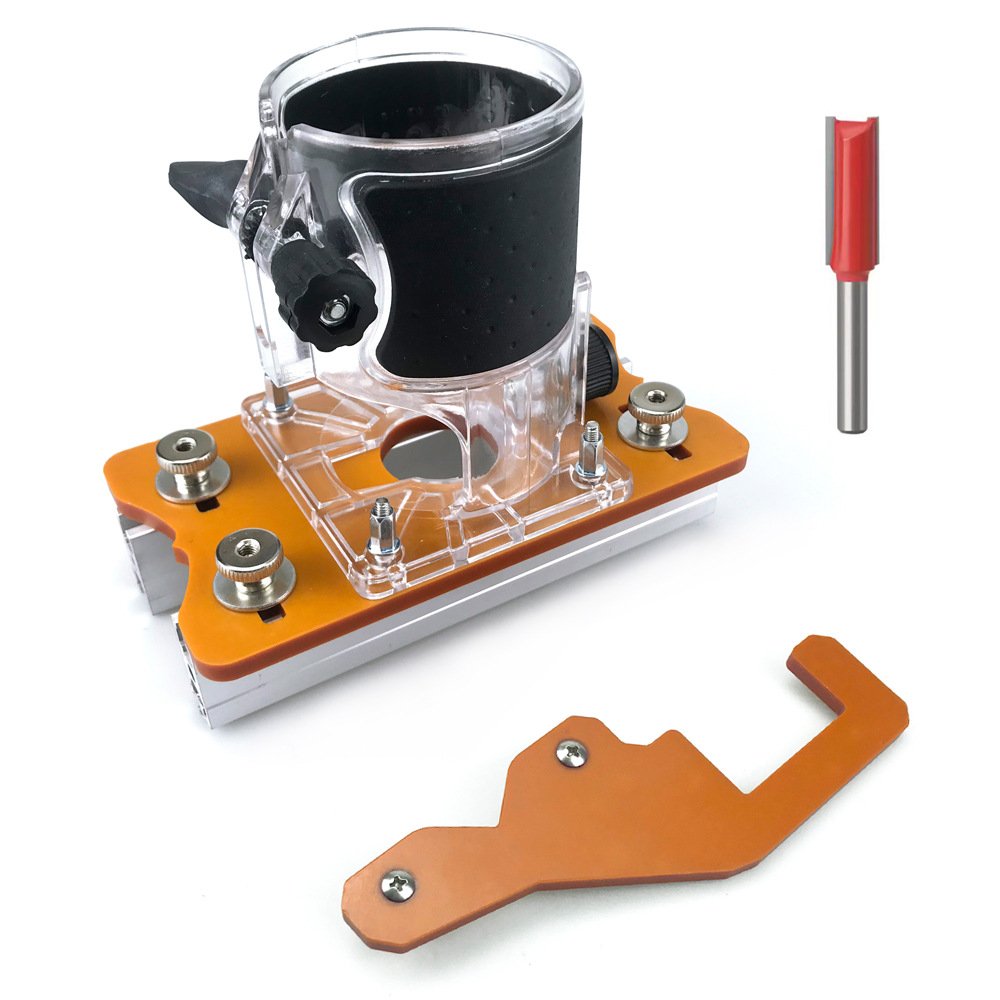
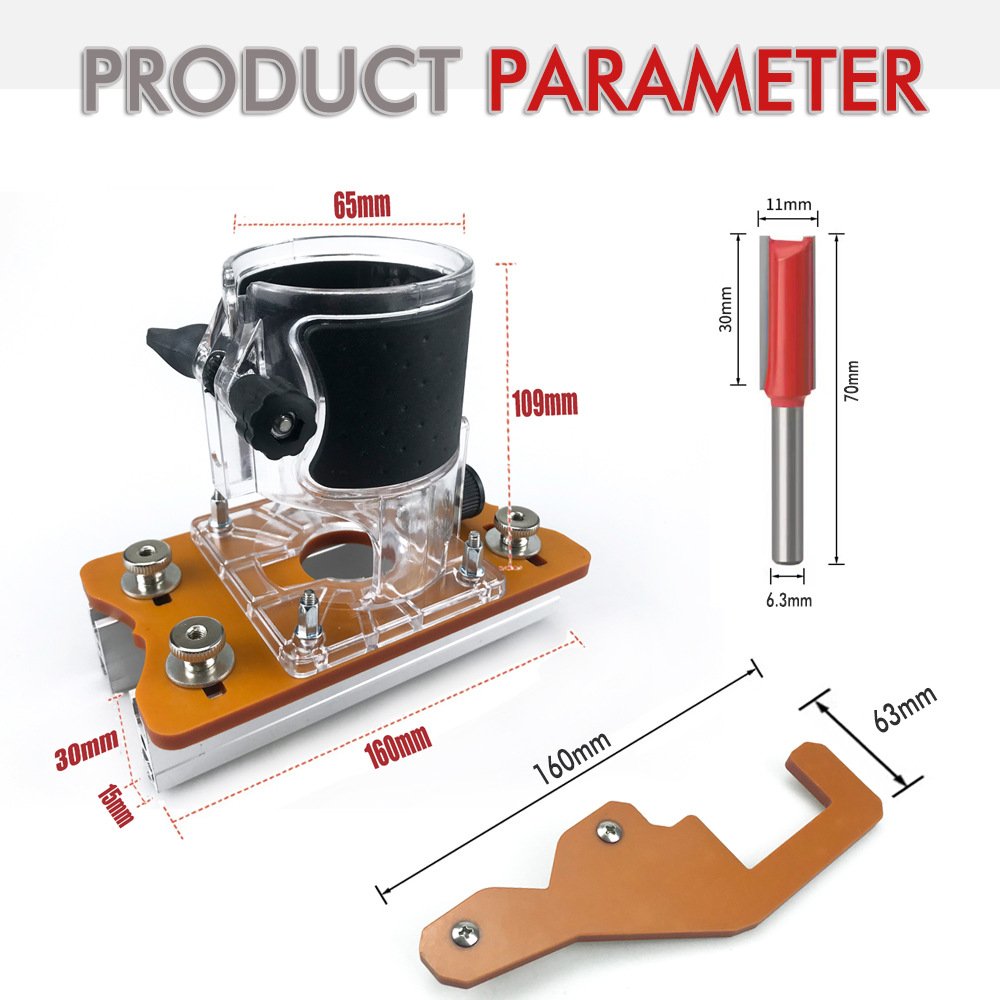
Loosen the tension bolt on the grooving tool collar. Slide your 65mm compact router motor housing into the cylinder and torque the hex bolt to lock it down.
Depth Calibration
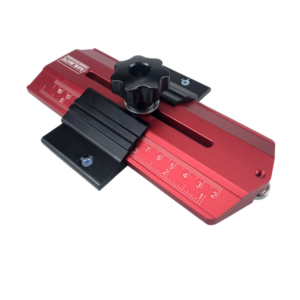
Chuck your T-slot cutting bit. Use the micro-adjust dial on the jig to set the exact plunge depth corresponding to the thickness of your specific 2-in-1 fasteners.
Edge Registration
Rest the flat base of the jig firmly on your workpiece. Push the jig forward until the indexing fences make solid contact with the edge of the panel.
Slot Extraction
Power on the router to full RPM. Push the plunge mechanism forward smoothly in a single fluid motion. Do not pause mid-cut, which causes burn marks and oversized slots.
Fitment & Cross-Reference Data
Diagnostic Q&A
Safety Notes
- Spindle Lock Isolation: Always unplug the router cord from the wall outlet before making any micro-adjustments or swapping the T-slot bit. Accidental switch activation during calibration will destroy your fingers.
- Workpiece Immobilization: Never attempt to slot a free-floating board. The torque of the plunge cut will spin the panel. Clamp the workpiece aggressively to your bench before engaging the router.
- RPM Feed Rates: Maintain a high RPM (above 20,000) and a moderate, steady feed rate. Plunging too slowly will cause friction burn, while plunging too fast will snap the narrow shank of the T-slot bit.
This precision routing jig is engineered for modern, invisible panel joinery. It is the perfect layout tool for building custom frameless cabinets, wardrobes, and high-end flat-pack furniture. It allows you to quickly and accurately route the precise slots required for 2-in-1 hidden fasteners (cam and bolt systems), ensuring seamless 90-degree corners or edge-to-edge joints on plywood, MDF, or melamine panels.
While pocket holes are fast, they leave ugly visible voids that require time-consuming plugging and sanding, which is unacceptable for high-end cabinetry. Standard dowels are invisible but offer zero pulling power. This 2-in-1 grooving tool lets you install hidden locking connectors that provide massive internal clamping force, pulling even slightly bowed panels perfectly flush while remaining 100% invisible on the exterior of your furniture.
Crucial Cabinetmaker Tip: Always index (reference) the jig from the “show face” (the outside visible face) of both panels you are joining. Plywood thickness always varies slightly; by referencing the same outer face, you guarantee the outside joint will be perfectly flush. Additionally, always dial in your router bit plunge depth on a piece of scrap wood first so you don’t accidentally blow through the delicate veneer of an expensive sheet of plywood!