Diagnostic Data: Why Freehand Tape Measure Layouts Fail
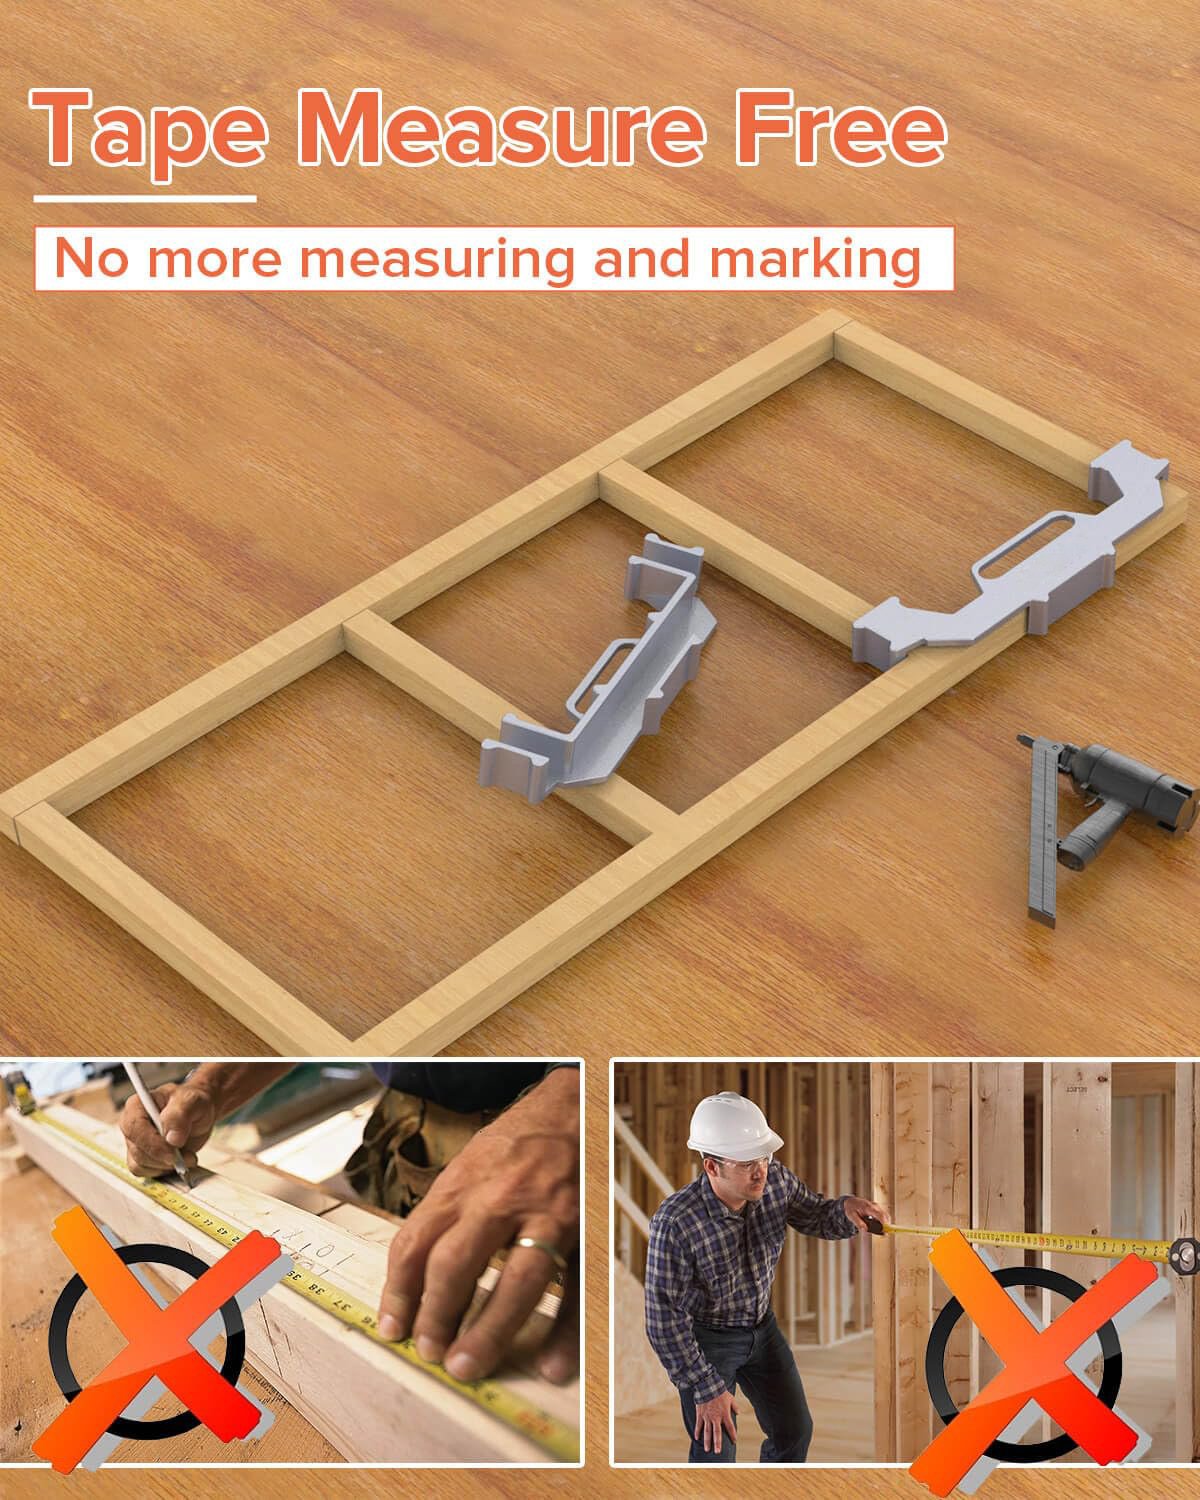
Structural wall framing relies on absolute mathematical consistency. When you use a tape measure and a speed square to mark 16-inch on-center layouts, you introduce multiple points of failure. The metal hook on a dropped tape measure bends, introducing a 1/16-inch variance. A dull carpenter’s pencil adds another 1/8-inch of drift. By the time you reach the end of a 20-foot bottom plate, this cumulative error means your studs are entirely off the grid. When the drywall crew attempts to hang standard 4×8 sheets, the seams miss the studs completely, requiring massive tear-outs and sistering to pass building code inspections.
1️⃣ Compounding Layout Drift
Human error in reading tape measures causes each bay to be slightly wider or narrower. These fractions of an inch compound, destroying the structural grid pattern required for sheathing.
2️⃣ Lateral Plate Skew
Without a physical block holding the lumber, the rotational torque of hammering or pneumatic firing twists the stud off the 90-degree axis, creating wavy walls that bow the drywall.
3️⃣ Inspection Rejection
Inconsistent bays and off-center studs fail structural shear wall code requirements, causing the inspector to red-tag the build and halt production.
Component Evaluation: Mechanical Jig vs. Freehand Alignment
| Machining Parameter | Freehand Tape & Square Method | Precision Framing Layout Tool |
|---|---|---|
| Tolerance & Drift | High cumulative error (+/- 1/2 inch over 20 feet). | ✅ Zero cumulative error. Mathematically locked spacing. |
| Nail Deflection Resistance | Relies on operator boot pressure to stop wood shift. | ✅ Rigid aluminum jaws physically trap the lumber. |
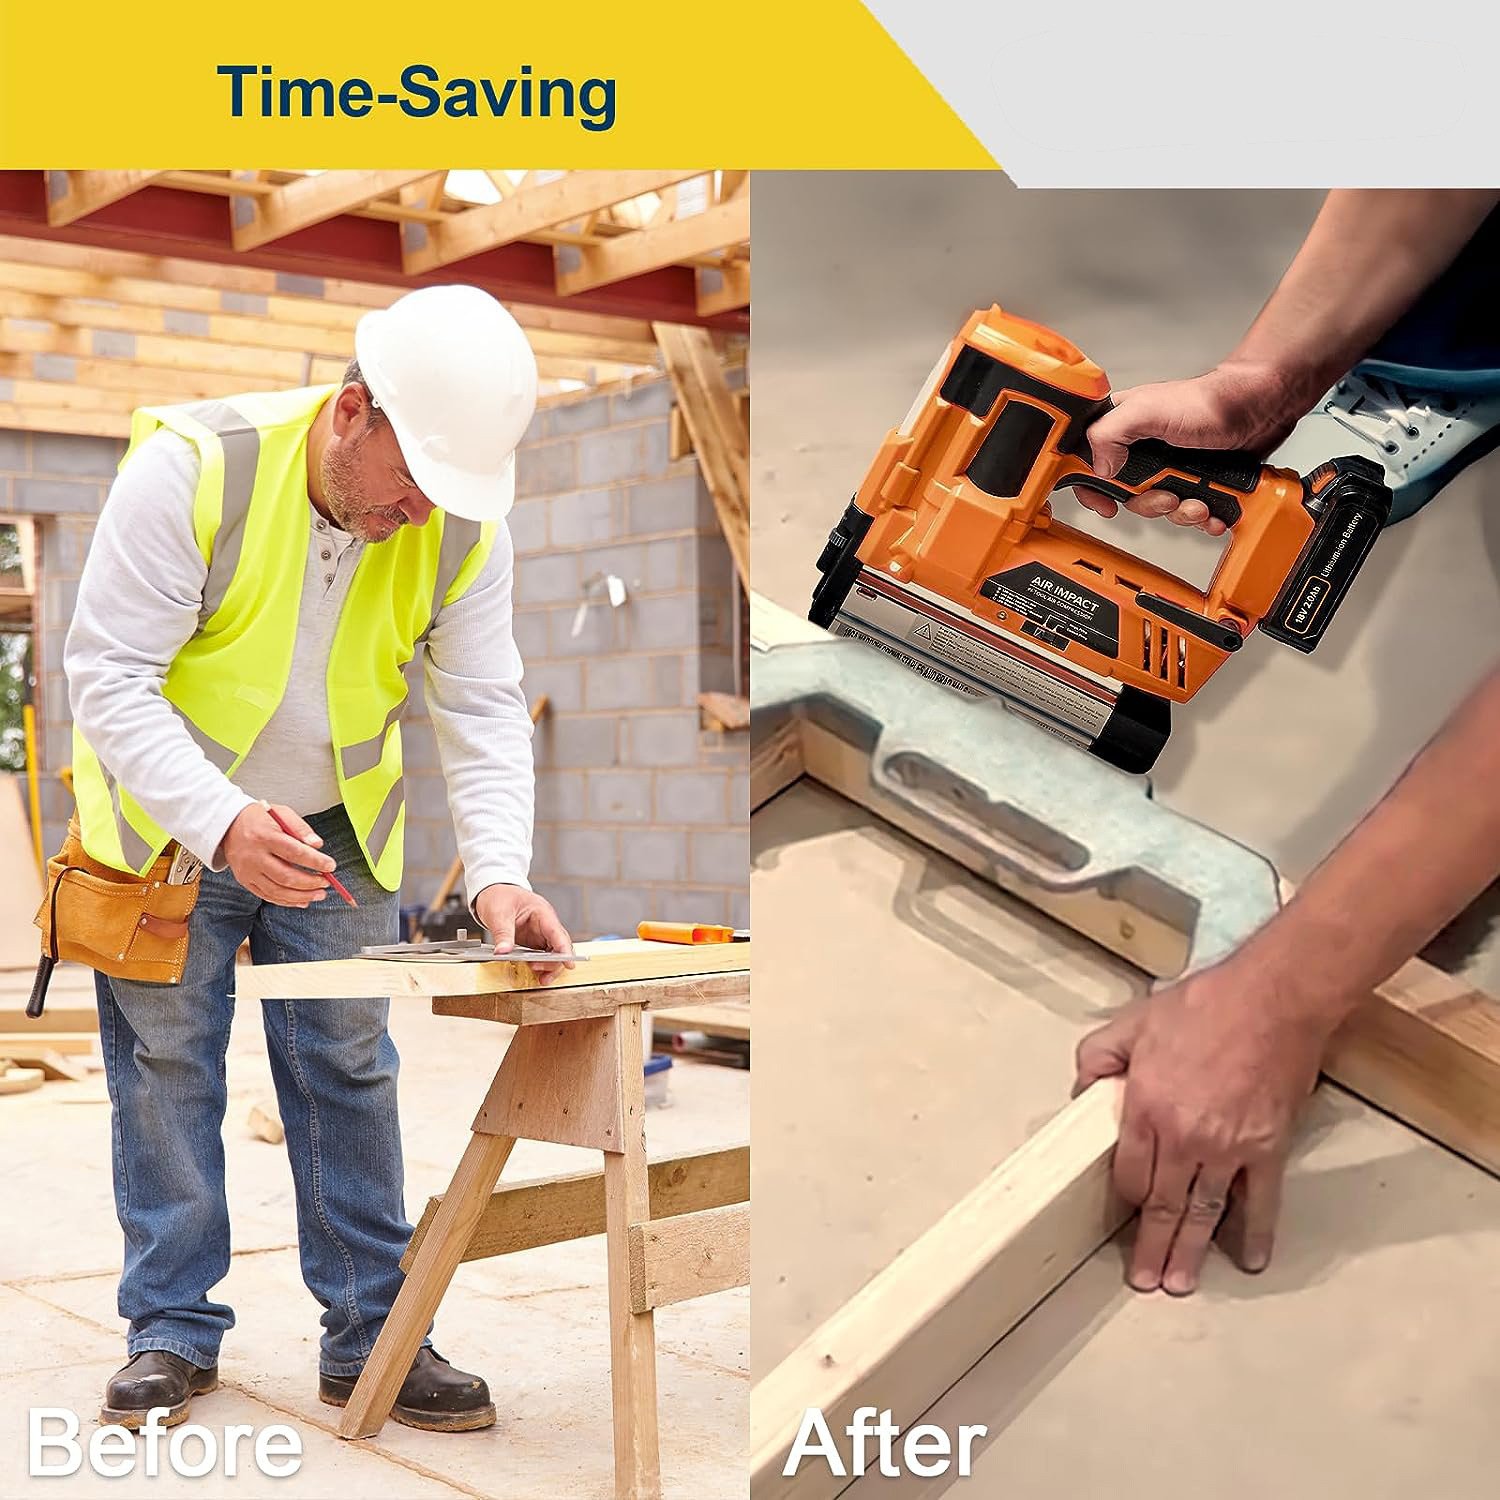
| Execution Speed | Requires marking top and bottom plates independently. | ✅ Instant drop-and-shoot sequential indexing. |
Teardown & Layout Execution Workflow
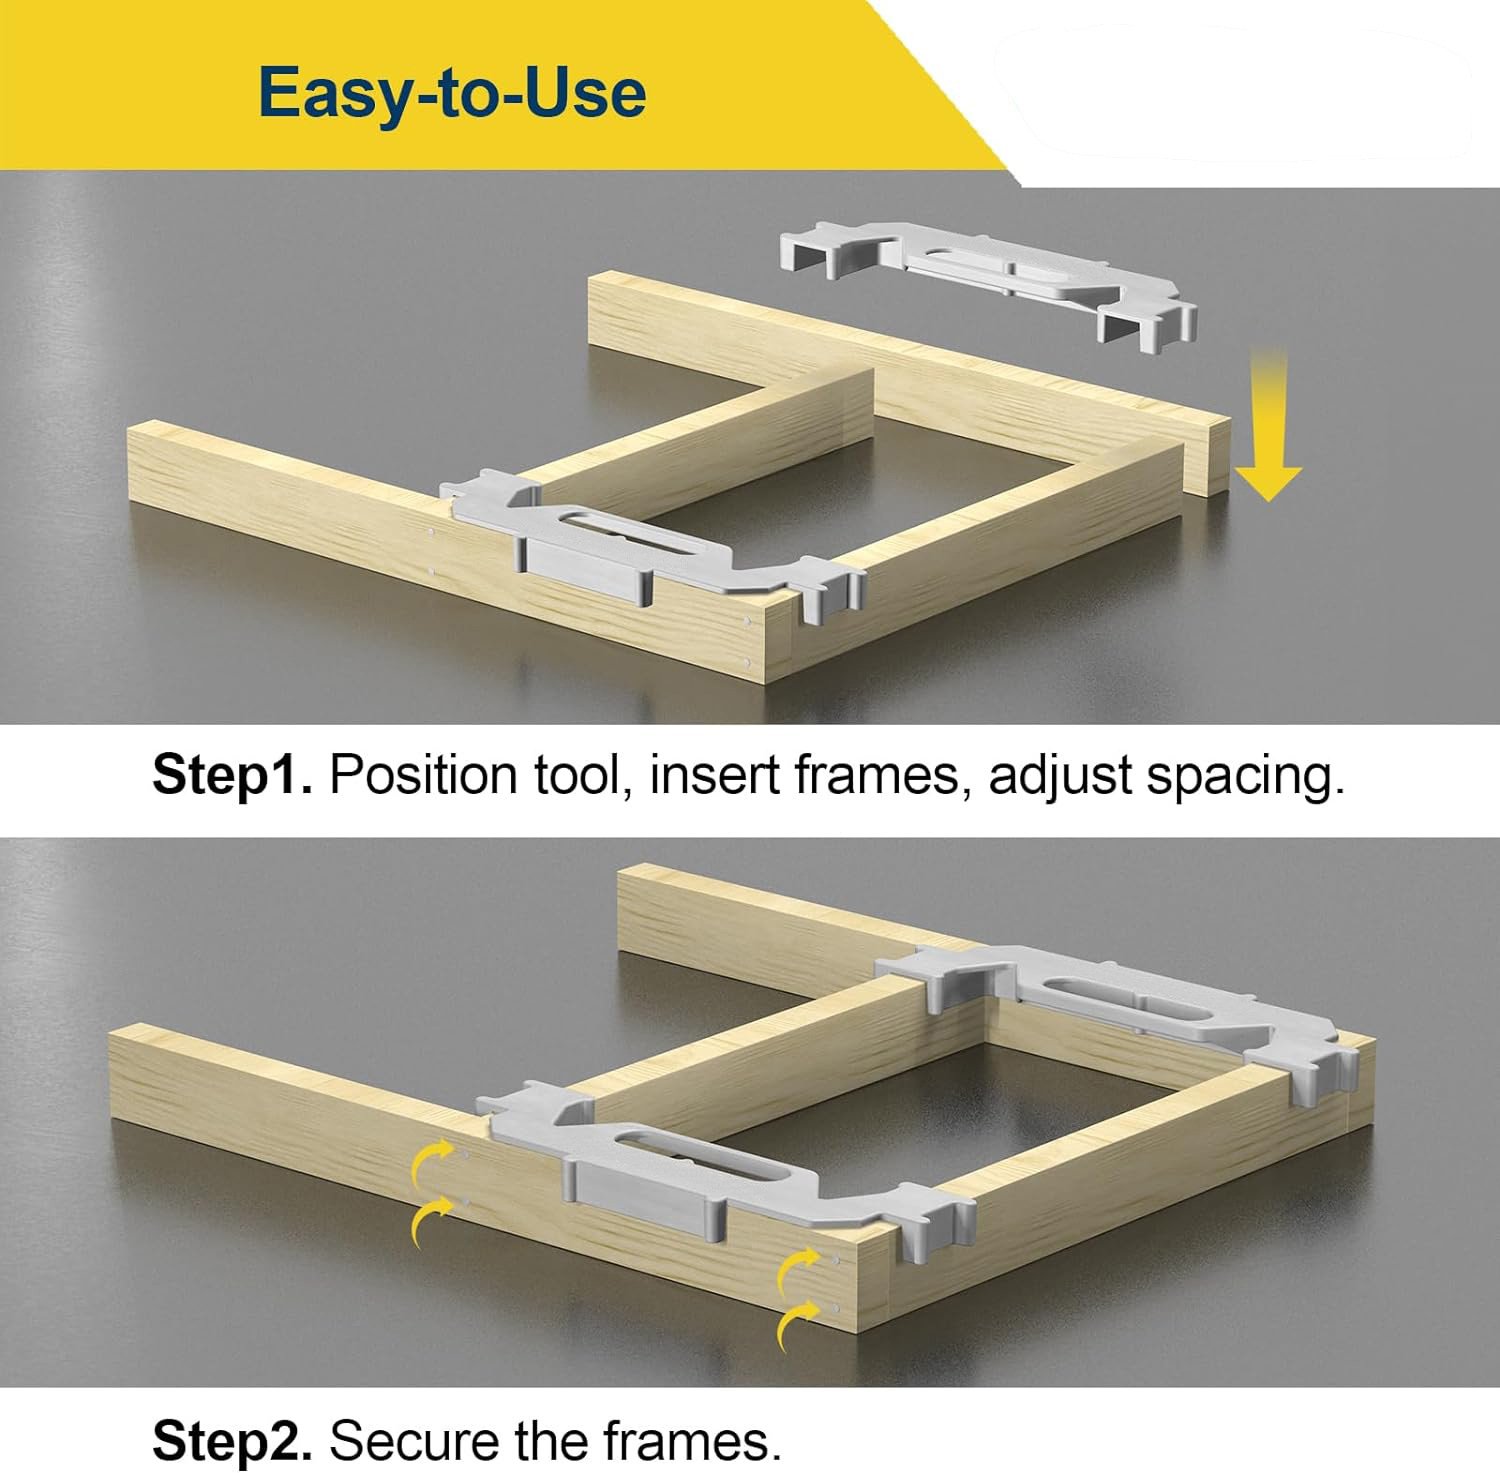
Base Plate Registration
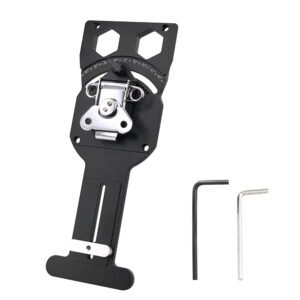
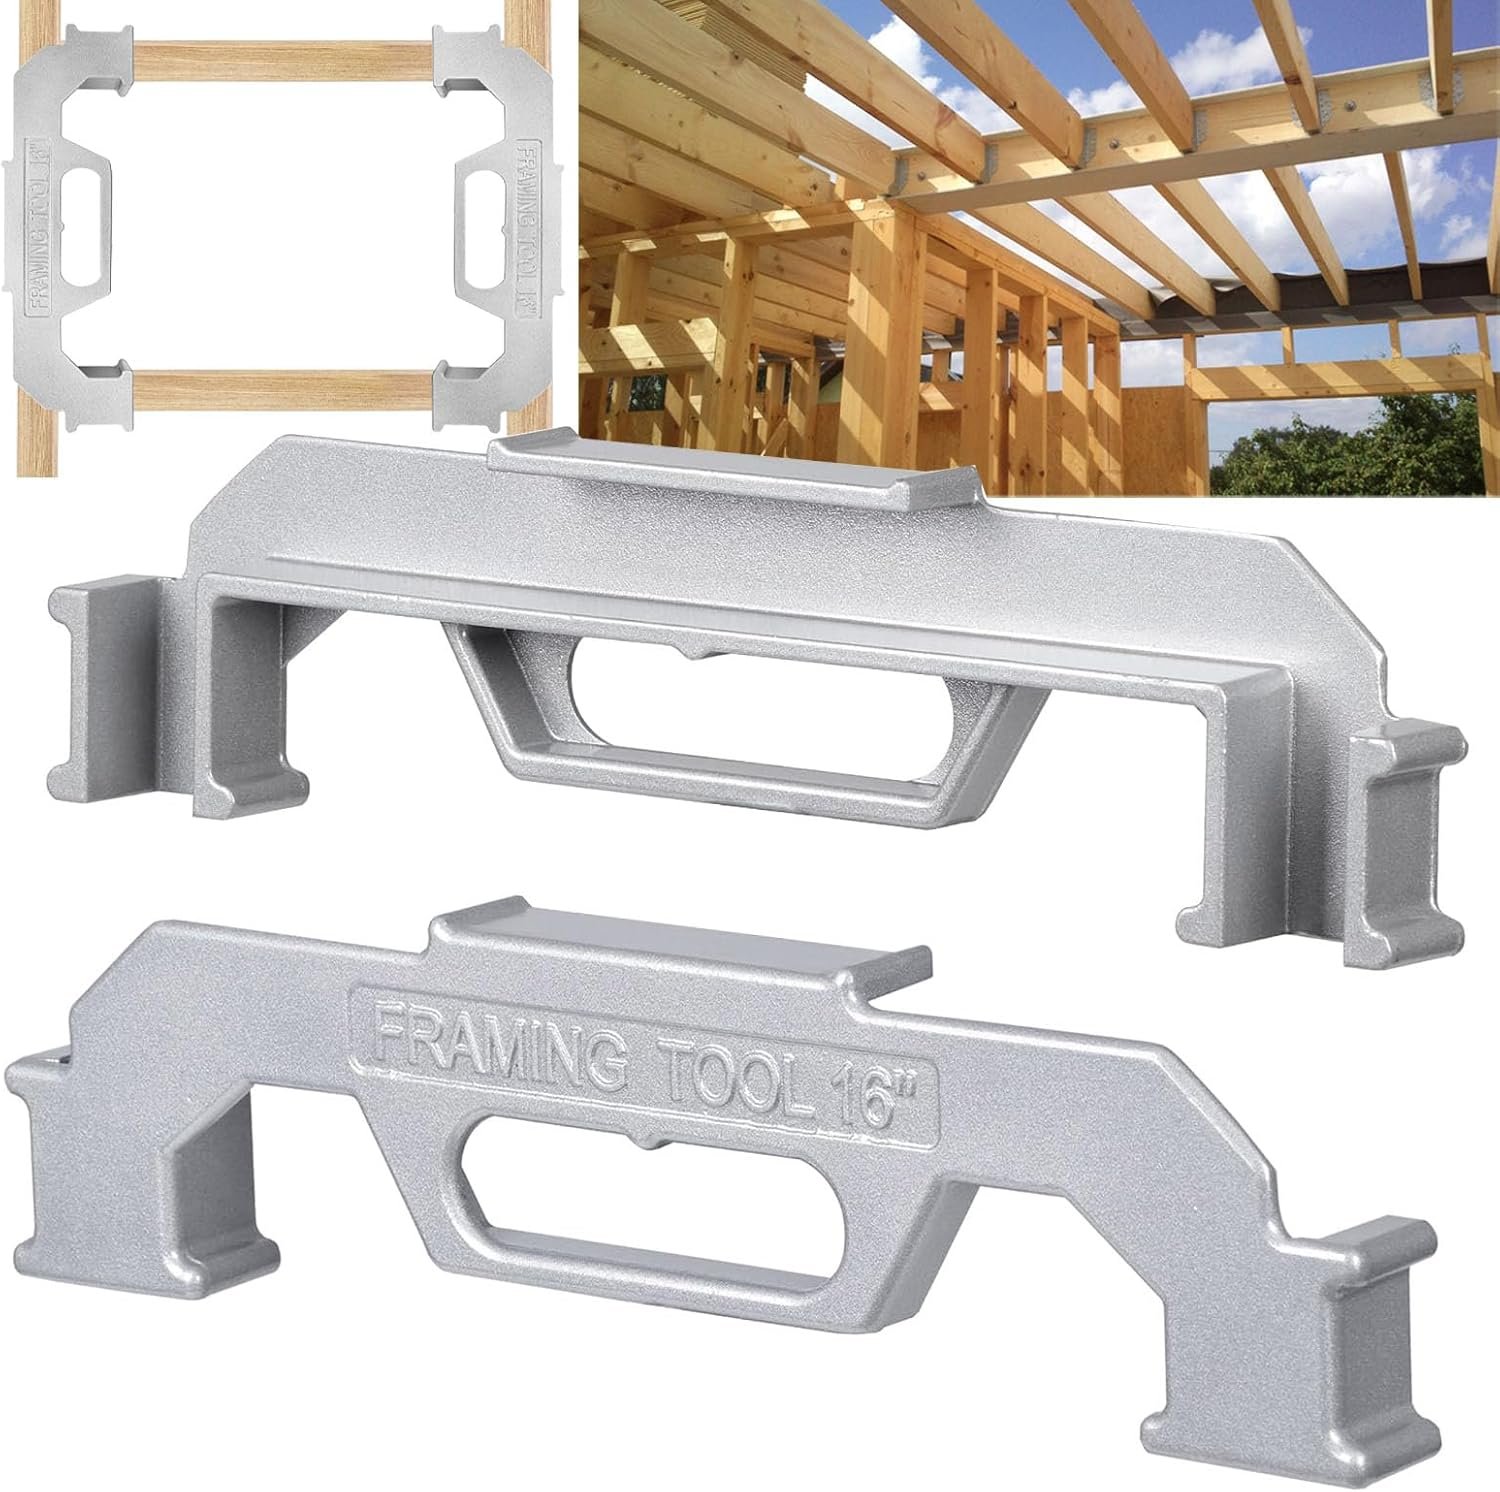
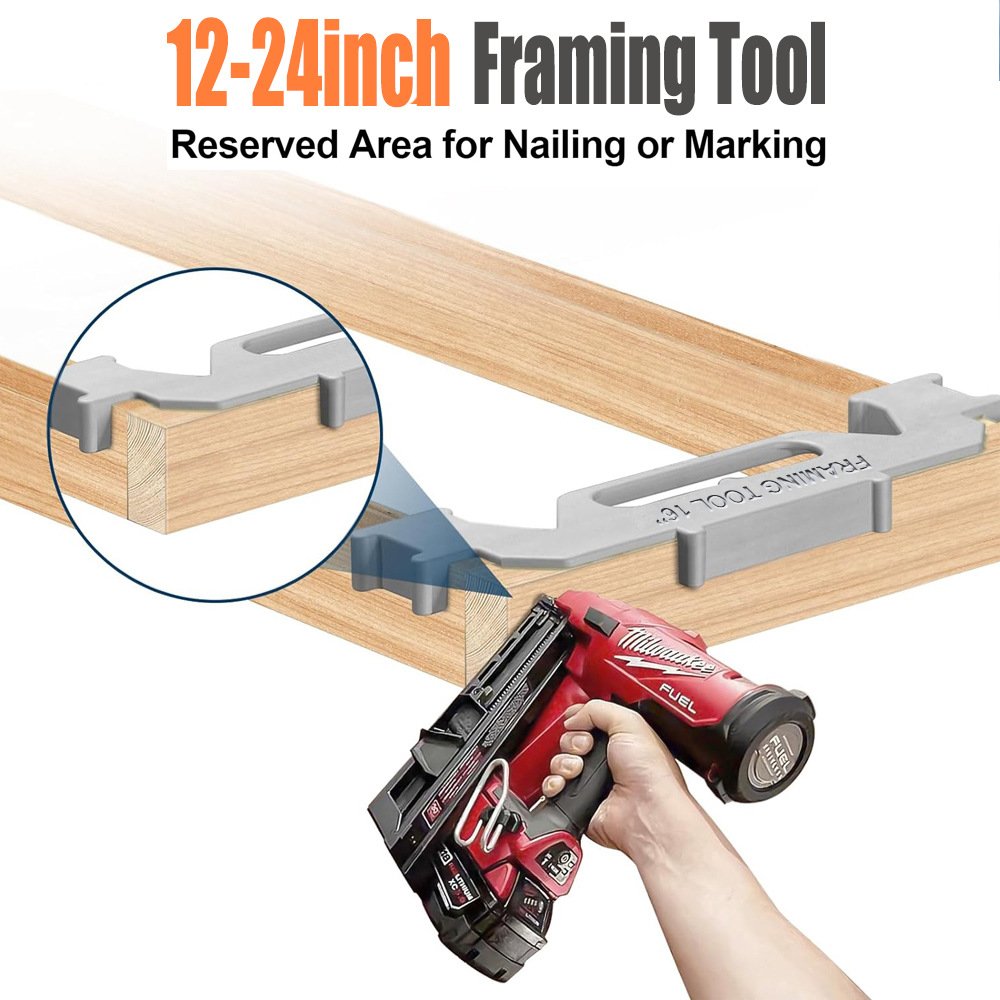
Hook the primary indexing flange of the jig directly over the end of your bottom sill plate to establish the structural zero-point.
Stud Insertion
Slide your standard dimensional 2×4 stud into the central receiving channel of the tool. Ensure the wood sits completely flush against the back stop.
Mechanical Lockdown
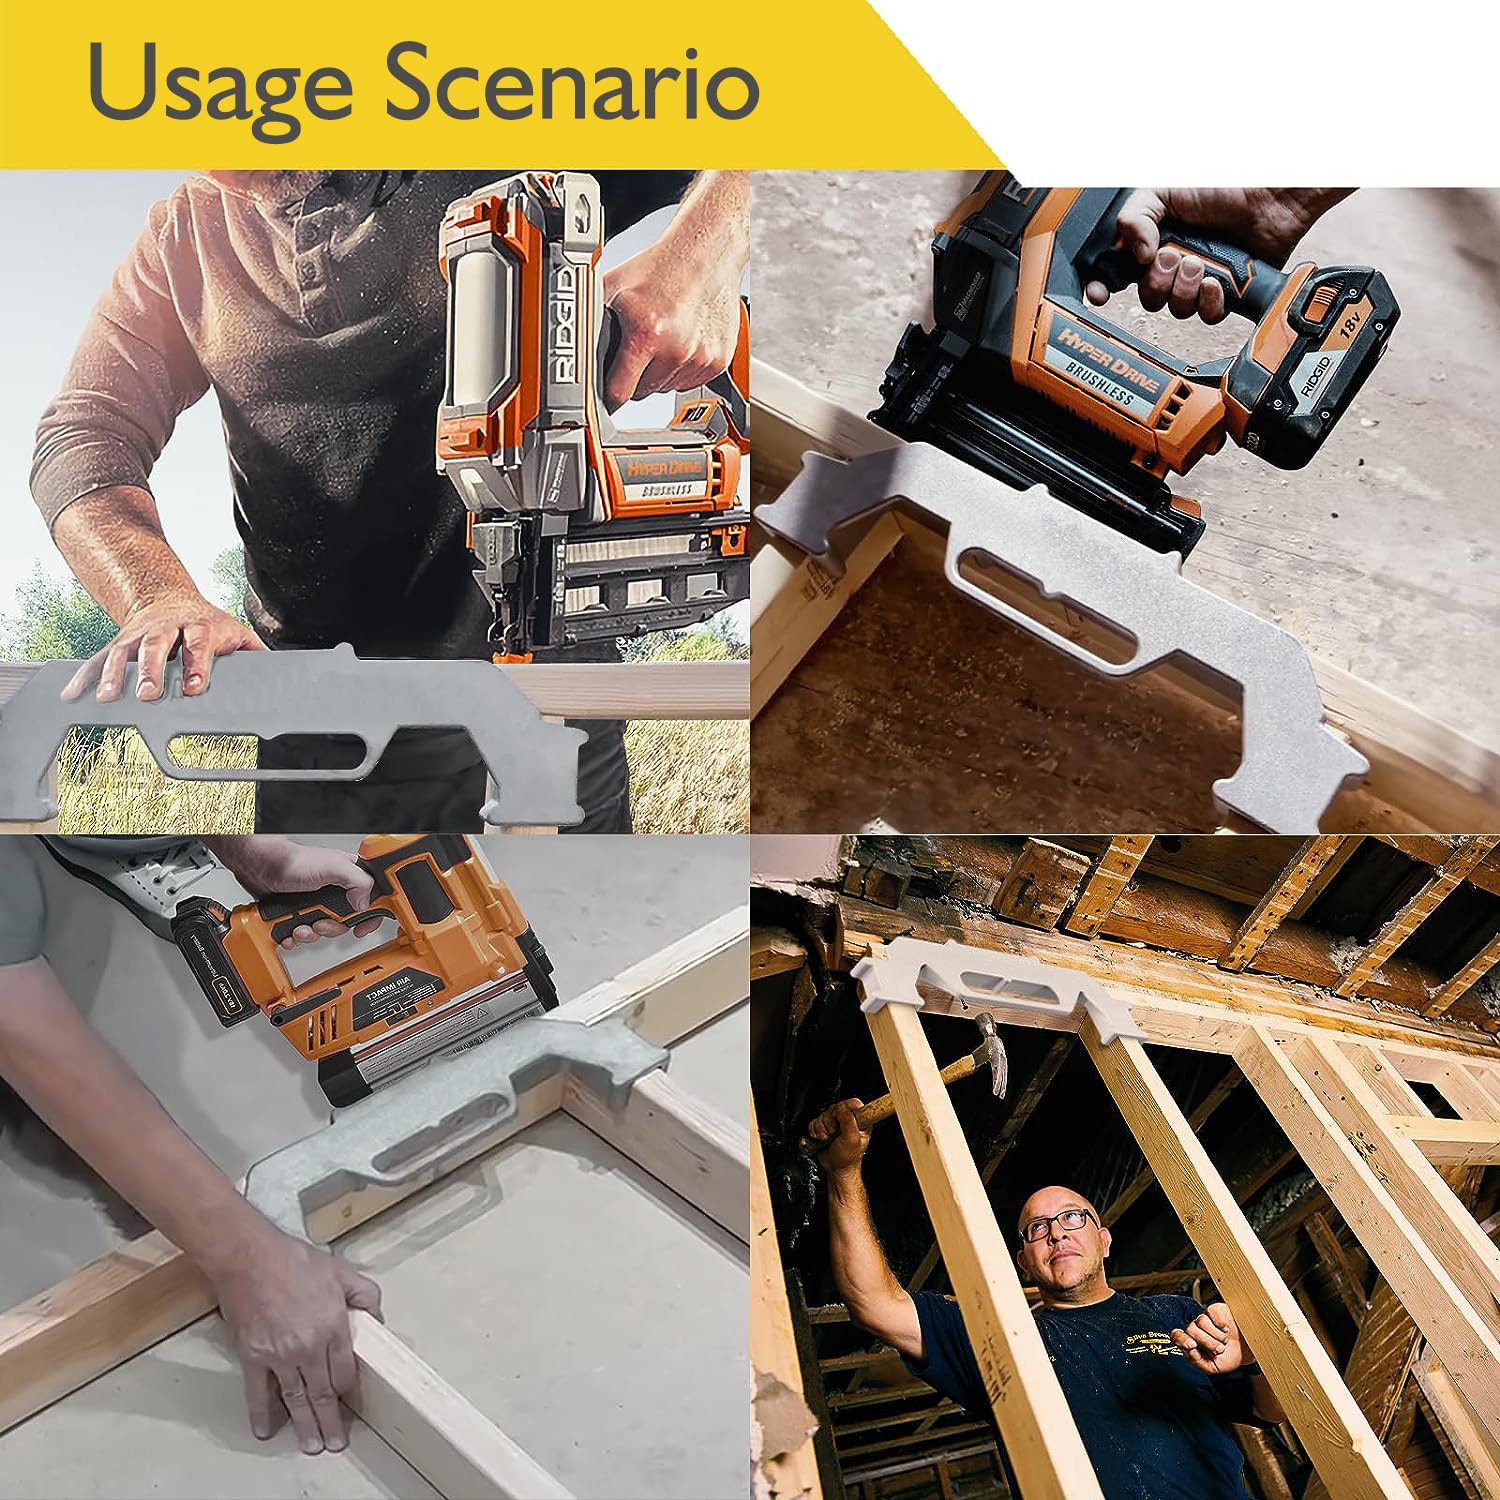
While the jig traps the stud at a perfect 90-degree angle, drive your pneumatic fasteners through the stud and into the plate. The jig prevents all lateral blowout.
Sequential Indexing
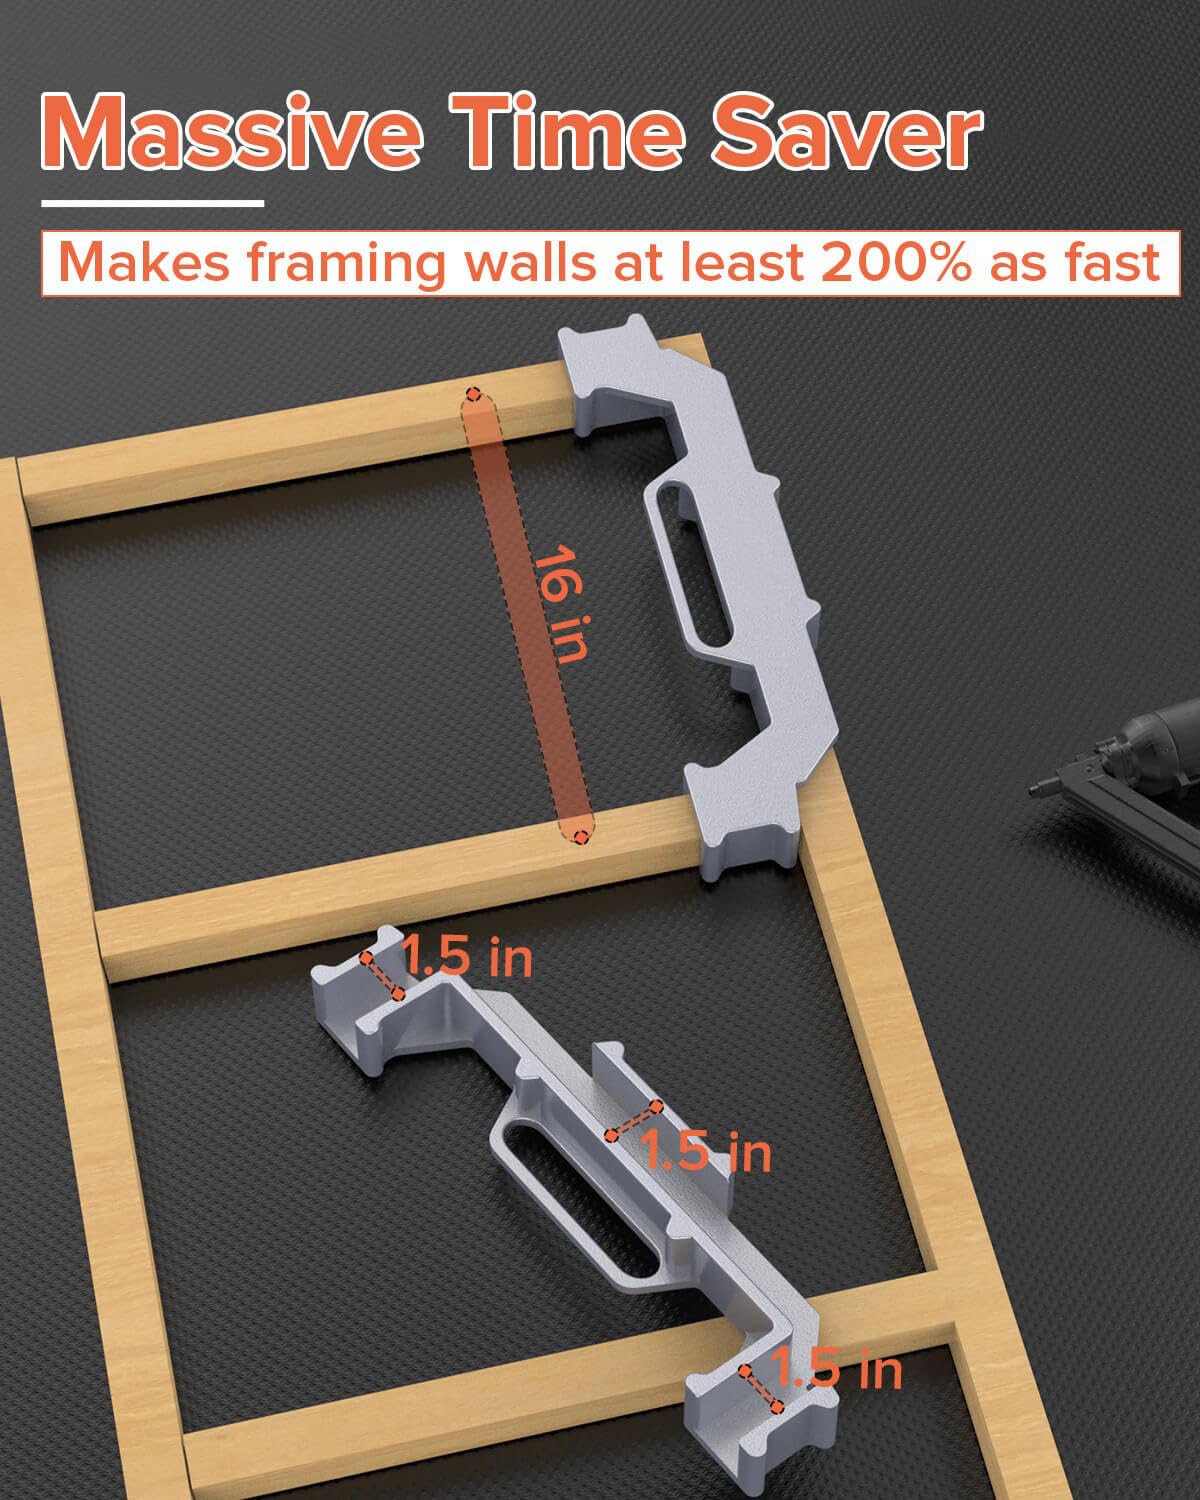
Slide the tool down the plate until the rear flange registers tight against the newly fastened stud. Repeat the insertion process for a flawless on-center grid.
Fitment & Cross-Reference Data
Diagnostic Q&A
Safety Notes
- Pneumatic Disconnect: If a framing nail hits a hard knot and deflects, immediately disconnect the air hose from the nailer before attempting to pry the jig free from the bound wood.
- Torque & Pinch Hazards: Keep your off-hand clear of the aluminum flanges when firing. The recoil of a heavy pneumatic gun can slam the metal jig backward into your fingers, causing severe crushing injuries.
- Tool Maintenance: Resin and sap will build up inside the aluminum channel over time, throwing off the 90-degree seating. Periodically scrub the inner chassis with a solvent to maintain dead-center alignment.
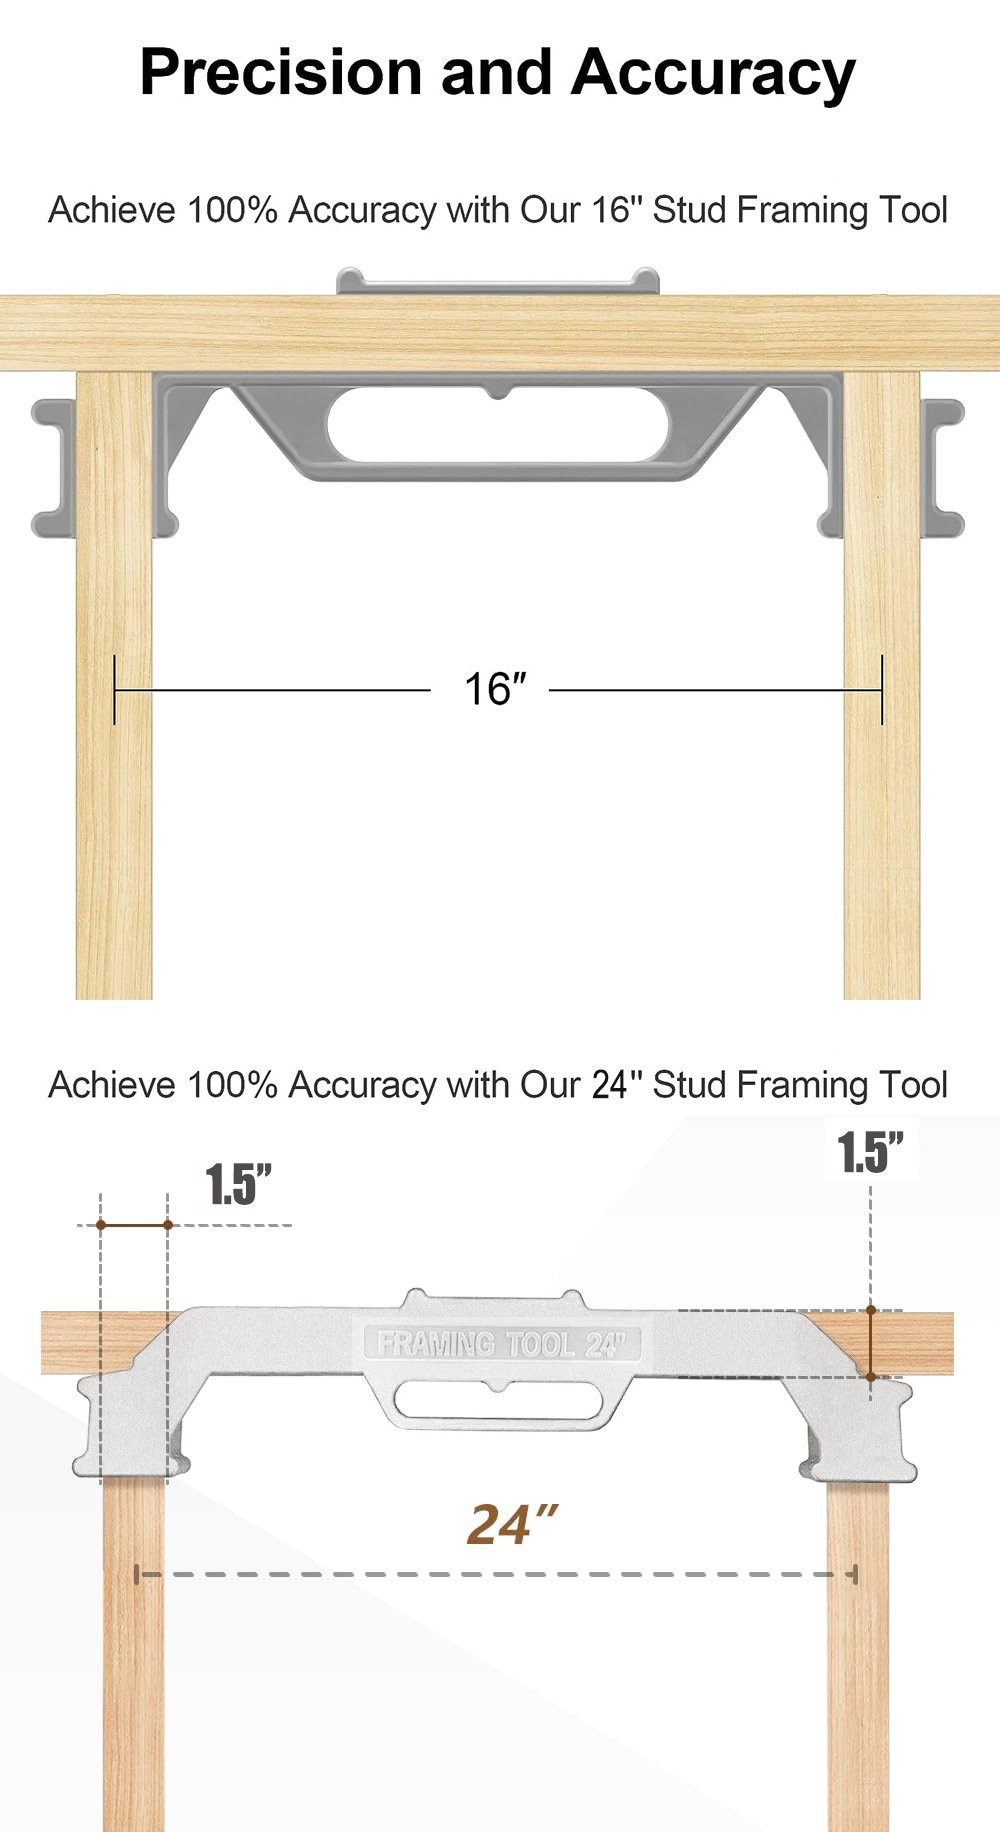
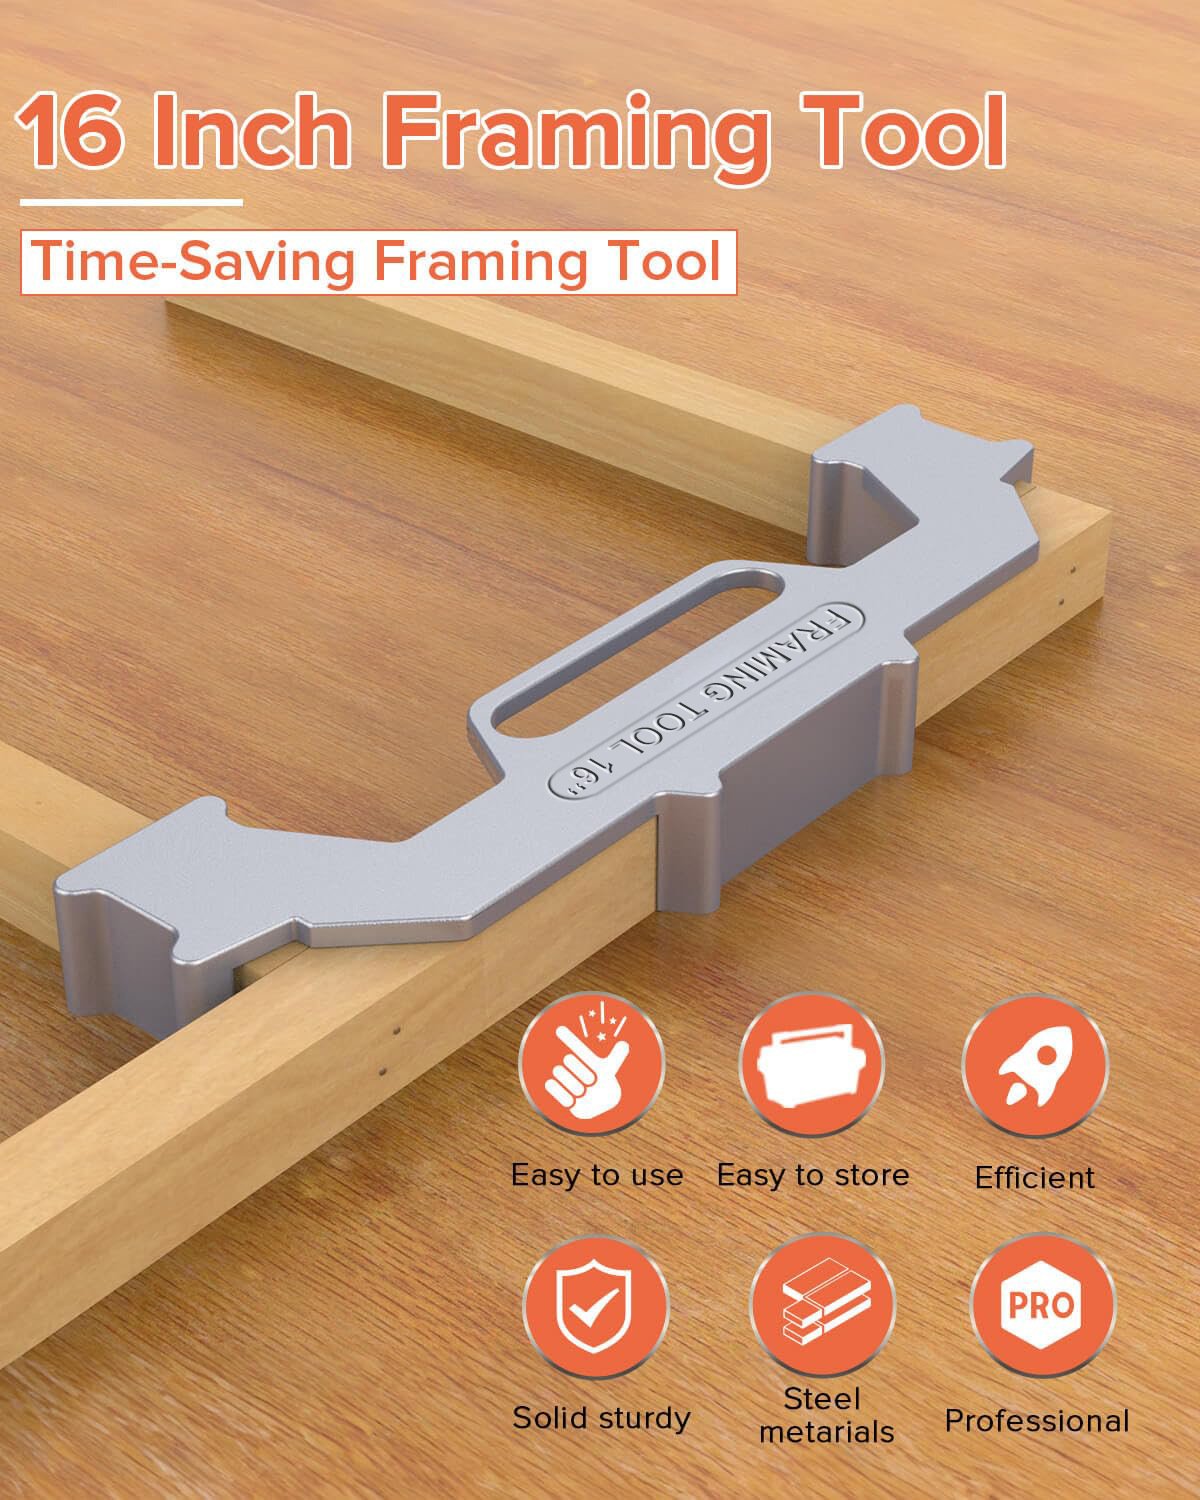
Yes, absolutely. This precision framing tool is specifically engineered to guarantee perfectly spaced 16-inch on-center (16″ OC) stud layouts. It is the ultimate time-saver for building residential walls, garages, or backyard sheds, ensuring your wooden studs align flawlessly with standard 4×8 drywall, plywood, or OSB sheets without the need for constant tape measure adjustments.
Traditional tape measure and pencil methods are slow and highly prone to “cumulative error”-where a 1/16-inch mistake on your first stud snowballs into a massive gap by the end of the wall. This cast tool slides directly over your lumber, providing a rigid, physical template that guarantees every single stud drops perfectly into place. It speeds up layout time by up to 50% and completely eliminates costly teardowns.
Crucial Framing Pro Tip: Always tack or clamp your top and bottom wall plates together on the deck before marking. Slide this layout tool over both plates simultaneously to mark them perfectly in sync. Also, always check the “crown” (the natural bow) of your lumber before nailing. Make sure all stud crowns face the same direction (usually outward) so your drywallers have a perfectly flat wall to screw into!