Diagnostic Data: Mechanical Failure of Cordless Ratchet Heads
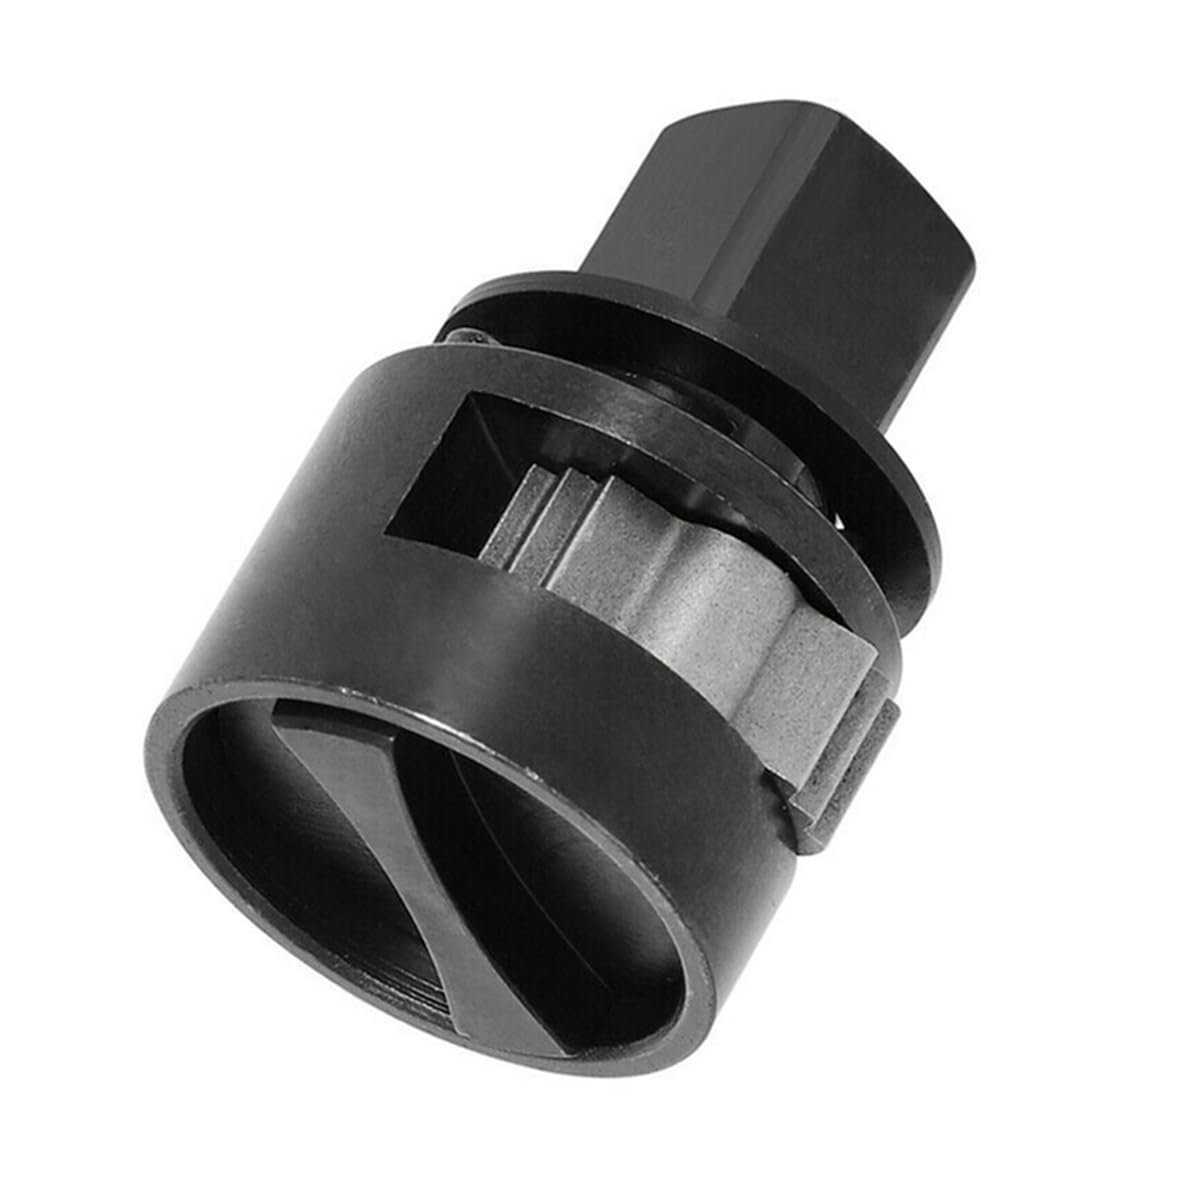
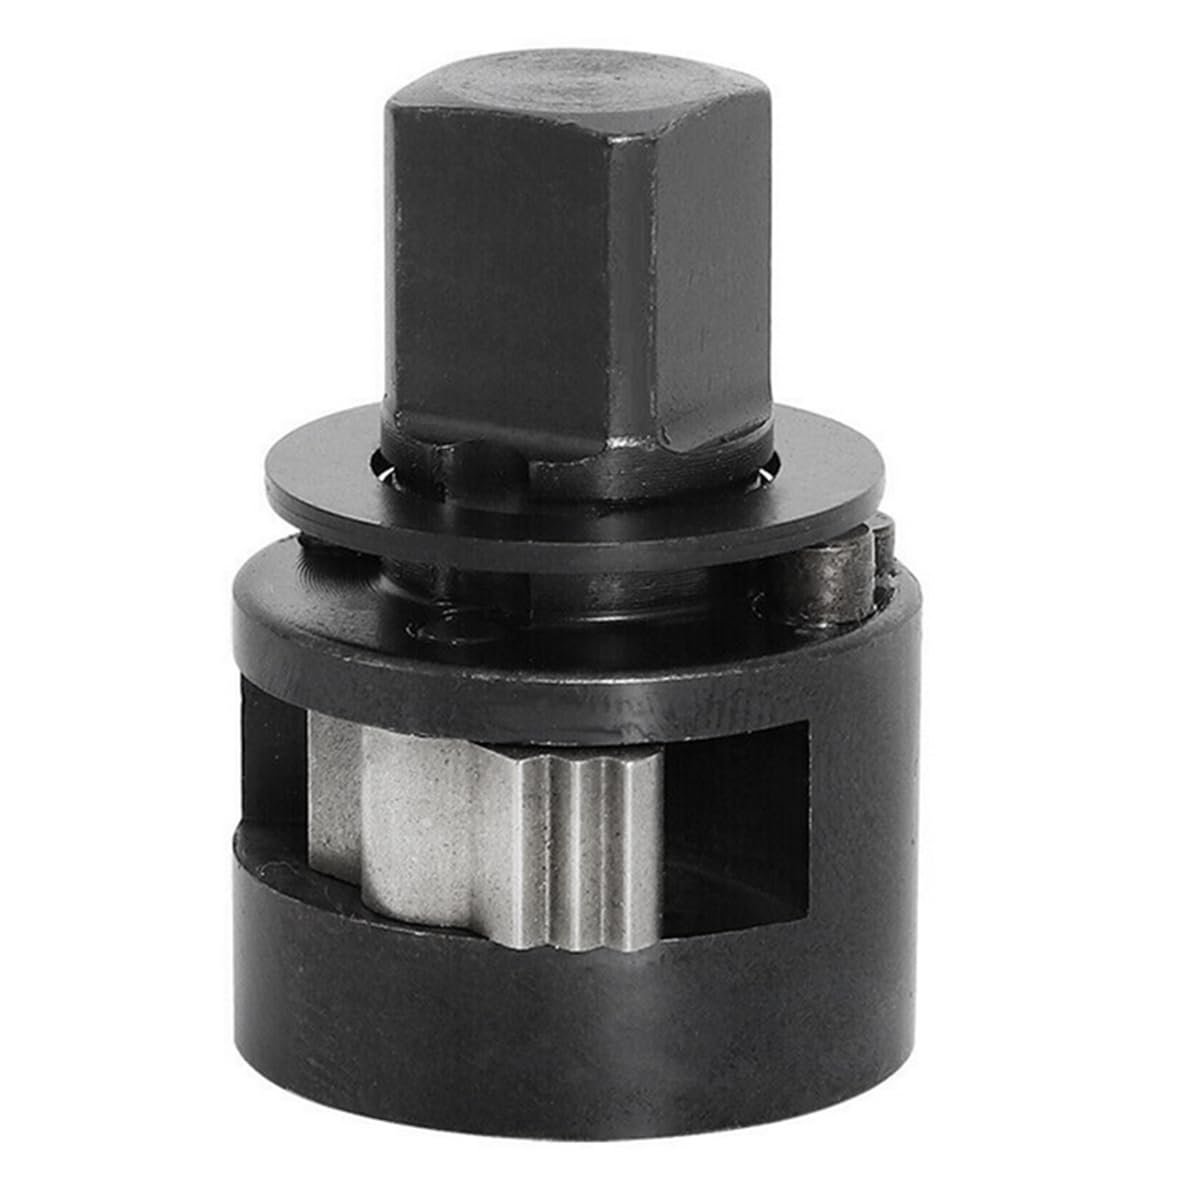
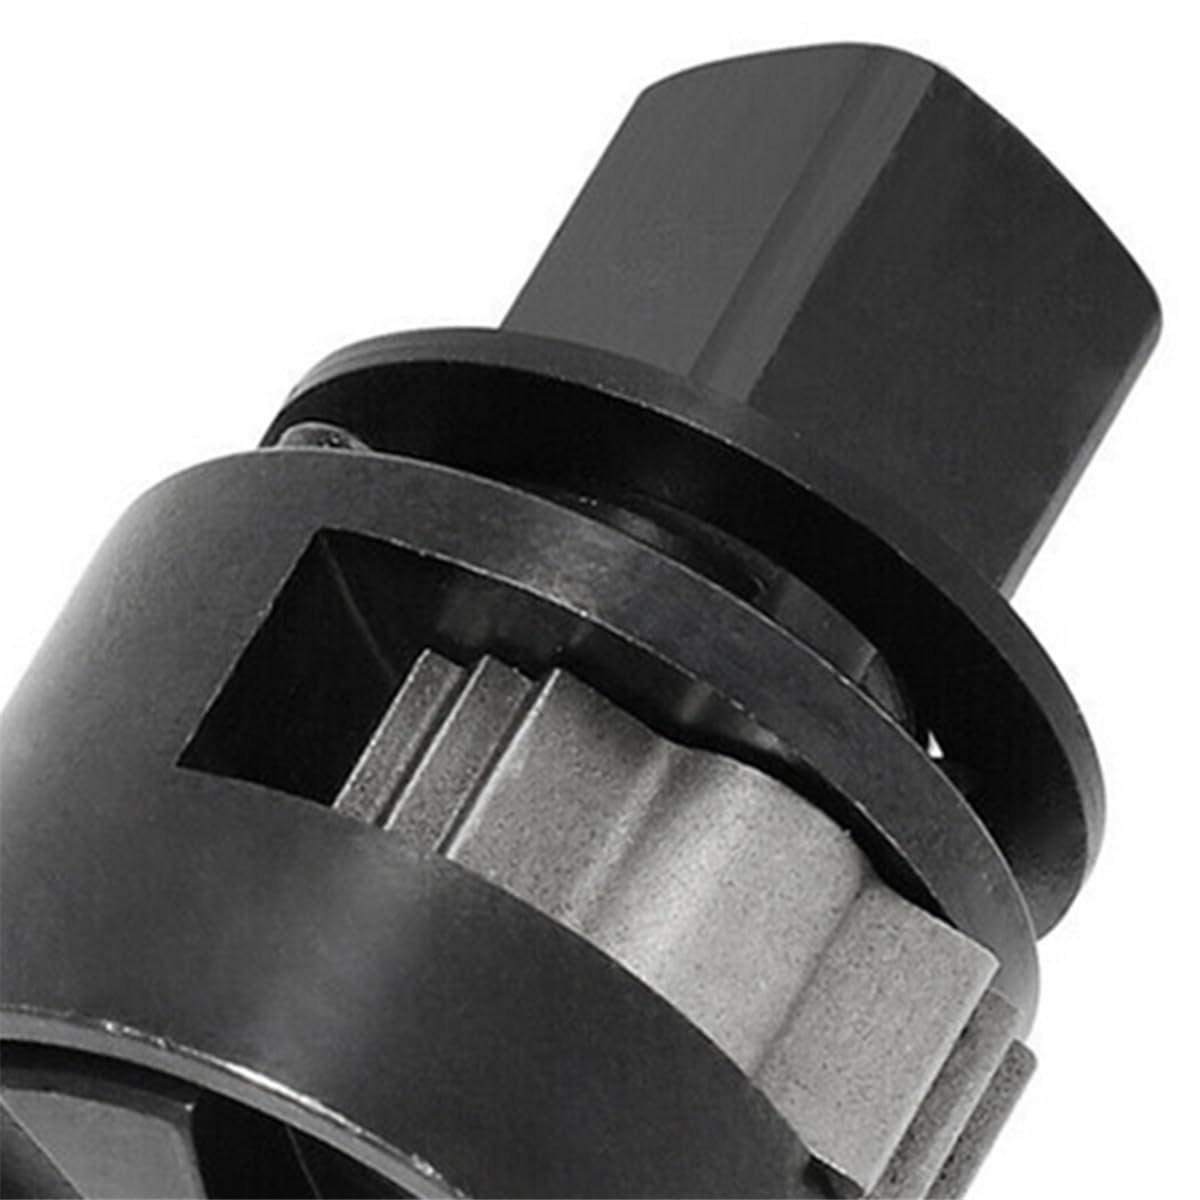
Cordless power ratchets bridge the gap between mechanical speed and manual torque. However, operators frequently break internal components by using the tool as a heavy breaker bar. When excessive manual breakout torque is applied to a frozen fastener, the stress concentrates directly on the small directional pawl teeth and the main drive anvil gear. This causes the teeth to shear off or flatten out. Once this internal damage occurs, the motor will spin the internal yoke freely, but the 3/8-inch anvil will remain stationary or slip violently under load.
1️⃣ Motor Spins, Anvil Fails
The electric motor hums and the gear drive moves smoothly, but the 3/8 socket drive does not turn when it encounters the slightest mechanical resistance.
2️⃣ Directional Lockout
The directional selector switch spins 360 degrees or jams completely. The internal indexing detent spring is either broken or packed with sheared metal shavings.
3️⃣ Loud Ratchet Chipping
The head emits an aggressive, metallic grinding noise under load. This indicates broken teeth are bouncing inside the assembly, tearing up the remaining gear profiles.
Component Evaluation: OEM-Spec Kit vs. Cheap Sintered Metal
| Component Parameter | Cheap Aftermarket Replacements | OEM-Spec Repair Head Assembly |
|---|---|---|
| Steel Metallurgy | Sintered powder metal. Brittle composition fractures under manual breaking loads. | ✅ Forged, CNC-machined Chromoly steel alloy with case hardening. |
| Gear Tooth Machining | Stamped edge profiles. Results in sloppy tolerances and micro-slippage. | ✅ Micro-milled precision gear profile for flawless positive engagement. |
| Friction Tolerances | Generates excessive thermal load due to poor mechanical indexing. | ✅ Zero-backlash design keeps frictional heat inside nominal operating limits. |
Teardown & Replacement Workflow
Yoke Retainer Removal
Unscrew the steel hex collar screws locking the mechanical gear head yoke to the plastic motor casing. Pull the head assembly away from the drive shaft.
Snap Ring Extraction
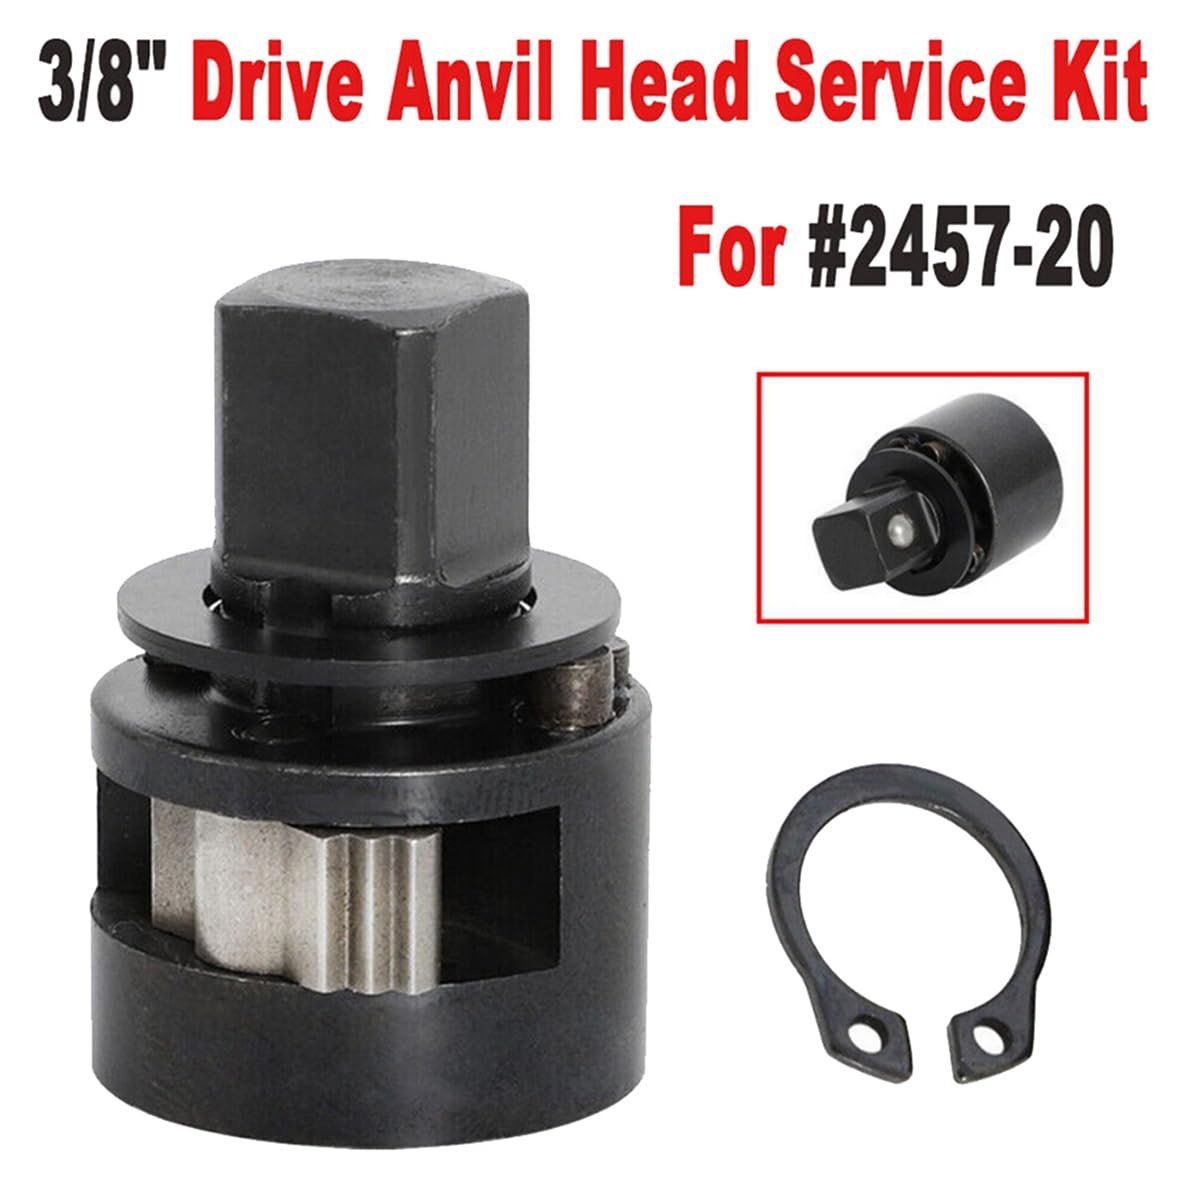
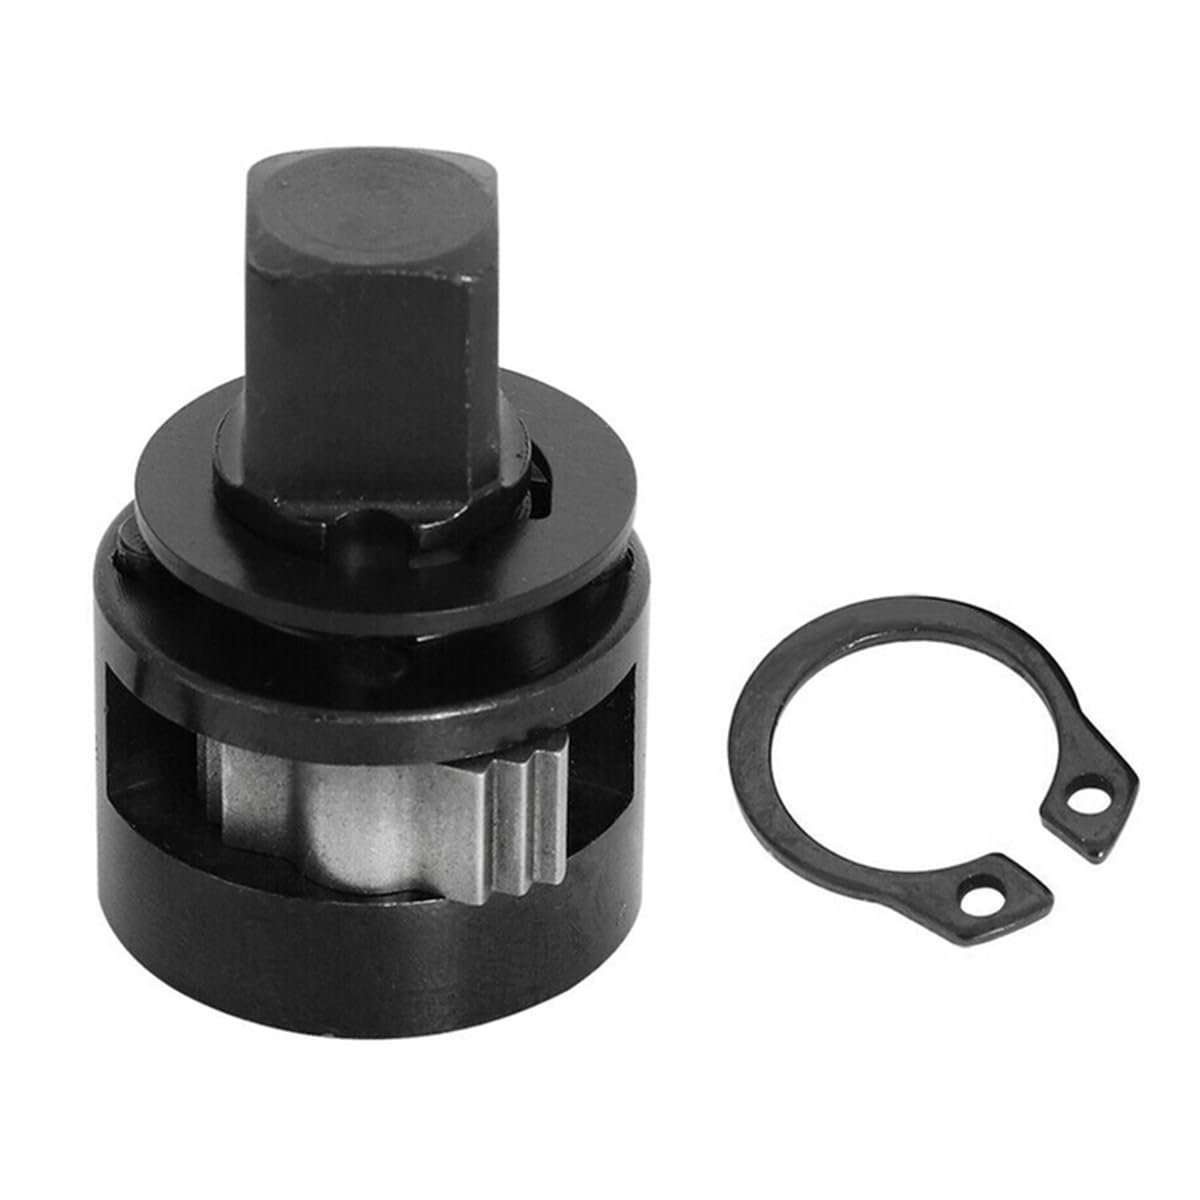
Use specialized external snap ring pliers to compress the heavy retaining clip on the back of the ratchet yoke. Pop the clip out of its retention groove.
Component Purge
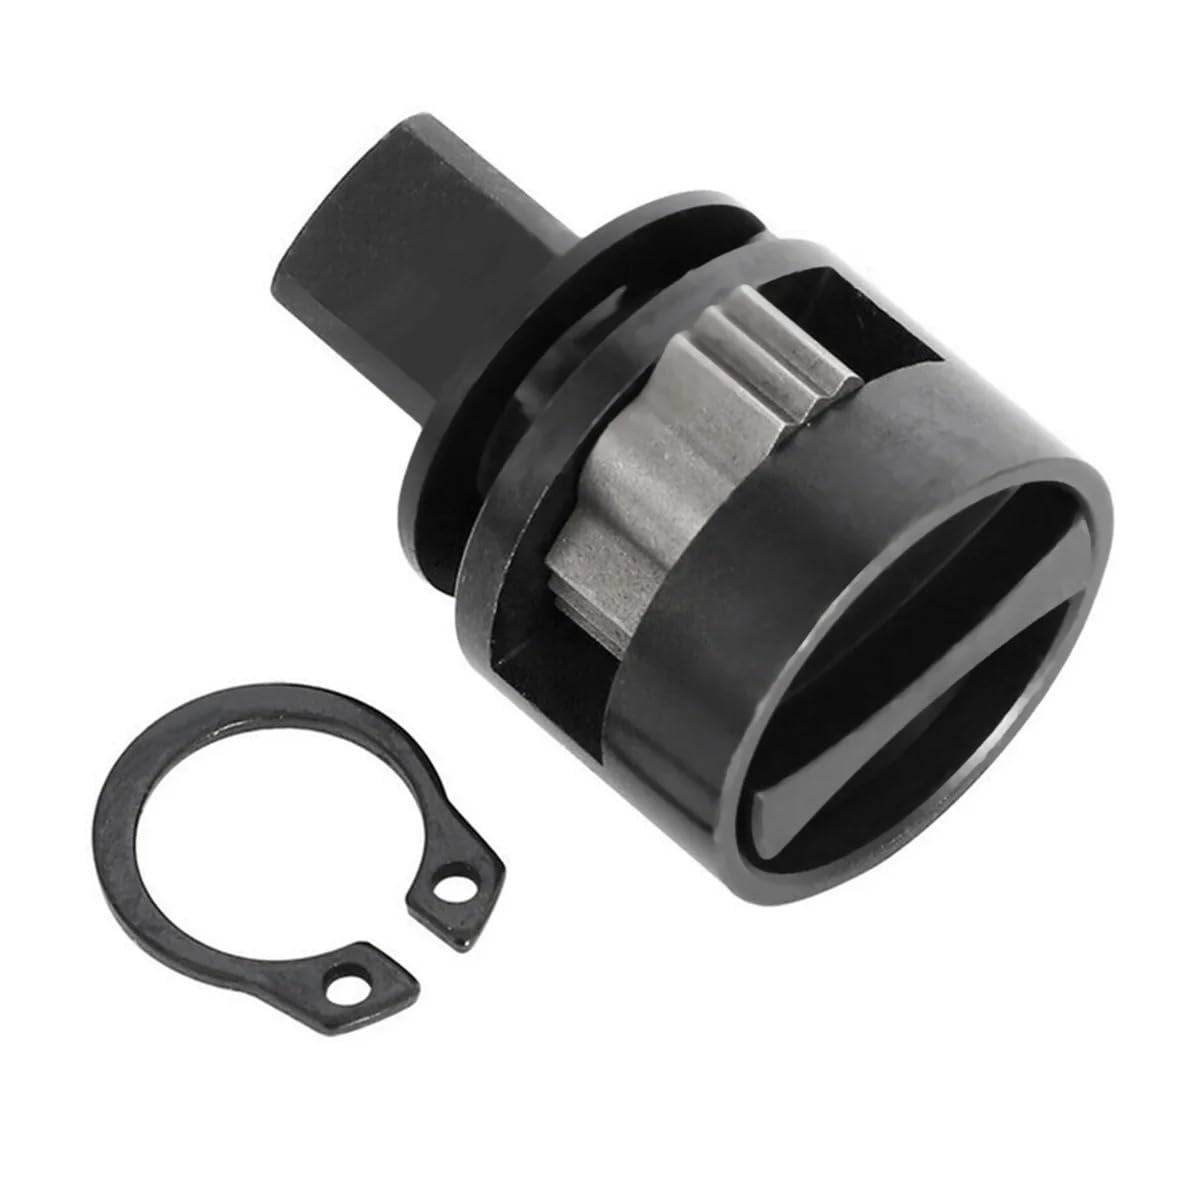
Slide the worn anvil wheel, pawls, and spring out of the yoke housing. Spray the cavity with brake cleaner to thoroughly remove contaminated grease and metal shrapnel.
Grease & Re-Seat
Coat the new repair kit pieces with high-pressure molybdenum grease. Fit the new pawl and anvil into the clean yoke, then lock the snap ring back into its seat.
Fitment & Cross-Reference Data
Diagnostic Q&A
Safety Notes
- Electrical Isolation: Remove the rechargeable lithium-ion battery pack from the tool base before starting the head teardown. Accidental trigger activation can catch your fingers inside the oscillating yoke mechanism.
- Snap Ring Retention: Wear safety glasses when compressing the heavy retaining snap ring. If the ring slips off the pliers under high spring tension, it can launch at extreme velocities.
- Torque Limits: Cordless ratchets are designed for high-speed automated spinning, not break-out torque. Break frozen bolts loose with a manual breaker bar before applying the cordless ratchet tool.
Yes. This premium aftermarket 3/8-inch ratchet head assembly is a direct, drop-in replacement specifically designed for the highly popular Milwaukee M12 cordless ratchet series. It perfectly fits the 2457-20 (bare tool) and 2457-21 (kit) models. The assembly includes the complete anvil, directional pawl, and internal springs, ready to restore your tool’s ratcheting mechanism.
The number one cause of a shattered ratchet head is using the power tool as a manual breaker bar. The M12 ratchet is designed to rapidly spin fasteners in and out. Using it to manually break loose heavily seized or rusted automotive bolts applies extreme physical torque that will shear the internal metal pawl or snap the 3/8″ square drive. If your motor spins but the head slips under load, you need this replacement assembly.
You will need a pair of snap ring pliers (circlip pliers) to remove the retaining ring that holds the head in place. Crucial Mechanic Pro Tip: When installing this new head, apply a light coat of standard lithium grease or dedicated ratchet lube to the internal gears. Do not pack the housing with heavy wheel bearing grease! Thick grease will cause the tiny directional pawl to stick, especially in cold weather, preventing the ratchet from locking properly.